41956001TH Rev.6 92 /
Oki Data CONFIDENTIAL
3.2.5 Recovery Flash ROM data on CU board
A 4MB Flash ROM that enables a user to register an arbitrary file is installed on the CU board.
Note:
When a CU board has to be replaced, print a file list of the information menu and check
the registered files before replacing the board.
Re-register necessary files when the CU board is replaced.
3.3 Adjusting the Density
The auto density adjust mode is set to [Auto] when the printer is delivered, however, problems may
occur upon using the printer if the mode is set to [Manual]. Perform the procedure when the density
is improper.
Note:
Perform the task when the printer is not in operation. Do not perform during warm-up.
(1) Press
))
))
) several times and display [Color Menu].
(2) Press
11
11
1 or
55
55
5 and display [Density Adjust/Start].
(3) Press
33
33
3.
The auto density adjustment will begin.
3.2.6 Notes on replacing Oki LAN8100e or CU boards equipped with Oki LAN8100e
With the replacement of Oki LAN8100e (software NIC HMN board) or a CU (HMF board or HME
board) containing Oki LAN8100e, or the concurrent replacement of a CU (HMF board or HME
board) and Oki LAN8199e, network information stored in their Flash ROM must be initialized.
• Network information initialization is required at:
replacement of an HMF or HME board,
or
Oki LAN8100e (an HMN board)
• Network information initialization is not required at:
replacement of an HMF or HME board not containing Oki LAN8100e
[Network Information Initialization Procedure]
(1) Turn the printer off.
(2) When a network cable is connected to the printer, plug off the cable from the connector on the
printer side.
(3) While holding the black push switch ([Test] button) of Oki LAN8100e down, turn the printer on.
The black push switch should be held down until “NETWORK INITIALIZING” (the network is
being initialized) appears on the upper display and “WAIT A MOMENT” (to wait a moment)
appears on the lower display. Release the black push switch when they are displayed.
(4) When “ONLINE” is displayed on the operator panel, initialization is complete.
[Network Information Initialization Checking Procedure]
(1) Execute “PRINT MENU MAP” in “INFORMATION MENU”.
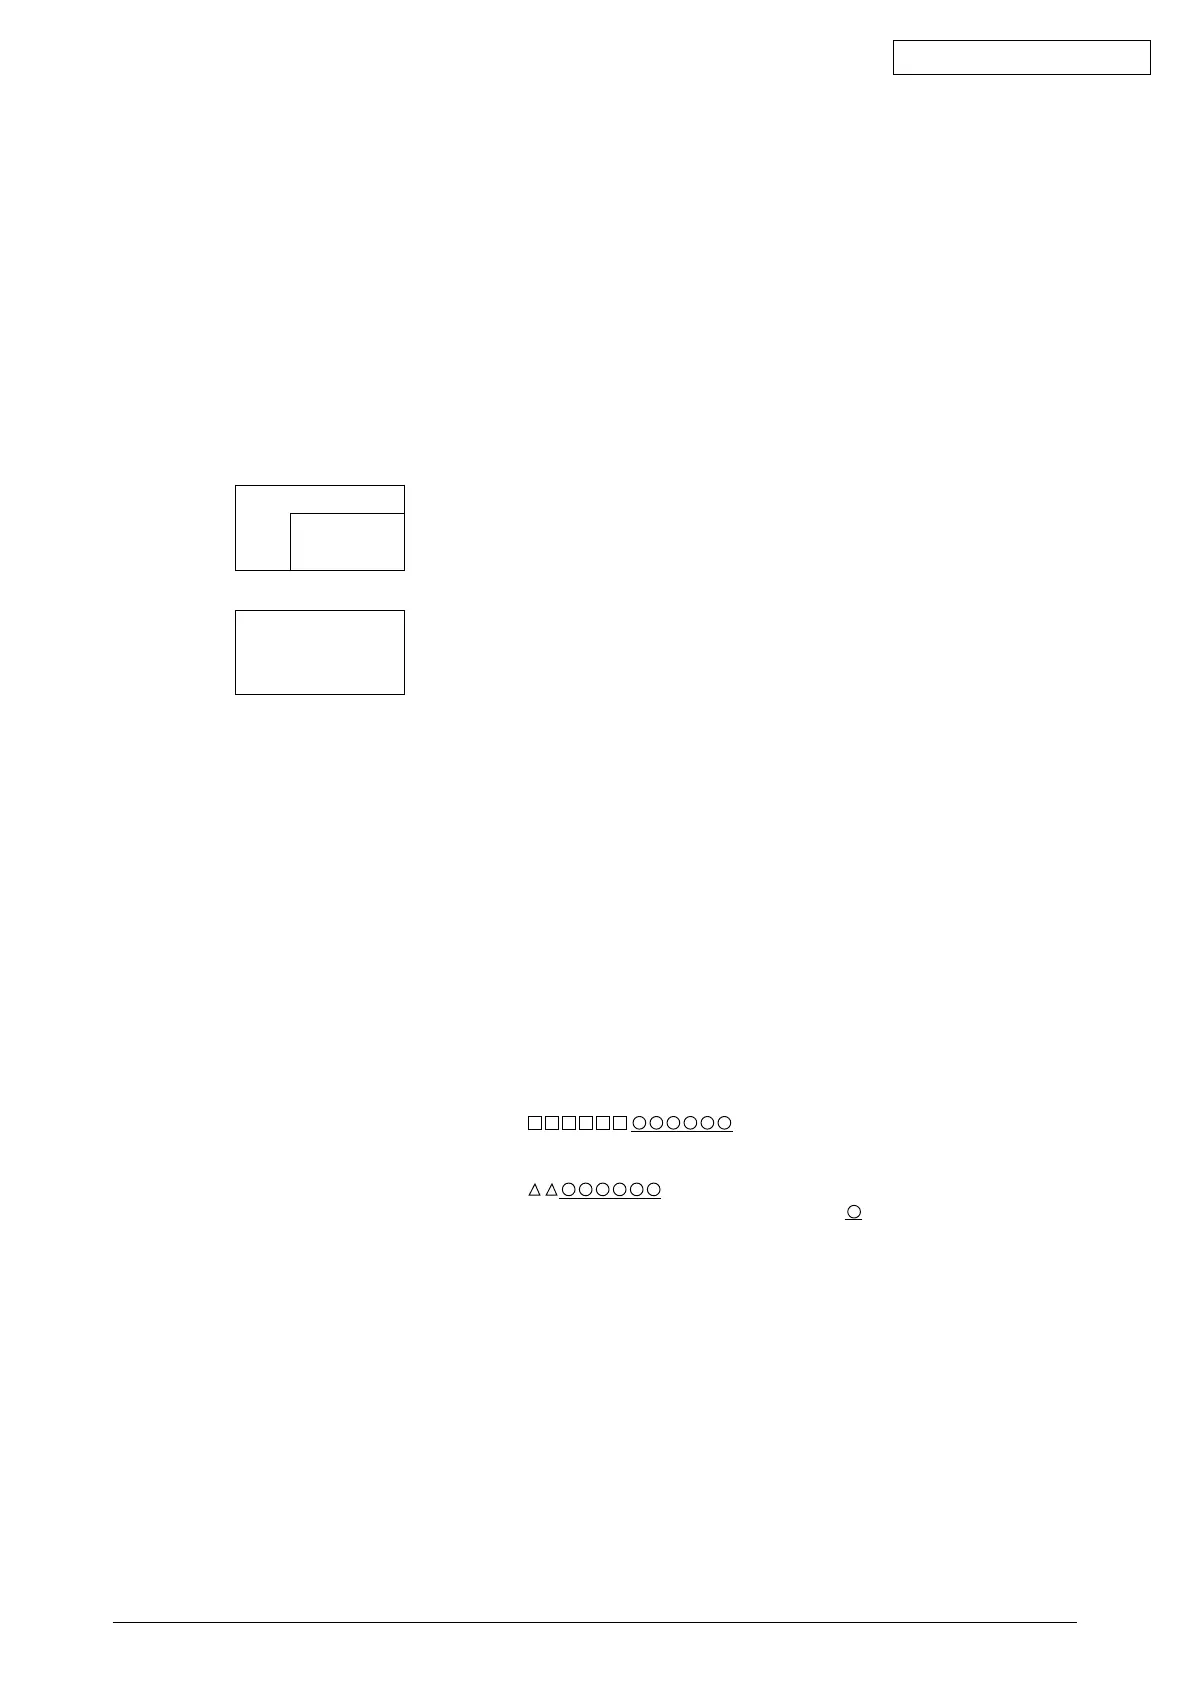
(2) Check the following two points in the Network Information of the first sheet from the result of
Oki LAN8100e menu printing.
General Information
MAC Address
TCP/IP Configuration
Auto Discovery
Printer Name
The Mac Address and Printer Name values at the portions indicated by
(three bytes) are the
same, network information has been initialized successfully.
HMF/HME Board
Oki
LAN8100e
HMF/HME Board