2-2 Operator’s Manual – OPTI CCA-TS
2.3 Setting up the OPTI CCA-TS Analyzer
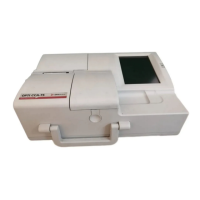
You are now ready to prepare your OPTI CCA-TS Analyzer for operation.
Begin by placing the analyzer on a secure table top that allows plenty of working space and is
convenient to a power connection.
1. Plug in the Power Supply
• Plug the power supply into the receptacle on
the left side of the unit (Fig. 2-1).
• Plug the power cord into the power supply.
• Plug the cord into a grounded electrical
outlet.
NOTE: To protect your OPTI CCA-TS and other
electronic devices from damage caused
by electrical power spikes, OPTI Medical
recommends the use of a surge protector.
2. Install the Battery Pack in its Housing
• Push the battery pack into the opening on
the left hand side of the OPTI CCA-TS
(Fig. 2-2).
NOTE: The battery will need to be charged for
at least 6 hours prior to using the OPTI
CCA-TS on battery power. It will be
charged automatically whenever the
analyzer’s external power supply is
plugged into an electrical outlet.
The status LED on the rear of the instrument is
always on while the battery is being charged.
The LED blinks rapidly (four times per second)
when the battery is fully charged. It blinks
slowly (once every 1.5 seconds) when charging
a depleted battery.
3. Turn on the Power
• Locate the power switch on the left side of
the unit and switch to ON (Fig 2-3).
Fig. 2-1 Power Cord Connection
Fig. 2-2 Insert Battery Pack
Fig. 2-3 Power Switch