Installation Procedure
This section provides an overview of the installation procedure.
Description Links
Review the entire installation procedure and find links
to more information about each step.
“Installation Procedure Overview ” on page 13
Installation Procedure Overview
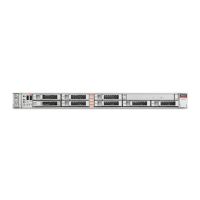
The following table lists the tasks you need to complete to install the Oracle Server X5-2.
Step Description Links
1 Review the product notes for any late-
breaking information about the server.
Oracle Server X5-2 Product Notes at https://www.oracle.com/
goto/x5-2/docs
2 Review the server site requirements,
specifications, and components, and
confirm that you have received all
of the items you ordered; familiarize
yourself with ESD and safety
precautions; and assemble the
required tools and equipment.
■ “Preparing for Server Installation” on page 15
■ “Site Planning Checklists” on page 169
3 Review the server features. “Server Features and Components” on page 27
4 Install any separately shipped optional
components.
“Optional Component Installation” on page 25
5 Install the server into a rack. “Installing the Server Into a Rack” on page 39
6 Attach data cables and power cords to
the server.
“Cabling the Server and Applying Power” on page 75
7 Set up your system software and
firmware using Oracle System
Assistant.
“Setting Up Software and Firmware Using Oracle System
Assistant” on page 101
8 Connect to Oracle Integrated Lights
Out Manager (ILOM).
“Connecting to Oracle ILOM” on page 83
Installation Procedure 13