14
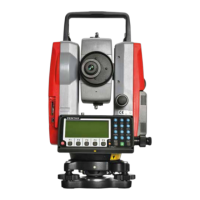
① Draw the battery to the lock lever side and put it on the battery pocket. The battery is
firmly installed on the battery pocket.
② Press down the battery and then slide it to the opposite direction of the lock lever.
③ The lock lever goes up, and the battery is fixed.
④ Under such a condition, if “Connection of the code” is done, the charge with the battery
is begun.
[Detaching the battery]
① Press the lock lever and slide the battery to the lock lever direction.
② Detach the battery packing from the battery pocket.
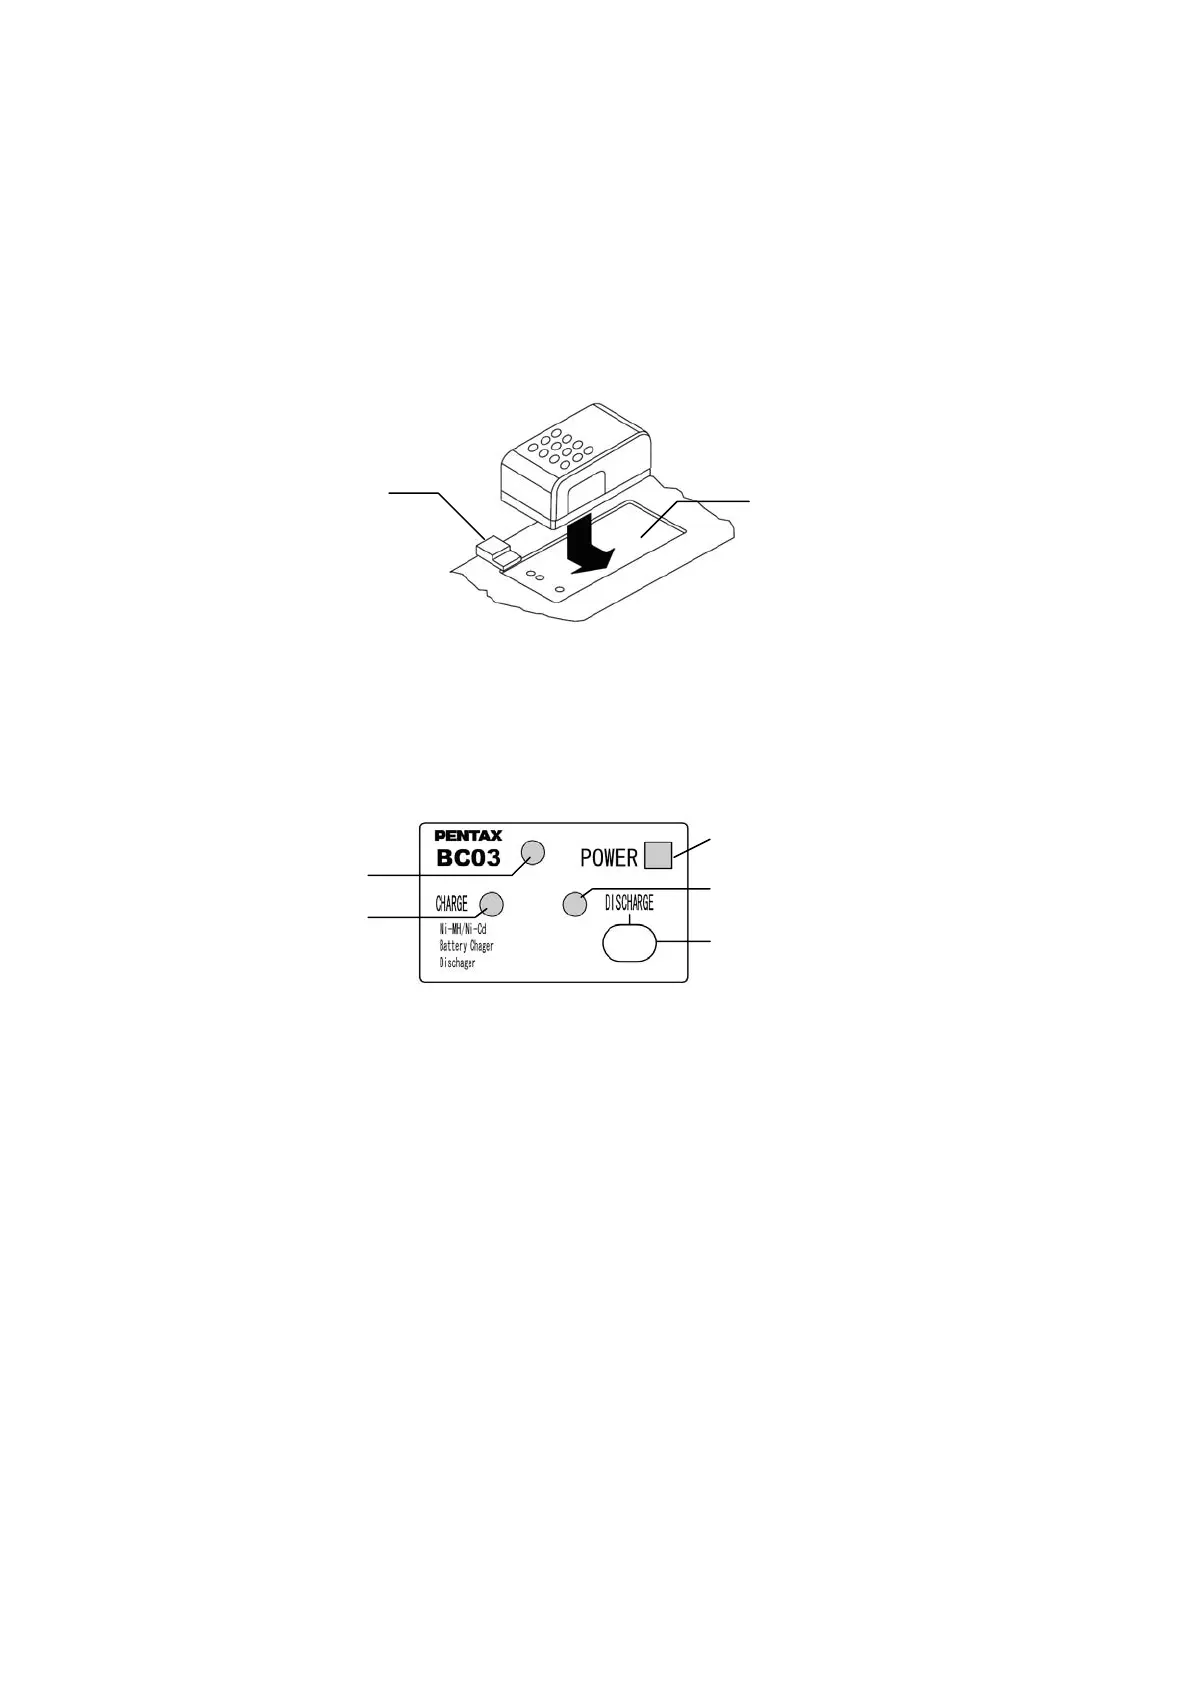
[Display panel]
① Power supply lamp (red) : Turns on when the power supply is turned on.
② Charge lamp (green) : Turns on while charging and turns off when the charge is
completed.
③ Discharge lamp (yellow) : Turns on when you push the discharge button.
Turns off when the discharge is completed.
④ Installation lamp (red) : Blinks or turns on when the battery packing is attached
normally.
Blinks when charge or discharge and turns on when charge is
completed.
(The charge lamp in the lower does not blink and does not
turns on)
⑤ Discharge button : Discharge lamp lights when you push this button, and the
discharge of battery begins.
[How to charge]
① It begins charging automatically when you set the battery packing in the charger which
beams the power supply lamp.
Lock lever
Charger
Battery pocket
Battery
④ Installation lamp
② Charge lamp
⑤ Discharge button
③ Discharge lamp
① Power supply lamp
 Loading...