3. While continuing to hold the restore button, reconnect the power supply to turn the system on.
4. When the system LED indicator light blinks amber, stop pressing the restore button.
Related Links
LED Status Indicators for the G7500 System on page 11
Factory Restore a Table Microphone
You can restore a microphone to its default settings. This process refreshes the microphone by deleting
its configurations except the current version of software.
Procedure
1. Ensure that the microphone is powered on.
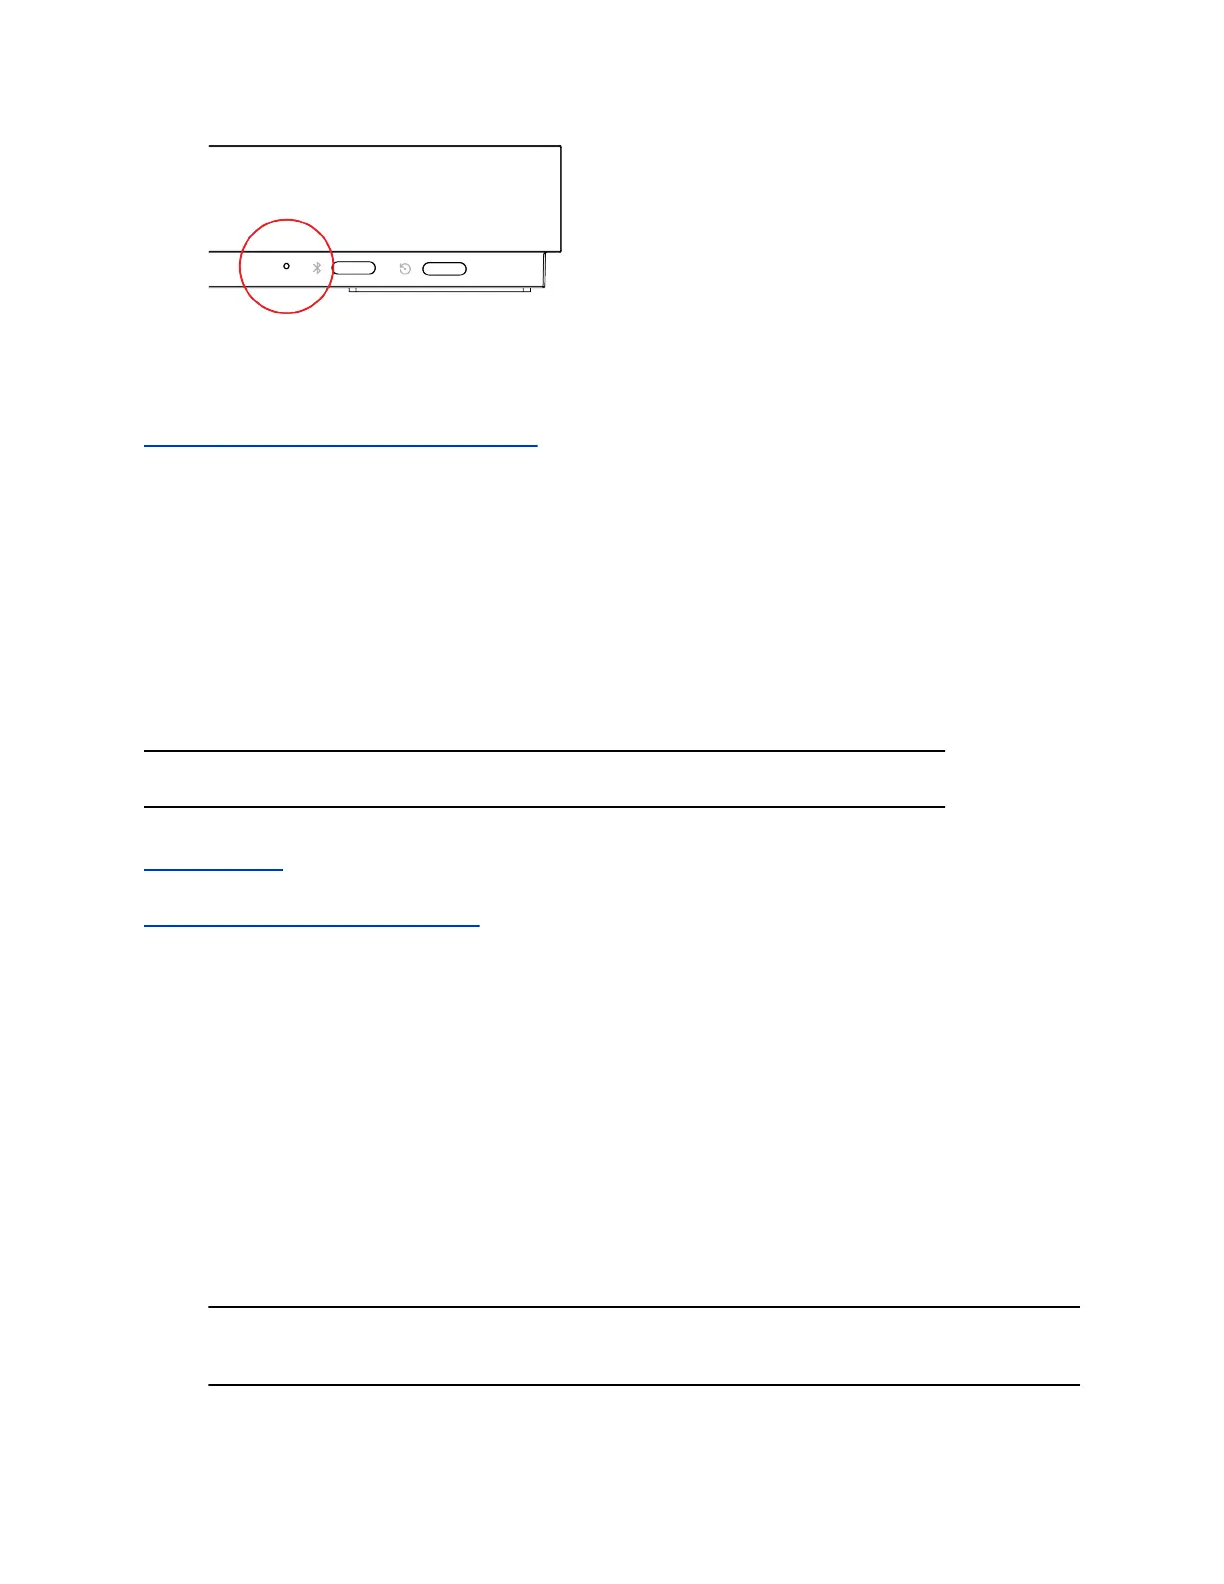
2. Insert a straightened paper clip through the restore button pinhole.
3. Press and hold the reset button for 5 seconds, then release it when the microphone LED blinks
amber.
Note: Don’t power off the microphone during this process. It restarts when complete.
Related Links
IP Microphones on page 14
Related Links
Factory Restore a Ceiling Microphone on page 104
Factory Restore a Ceiling Microphone
You can restore a microphone to its default settings. This process refreshes the microphone by deleting
its configurations except the current version of software.
Factory restoring the ceiling microphone requires the following tools:
▪ A small, thin block N45 magnet (for example, 76.2 mm [3 in.] × 12.7 mm [1/2 in.] × 3.18 mm [1/8
in.])
▪ Yardstick or adjustable floor-to-ceiling pole (so you don’t have to use a ladder)
▪ Duct tape
Procedure
1. Tape the magnet to one end of the pole with one of the 3.18 mm (1/8 in.) edges facing up.
Caution: If you have a suspended ceiling, tape the magnet securely to avoid it coming loose and
sticking to a ceiling support grid.
System Maintenance
Polycom, Inc. 104