201
Polyend Tracker Mini Manual
200
Polyend Tracker Mini Manual
NOTESNOTES
Audio
8
Audio
8
Audio Effects Overview
These effects are applied destructively and baked into the selected audio
sample in project memory. The undo command can restore a prior state
unless saved. The original SD Card le remains intact and is unaffected.
Effect
Description
Normalizer
Adjusts the gain on the selected sample or part of the sample between the start / end
point. Gain will be based on the normalizer 0-100% level and will boost or attenuate the
selected audio consistently across the selection.
Crop
Trims the audio at the start and end points and discards any audio outside of these
settings. Useful to manage sample size and create samples with precise duration.
Reverse
Reverses the audio between the selected start and end point settings.
Amplier
Amplies the audio within the start and end points by the selected ‘amplier’ level 0-5 in
the effect. Effectively multiples the sample or selection.
Overdrive
Adds distortion into the audio sample for the selected audio between start and end.
Three model types 0,1,2 are selectable as well as a gain adjustment.
Delay
Introduces delay into the audio sample or selected audio between start and end.
Feedback and time parameters are adjustable before applying.
Bitcrusher
Bitcrushes the audio sample or selected audio between start and end. The number of
bits can be adjusted between 1-16. Also sample rate can be adjusted.
Chorus
Chorus effect giving a classic multi layered instrument sound can be applied to the
audio sample or selection. Number of chorus voices 1-8 and length between 2-92ms
can be adjusted before applying the effect into the audio.
Flanger
Flanger effect giving a classic out of phase layered sound can be applied to the audio
sample or selection. Several parameter settings can be adjusted before applying the
effect into the audio. These include Length, Offset, Depth and Rate.
Equalizer
Equalizer also called EQ affects the frequency bands in an audio signal by boosting or
attenuating. The 3-Band EQ can be adjusted before applying into the sample or
selected part of the sample.
Limiter
A limiter is used to control or tame dynamic peaks by reducing or limiting the transients.
Normally used as a corrective or control function and associated with loudness rather
than a creative effect. Includes Threshold, Attack and Release parameters.
Compressor
A compressor is used to manage and reduce dynamic range. In this application it is
used as a control function. The typical parameters of Threshold, Ratio, Attack and
Release are adjustable before applying to the audio sample or selection.
WT Smoother
This is a tool used to optimise and convert audio into a sample more compatible with
the wavetable play mode function. The wavetable window settings are adjustable
before applying to the audio sample or selection.
Timestretch Beat
Creative manipulation tool to stretch the sample time which in turn affects the sound.
Used more for beat based material. The tempo, steps, micro-step and granule are
adjustable before applying to the audio sample or selection.
Timestretch Note
Creative manipulation tool to stretch the sample time which in turn affects the sound.
Used more for melody based material. The length and granule are adjustable before
applying to the audio sample or selection.
Fade In
Quick and easy application of a fade in to the audio sample or a selected part. This
operates at a xed setting across the start / end selected part of the sample.
Fade Out
Quick and easy application of a fade out to the audio sample or a selected part. This
operates at a xed setting across the start / end selected part of the sample.
8.9 Sample Editor Effects
The Sample Editor pages have more advanced destructive editing options.
A comprehensive range of effects can also be applied to affect the audio
either to correct or adjust or to create new sounds. Some effects are
applied directly, while others have parameters and settings
The preview option found in the selected effect sub-page will render the
effect and audition the sample with the effect applied. In the main ‘Sample
Editor’ Page, Pressing the D-Pad (Enter) button will preview the audio.
The effect is applied to the audio sample or the audio selected between the
start and end points.
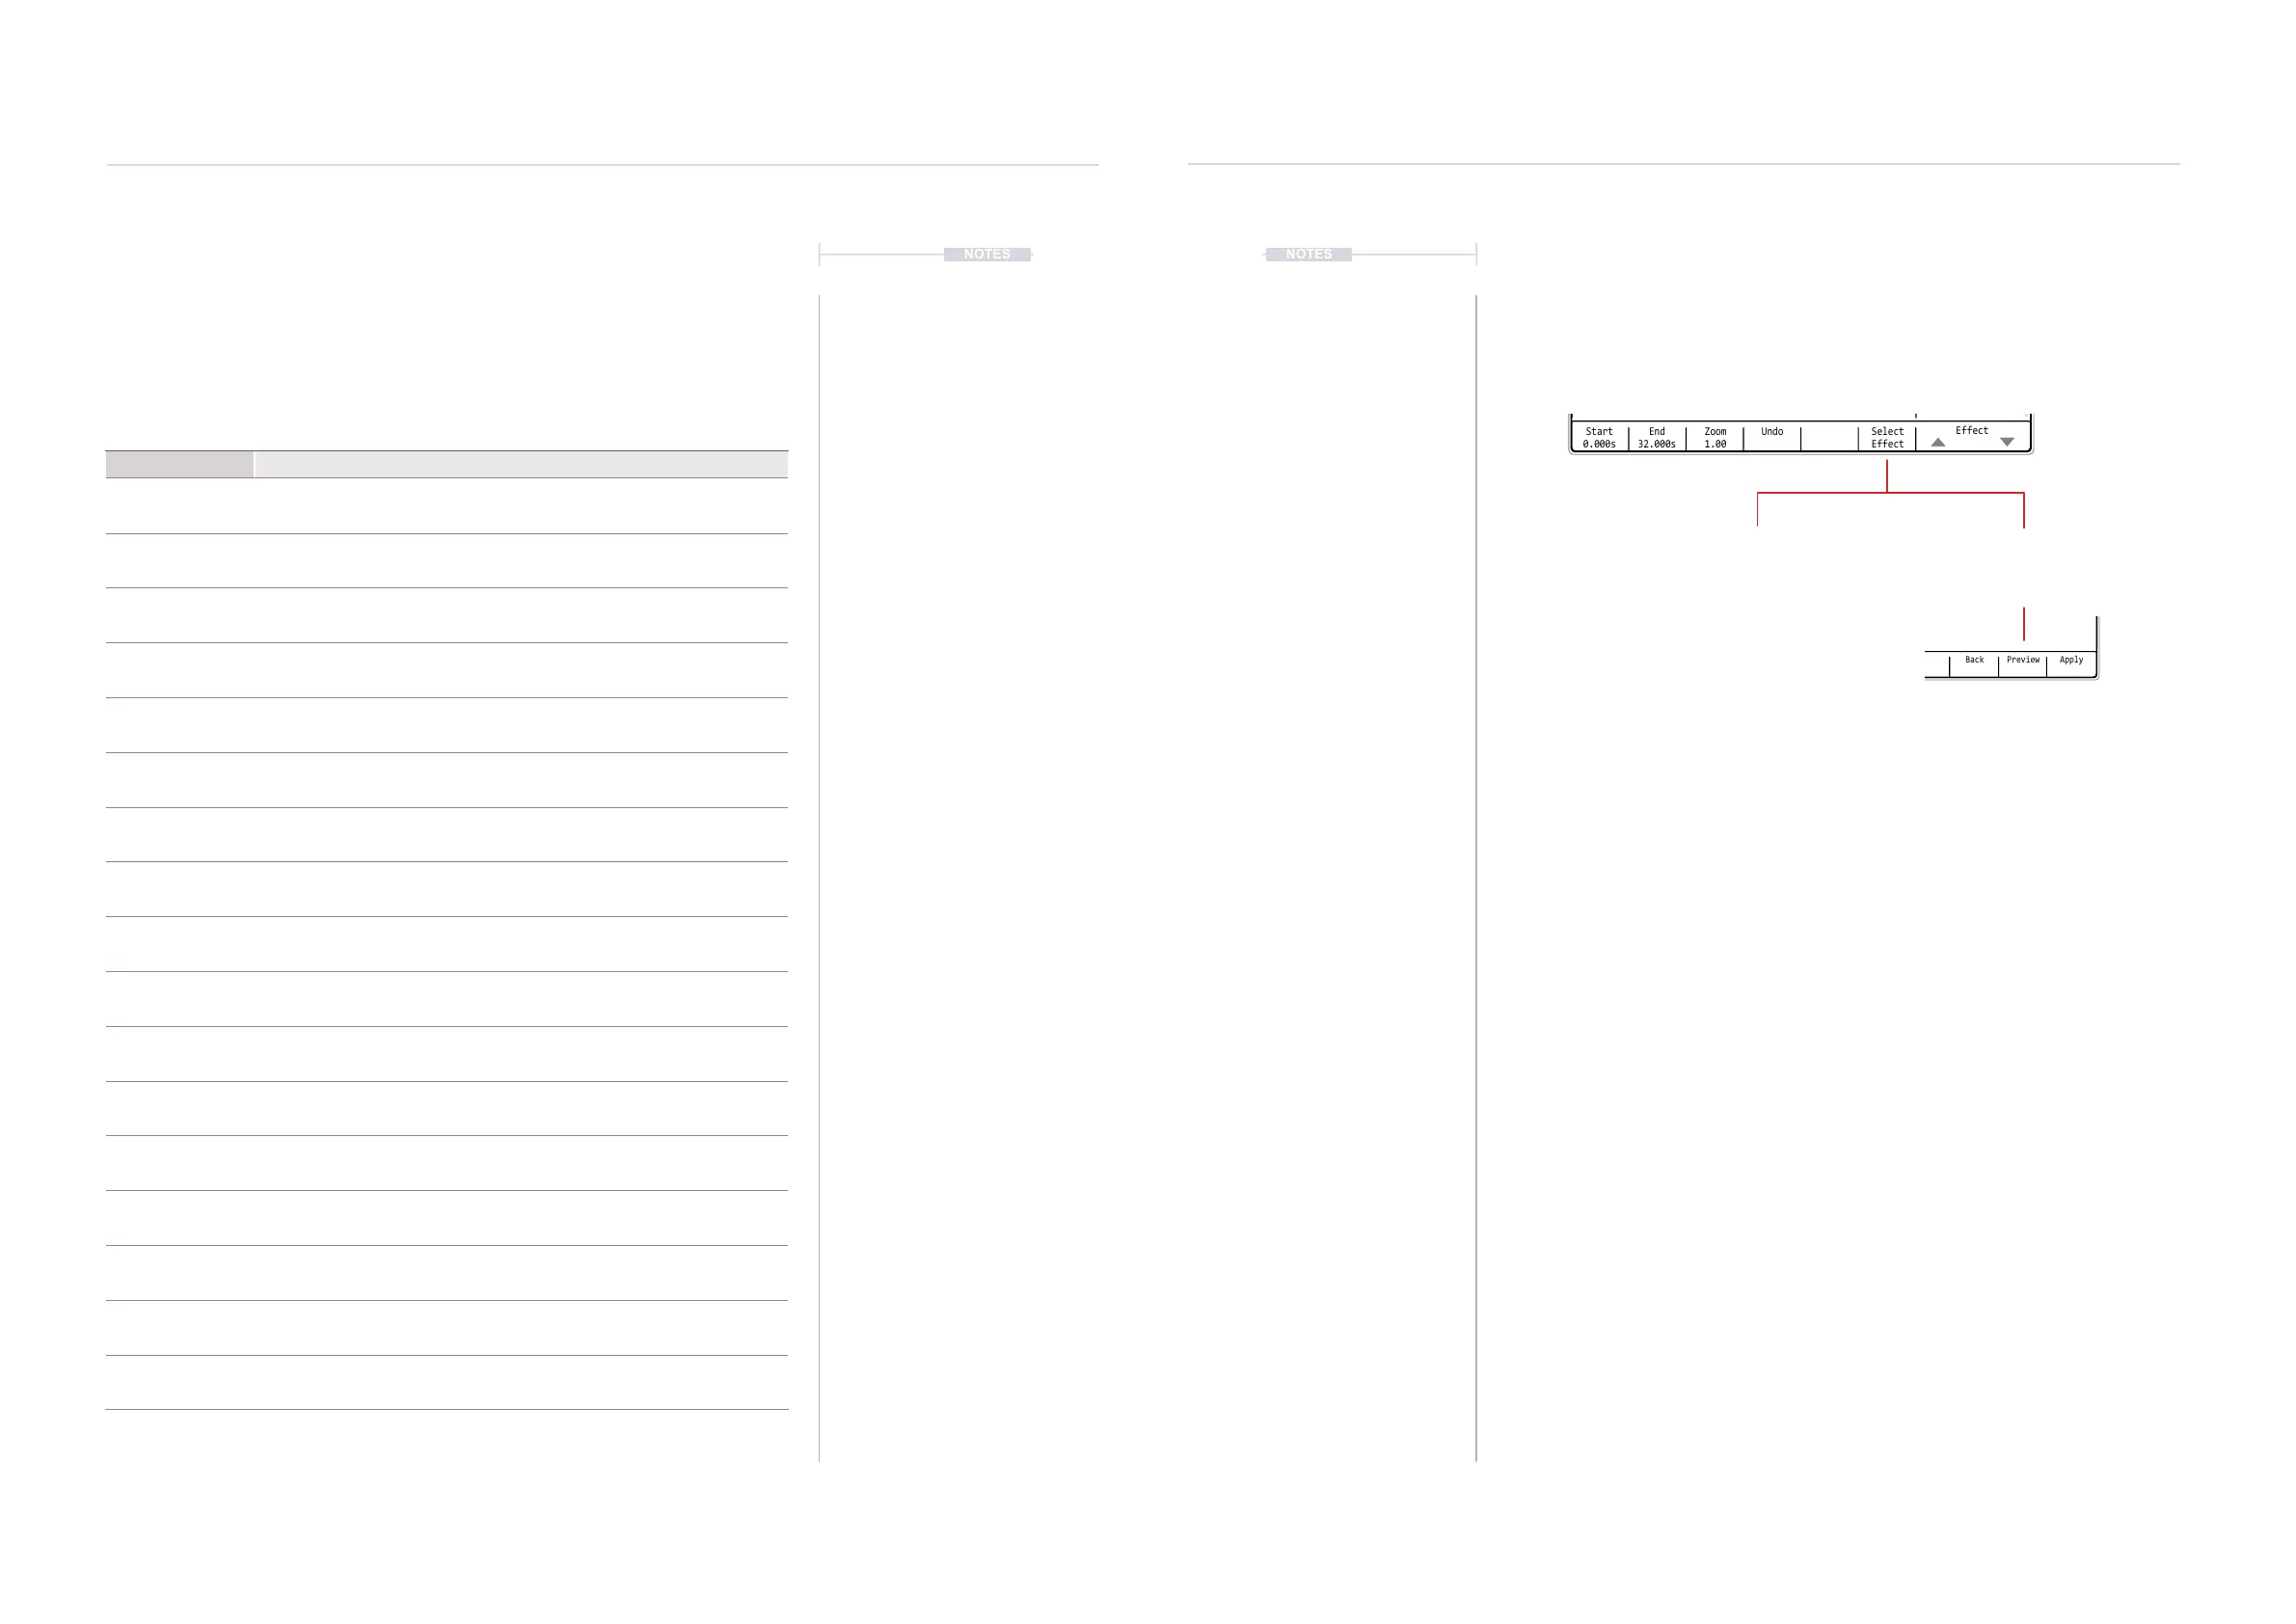
▌ APPLYING AN AUDIO EFFECT
1. Press [Menu] and select ‘Sample Editor’ options page.
2. Press [Start] or [End] and Press [+] / [-] or (Up) (Down) to adjust the
sample selection area or simply leave the start and end points at the
edges to cover the complete sample.
3. Press [Effect], 7
th
or 8
th
Screen Button to navigate to the effect to apply.
4. With the desired effect highlighted, ie bounding box selection, press
[Select Effect] or [Apply], 6
th
Screen Button.
5. The effect will either be immediately applied by pressing ‘Apply’ or will
open the effect page options if pressing ‘Select Effect’.
6. If an effect page and its parameters are available, adjust as desired
using the Screen and [+] / [-] Buttons. Press [Back] to return to page.
• Press [Preview] 7
th
Screen Button to hear the newly affected audio
• Press [Apply], 8
th
Screen Button, to conrm and render.
Select
Effect
Start
0.000s
Zoom
1.00
UndoEnd
32.000s
Effect
Sample Editor
Normalizer
Overdrive
Limiter
Crop
Delay
Compressor
Reverse
Flanger
Bitcrusher
WT Smoother
Amplier
Equalizer
Chorus
Timestretch Beat
8.beats
Select Effect
Opens the parameter options
for the effect before
presenting the option to apply
Apply
Immediately applies the
selected effect. No parameter
settings are provided.