37
Polyend Tracker Mini Manual
36
Polyend Tracker Mini Manual
▌ SAVING THE CURRENT PROJECT - FIRST TIME
1. Hold [Shift] + [3] to open the le browser menu or access with [Menu].
2. Press [Save] - 5
th
screen button from left or Press [Save As] - 6
th
screen
button from left. If using ‘Save’ for the rst time the ‘Save As’ function is
triggered to request a name.
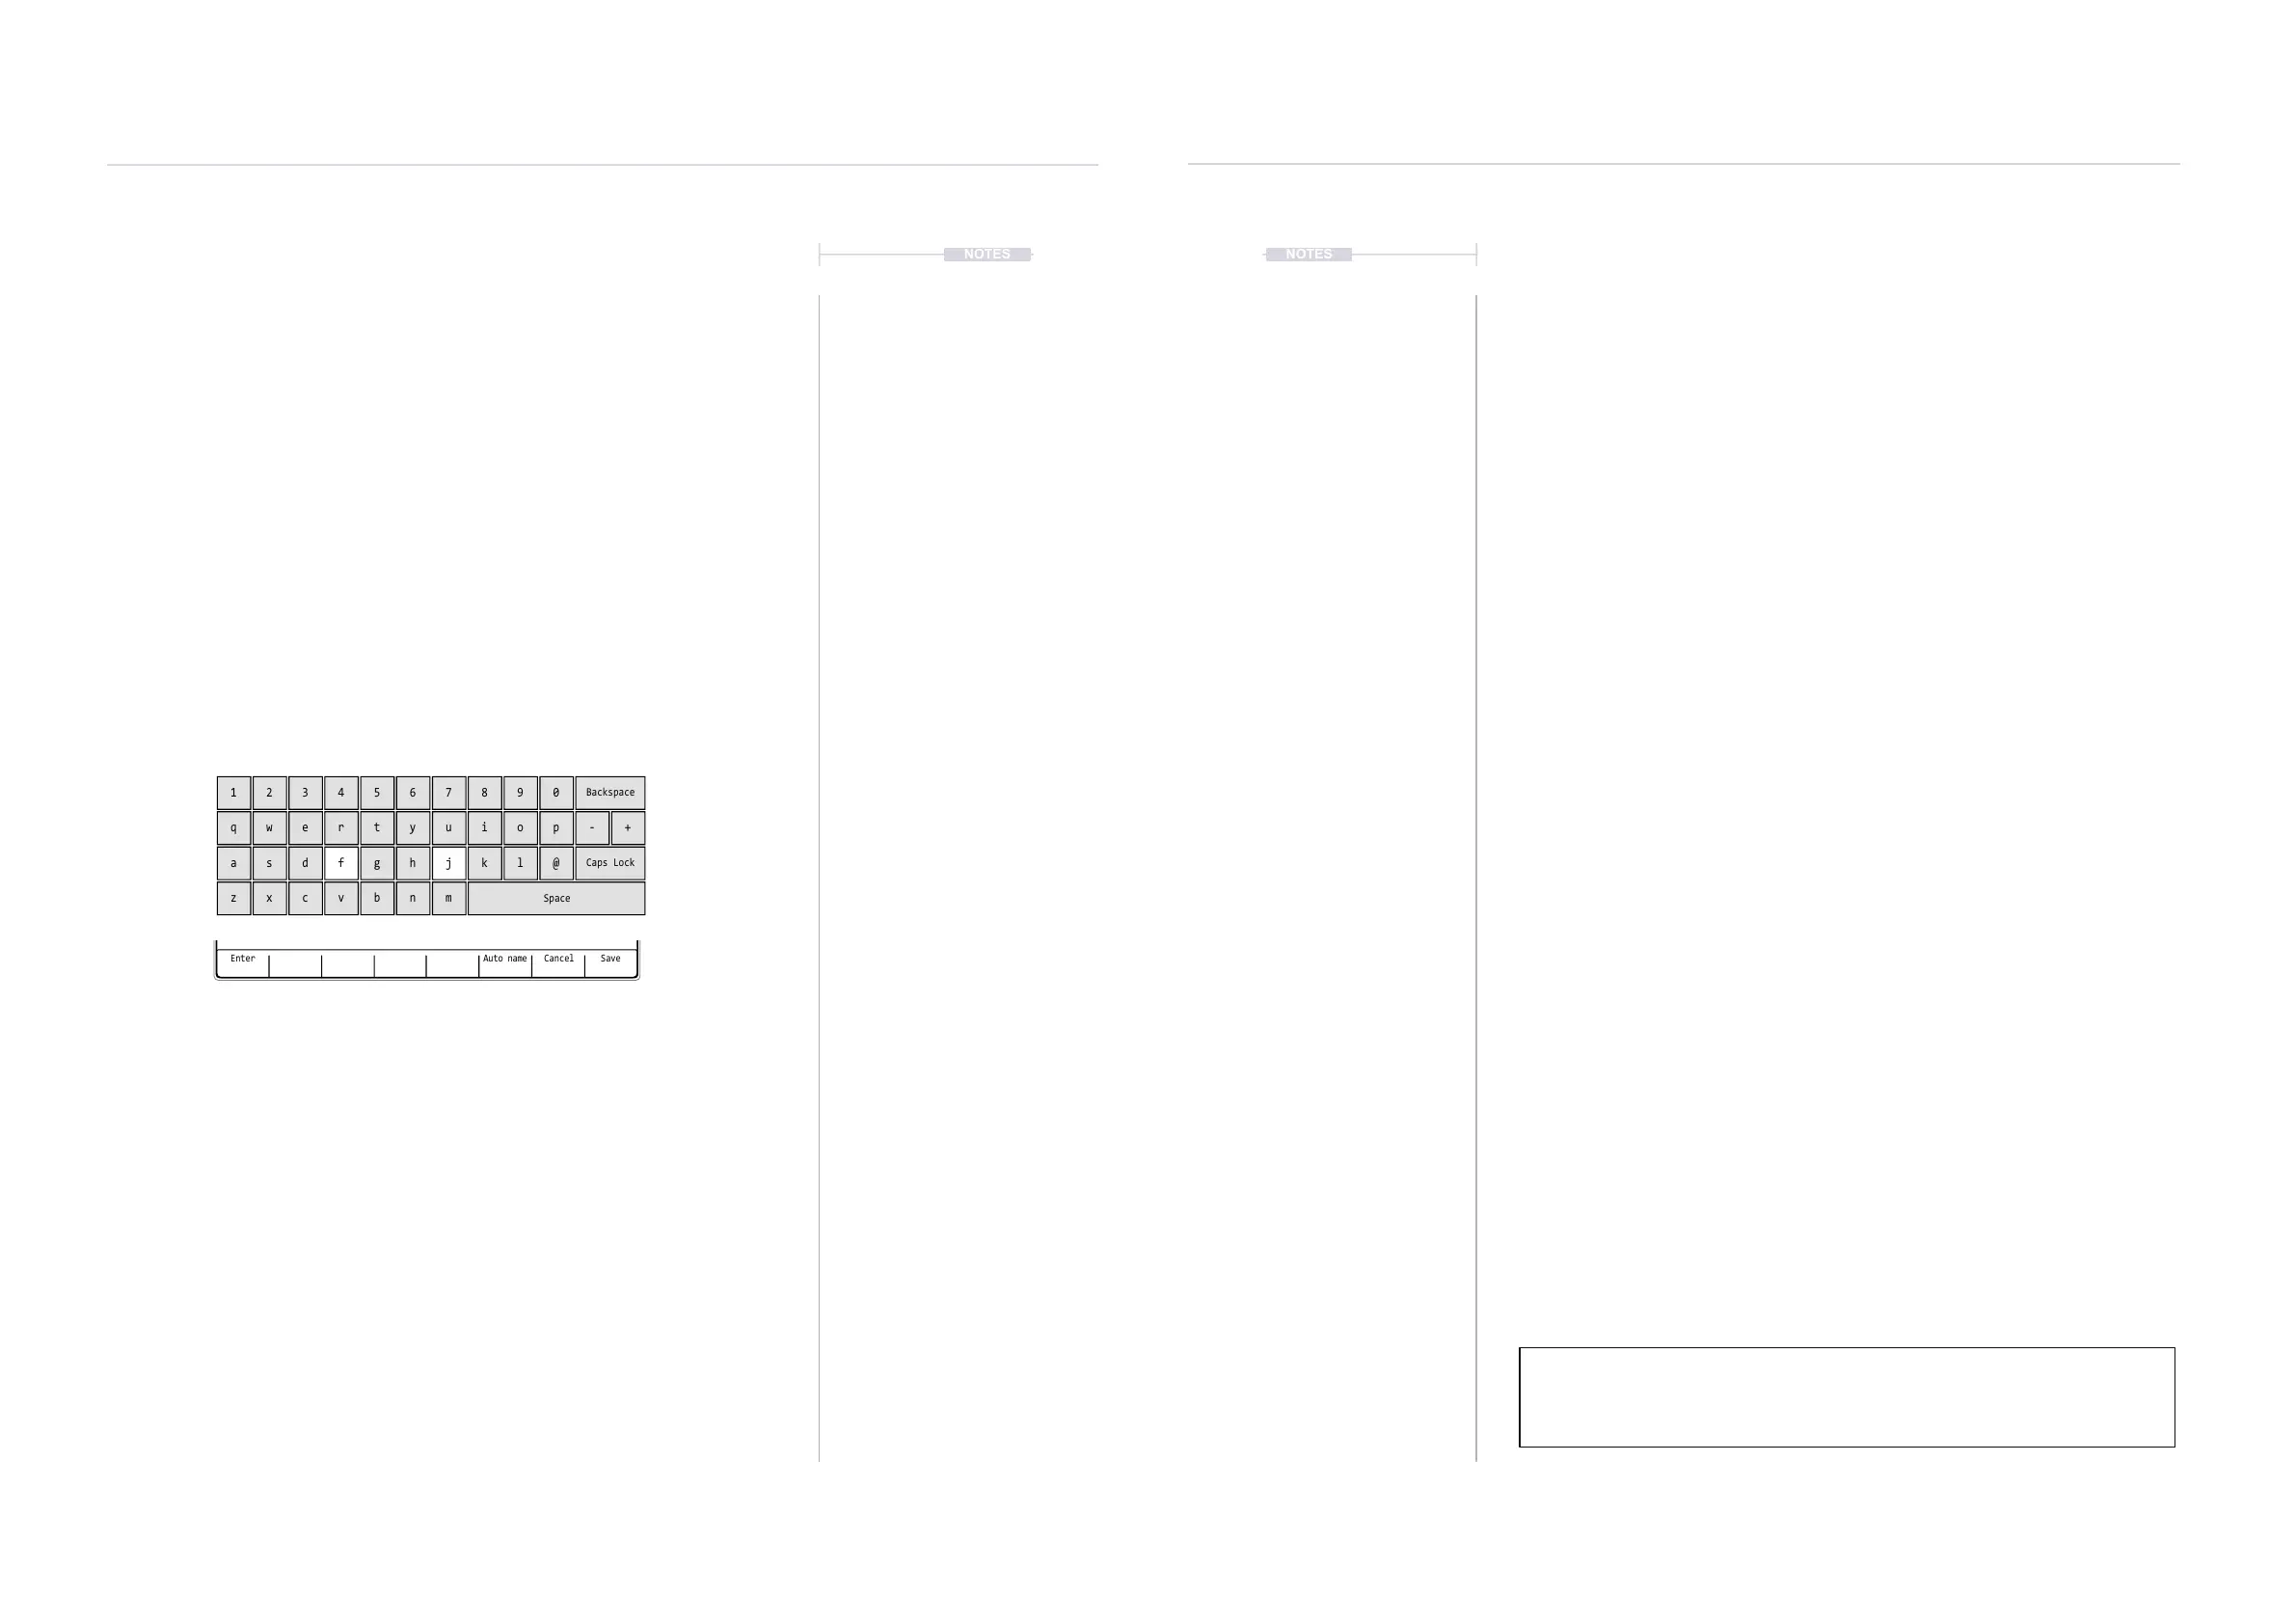
3. The naming function will appear to allow a new name to be created.
The D-Pad buttons will allow navigation and select within the alpha-
numeric keyboard. Project names can be a max of 32 characters.
4. Alternatively, press [Auto Name] - 6
th
screen button from left. This will
generate a random name for the project and present it in the editor.
5. With the desired name created, Press [Save] - 8
th
/ last screen button.
6. The project is saved and the keyboard editor function is closed.
The option to create a new folder also exists in the le menu under the ‘Open’
function. This will also require a name to be created.
Enter Auto name SaveCancel
QWERTY Keyboard is represented by the visual grid. The ‘f’ and ‘j’
keys are highlighted and lit on the pads to serve as a reference. The
Screen buttons offer the main commands in the context of the editor.
The following Tracker Mini buttons also operate in the naming editor
when the naming screen is presented:-
• (Up), (Down), (Left), (Right) will navigate the selection across
the keyboard. Will navigate left / right in the text of the name
when the name is highlighted .
• [Insert] will insert the currently highlighted character into the
name at the cursor position.
• [Shift] + [Insert] to delete characters and backspace in the name
from the text cursor position.
3.3 Deleting a Project.
The option to delete a project can be performed in the project browser. The
currently active project cannot be deleted. Change to another project to
delete. Note that deleting a project will also remove it from the SD Card.
▌ DELETING A PROJECT
1. Hold [Shift] + [3] to open the le browser menu or access with [Menu].
2. Press [Open] - 2
nd
screen button from left. The list of available (max
100) projects will be displayed on the left of the screen.
3. Press (Up) (Down) or [+] / [-] to navigate the list of projects to load. Also
press [Up]- 1
st
screen button or [Down] - 2
nd
screen button to scroll the
list. The highlighted option will show with a bounding box.
4. With the desired project highlighted, Press [Delete] - 3
rd
screen button
from the left.
5. A prompt ‘Do you want to delete project ‘xxxx’’ ?’ will be presented.
6. To conrm, Press [Delete] - 8
th
screen button to conrm deletion.
Alternatively, Press [Cancel] - 7
th
screen button from left to exit without
deleting the project.
7. Project will be deleted from the SD Card and no longer visible in the
project list on Tracker Mini *.
* Projects also manually deleted externally from the SD Card using a PC or Mac
will no longer be visible in Tracker Mini.
1
q
a
z
4
r
f
v
7
u
j
m
0
p - +
@
2
w
s
x
5
t
g
b
8
i
k
Backspace
Caps Lock
Space
3
e
d
c
6
y
h
n
9
o
l
NOTESNOTES
Projects
3
Projects
3