13
Polyend Tracker Mini Manual
12
Polyend Tracker Mini Manual
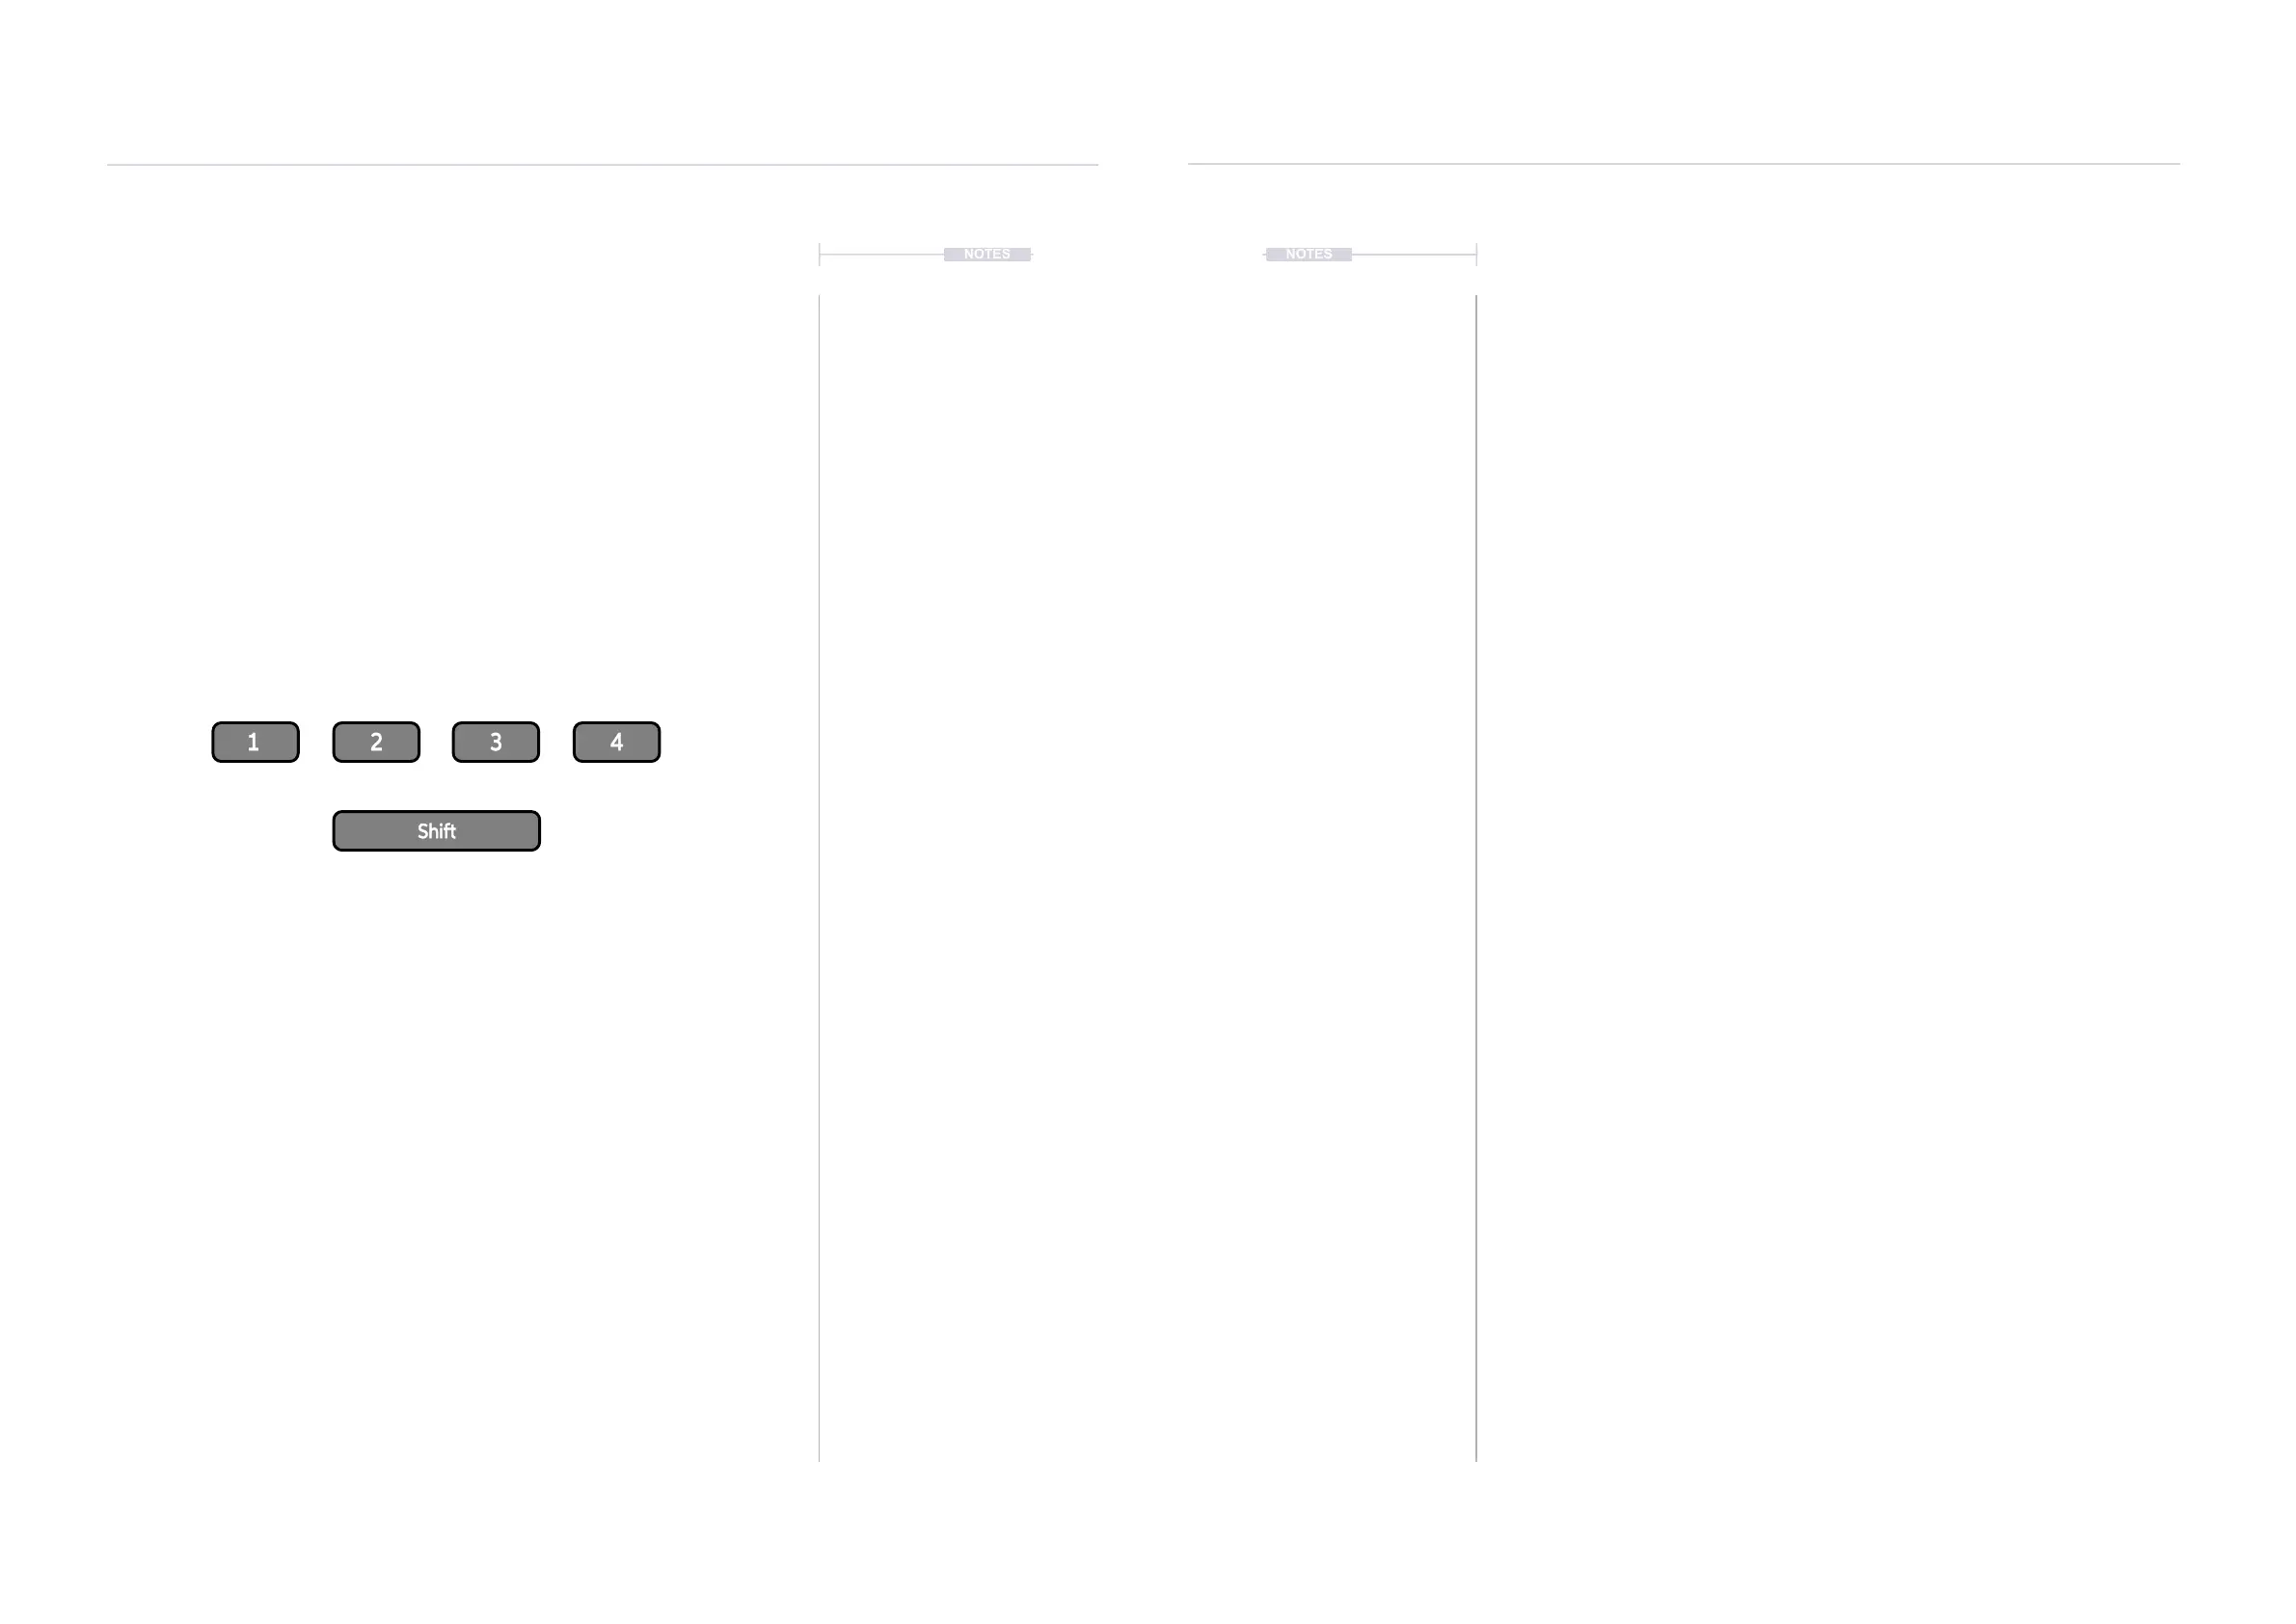
1.6 Functions Buttons.
There are 4 dedicated function buttons which allow quick access to 8 pre-
dened pages. These are numbered 1 - 4 for the rst 4 functions and also
have an additional set of 4 functions by using [Shift]. These function buttons
are assignable and can be recongured to a range of page options but it is
recommended to start with the defaults in order to build your workow.
Using the assignable Function Buttons
Tap one of the Function buttons or use [Shift] + Tap, to immediately access
the dened page. The default pages that are assigned are illustrated below.
There are 12 available functions which can be assigned to the Function
buttons with up to 8 slots available, 2 for each button. Other than those
assigned by default, the ‘Sample Recorder’, ‘Sample Editor’, ‘Perform’ and
‘Games’ functions can also be assigned in place of the default settings. The
process of binding a page to a button is explained in the conguration
settings section.
The processes described in this manual will assume the default function
button assignments as stated here. The [Menu] options are an alternate
method of selecting a specic function page.
Pattern
Song
Instrument
Parameters
Sample
Loader
Sample
Playback
File
Press [1] - [4] to Select a Dened Function Page
Hold [Shift] + [1] - [4] to Select a Dened Function Page
Master
Cong
The main page is selected when pressing the function buttons. If multiple pages exist,
continue to tap the respective function button to cycle through the available pages.
NOTES
Overview
1
Overview
1
NOTES
1.7 First Steps with Factory Projects.
At rst glance, operation of Tracker Mini appears unusual. However the
workow is quite simple once a few fundamentals are clearly understood.
The quick start button commands shown here can be applied with the
factory projects to get familiar with the essential processes to help speed
up the learning curve. Ensure the SD Card is installed.
▌ OPENING A PROJECT
1. When powering on, the previous project will be restored. Projects can
be changed or new ones created. Tracker Mini will only be able to view
up to 100 Projects per folder although user folders can be created.
2. Hold [Shift] + Function [3] to perform a quick selection of the ‘le’
function page. This assumes the default ‘File’ assignment for button 3.
3. Alternatively use the menu navigation to access the le menu.
• Hold [Menu] + Press (Up), (Down), (Left) or (Right) to scroll to
highlight the ‘File’ option. The red bounding box will indicate the
highlighted item.
• Release the [Menu] button. Releasing the button will select and
open the highlighted ‘File’ option.
4. Press [Open] - 2
nd
screen button from the left. The list of available
projects will be displayed on the screen.
5. Press (Up) or (Down) to navigate the list of project options. Alternatively
press 1
st
screen button for [Up] or 2
nd
screen button for [Down] to scroll
the list selection. The highlighted option will show with a bounding box.
6. With the desired project highlighted, Press [Open] - 8
th
/ last screen
button to open the project.
7. If the currently active project has been edited a prompt, ‘Do you want to
save the changes to xxxx’ will be presented. Press [Save] - 8
th
/ last
screen button to save or [Don’t Save] - 7
th
screen button to proceed
without saving. The option to cancel is also presented.
8. Although not essential, it is usually good practice to select and display
the pattern page at this stage. If required, Function key [1] is assigned
by default to display the pattern page or navigate within the [Menu].