79
Polyend Tracker Mini Manual
78
Polyend Tracker Mini Manual
NOTESNOTES
Sequencing Steps
5
Sequencing Steps
5
5.6 Fill Recording Multiple Steps
The ‘Fill’ function allows a more elaborate and detailed population of step
ranges. This speeds up workow by helping to create batches of steps with
dened criteria automatically applied. Also Fill is a very creative tool for
generating melodies and beats and experimenting with patterns.
▌ ACCESSING THE FILL UTILITY
1. Press [1] to select the Pattern Mode page.
2. Press [Rec] to switch to recording mode. The step bounding box will
turn red and allow editing of steps.
3. Select a range of steps: Hold [Shift] + (Up), (Down), (Left) or (Right)
4. Ensure the step parameter to populate is selected: Press [Note],
[Instrument], [FX1] or [FX2]. The parameter will be highlighted solid red.
5. Press [Fill], 4
th
Screen button. This will open the Fill utility pop-up
window and be ready to select the criteria to apply to the selected step
range and its selected parameter.
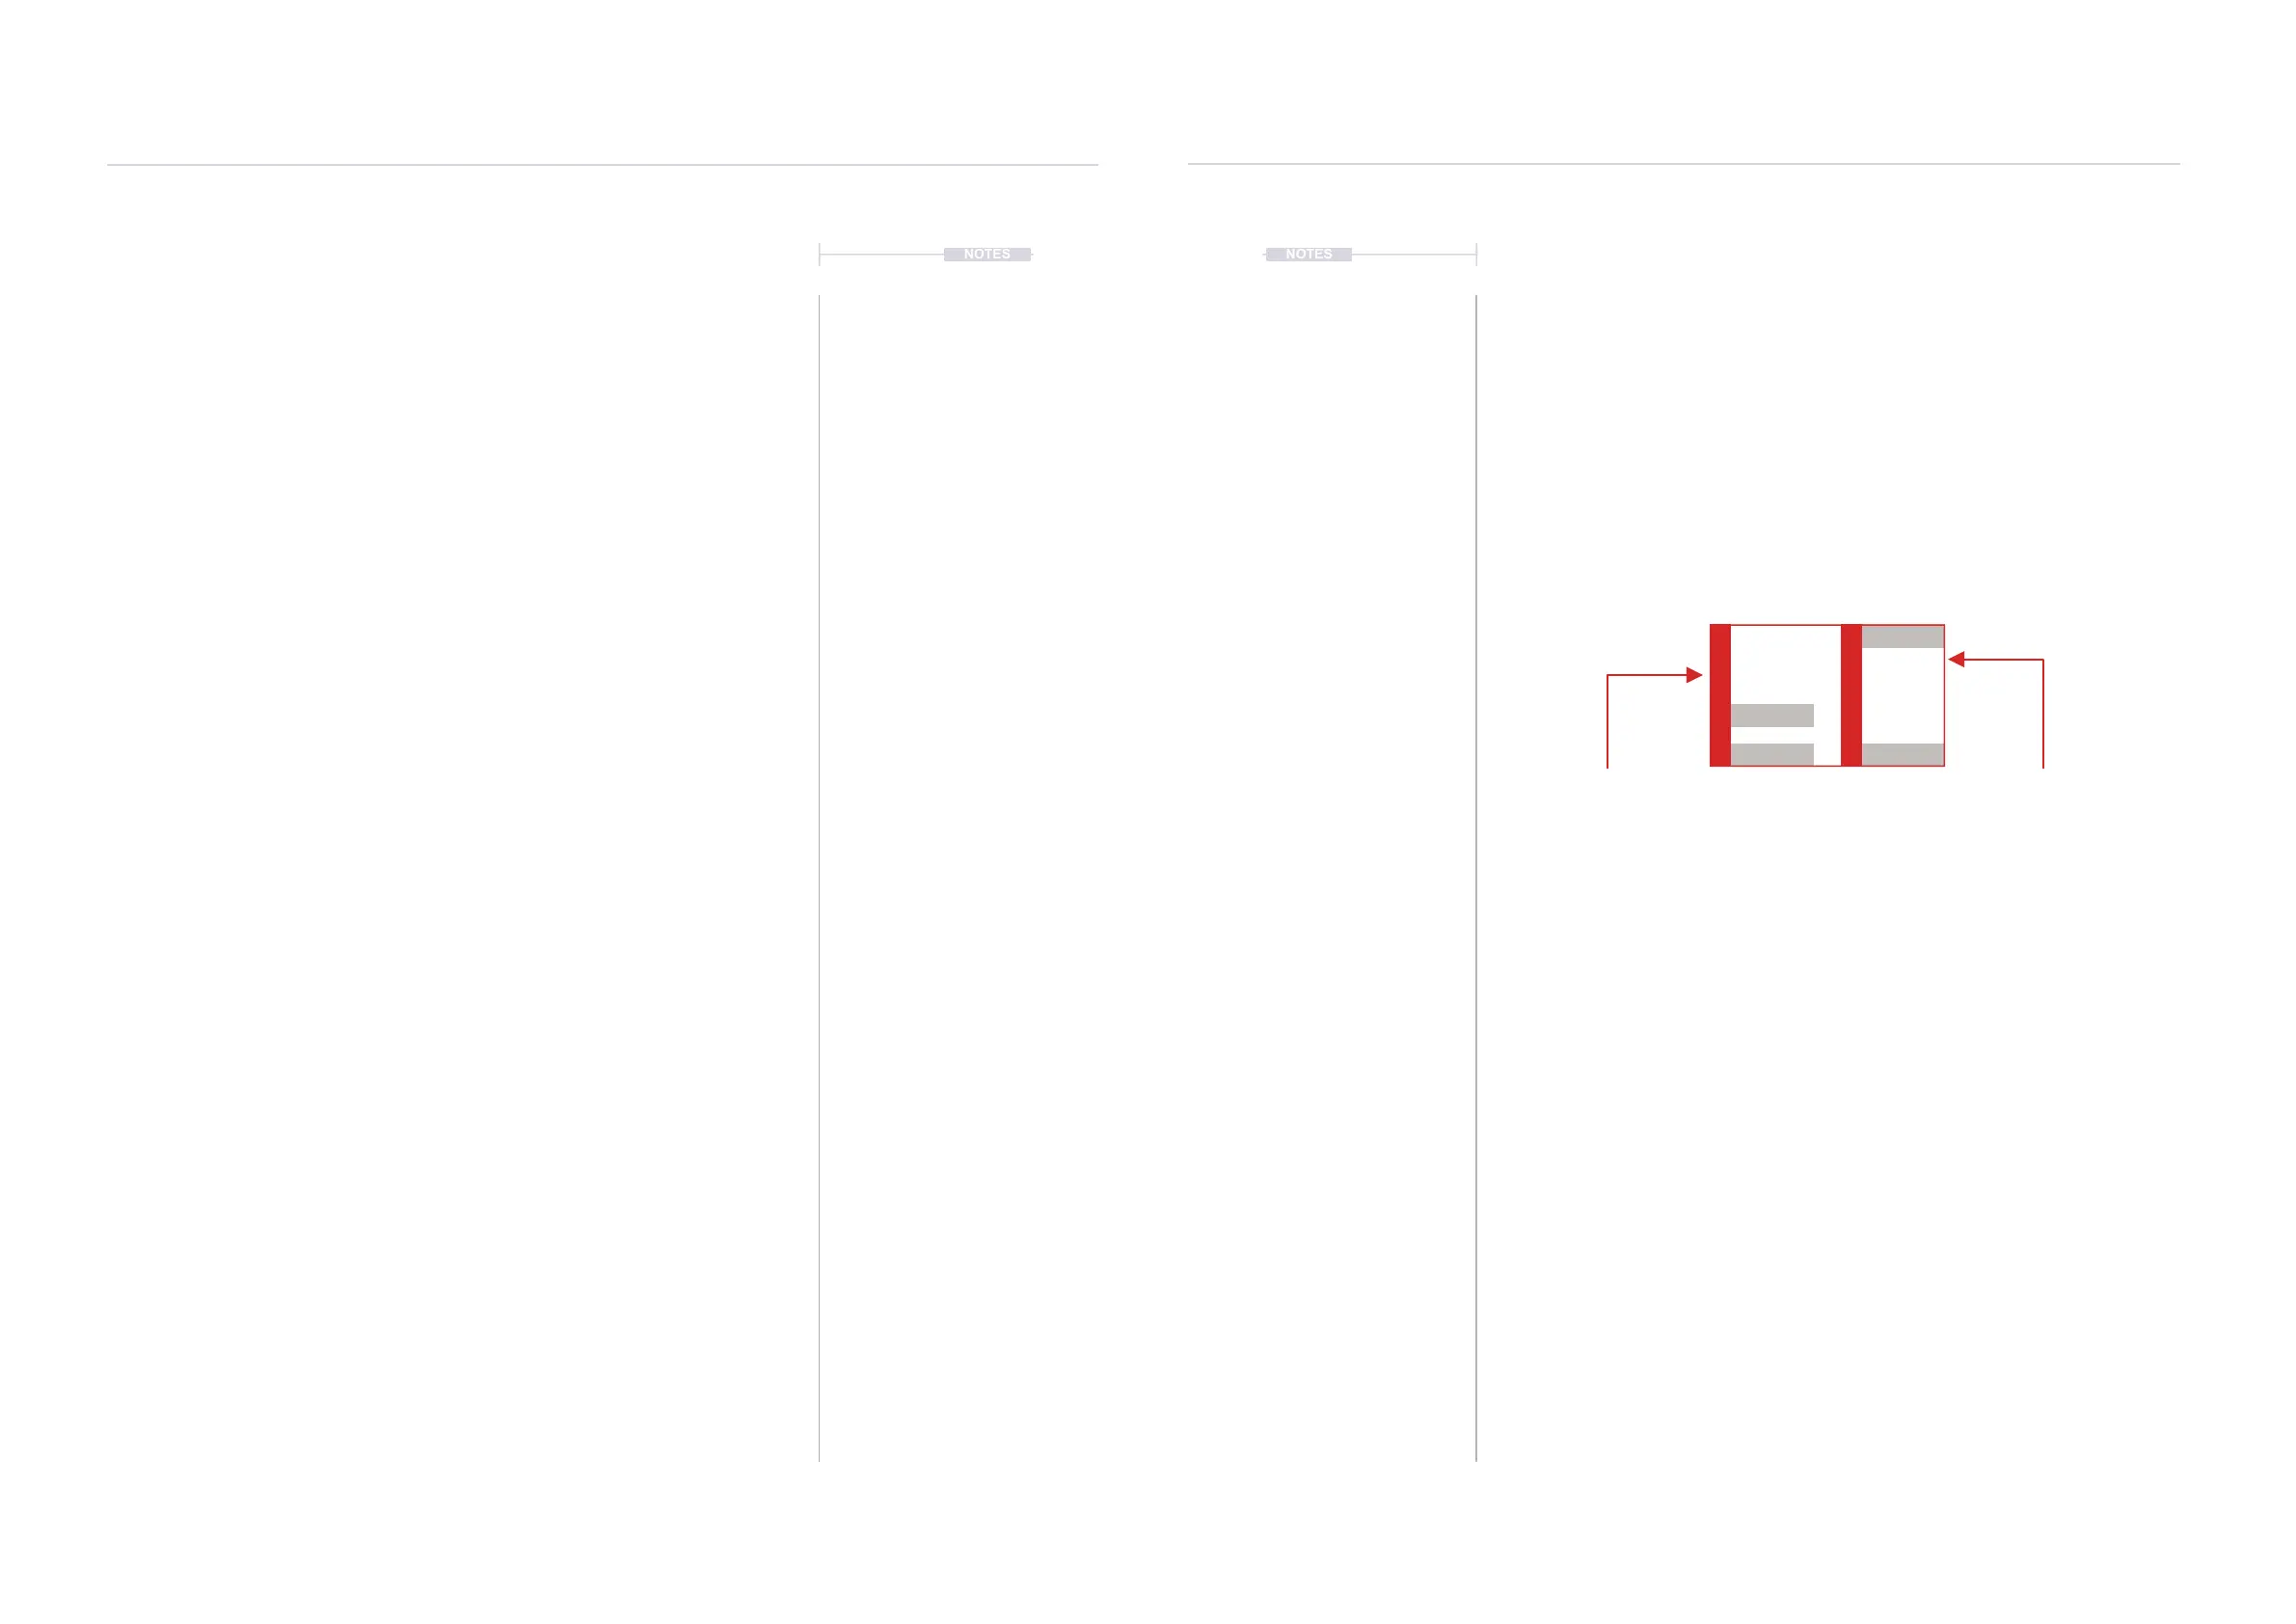
Range To Fill
Fill will populate a selected range of steps
based on the ll criteria applied.
Example: Illustration shows 2 Tracks, 4 rows.
Fill Parameter
The selected parameter will be the
element to be lled.
Example: Illustration shows Note selected
It is possible to ll ranges that are already containing steps, contain empty steps or mix of both. The ll
operates in the range and ignores the Step Jump parameter.
Track 4Track 3
D6 03
----
V 10 D6 01
----
V 20
E6 03
----
D5 03
----
D6 01
----
V 10
C6 01
----
V 20
----
----
----
----
----
----
----
----
--- ---
--- ---
--- ---
--- ---
V 50
V 30
▌ ENTERING STEPS WITH STEP JUMP
1. Press [1] to select the Pattern Mode page.
2. Navigate to select a Step.
3. Press [Rec] to switch to recording mode. The step bounding box will
turn red and allow steps to be added.
4. Hold [Step Jump], 3
rd
Screen button + Press [+] / [-]. Set the value to the
step jump interval required. The Inner [+] / [-] buttons change in
increments of 1 and the outer buttons in increments of 10.
5. Pressing the (Enter) D-Pad button will enter a step and advance the
active step by the value set in the ‘Step Jump’ setting.
6. Continue to press (Enter) to add more steps and advance by the set
interval or edit the current step manually.