285
Polyend Tracker Mini Manual
284
Polyend Tracker Mini Manual
System
13
System
13
NOTESNOTES
13.5 User Interface Style.
The ability to change the display and pad style is available in the
conguration setting. This may be useful when working in different
environments and essentially is based on personal taste.
▌ CHANGING USER INTERFACE STYLE
1. Hold [Shift] + [4] or use [Menu] to select the ‘Cong’ Menu.
2. Navigate using the screen buttons to the ‘General’ menu option.
3. In the central sub menu, three user interface elements exist:-
• Display Brightness. Options are High (default), Medium and Low.
• Display Theme. Options are Original (default) or Monochrome.
• Display Font. Font for text. Options are original (default) or new.
4. To change the setting highlight the desired sub menu option using the
screen buttons or arrow keys.
5. Press [Change], 6
th
Screen button option. The available options as
listed above are presented. Use the screen navigation or arrows to
select the desired option.
6. Press [Apply], 6
th
Screen button option to conrm the selection.
7. The desired setting will be visible on the screen.
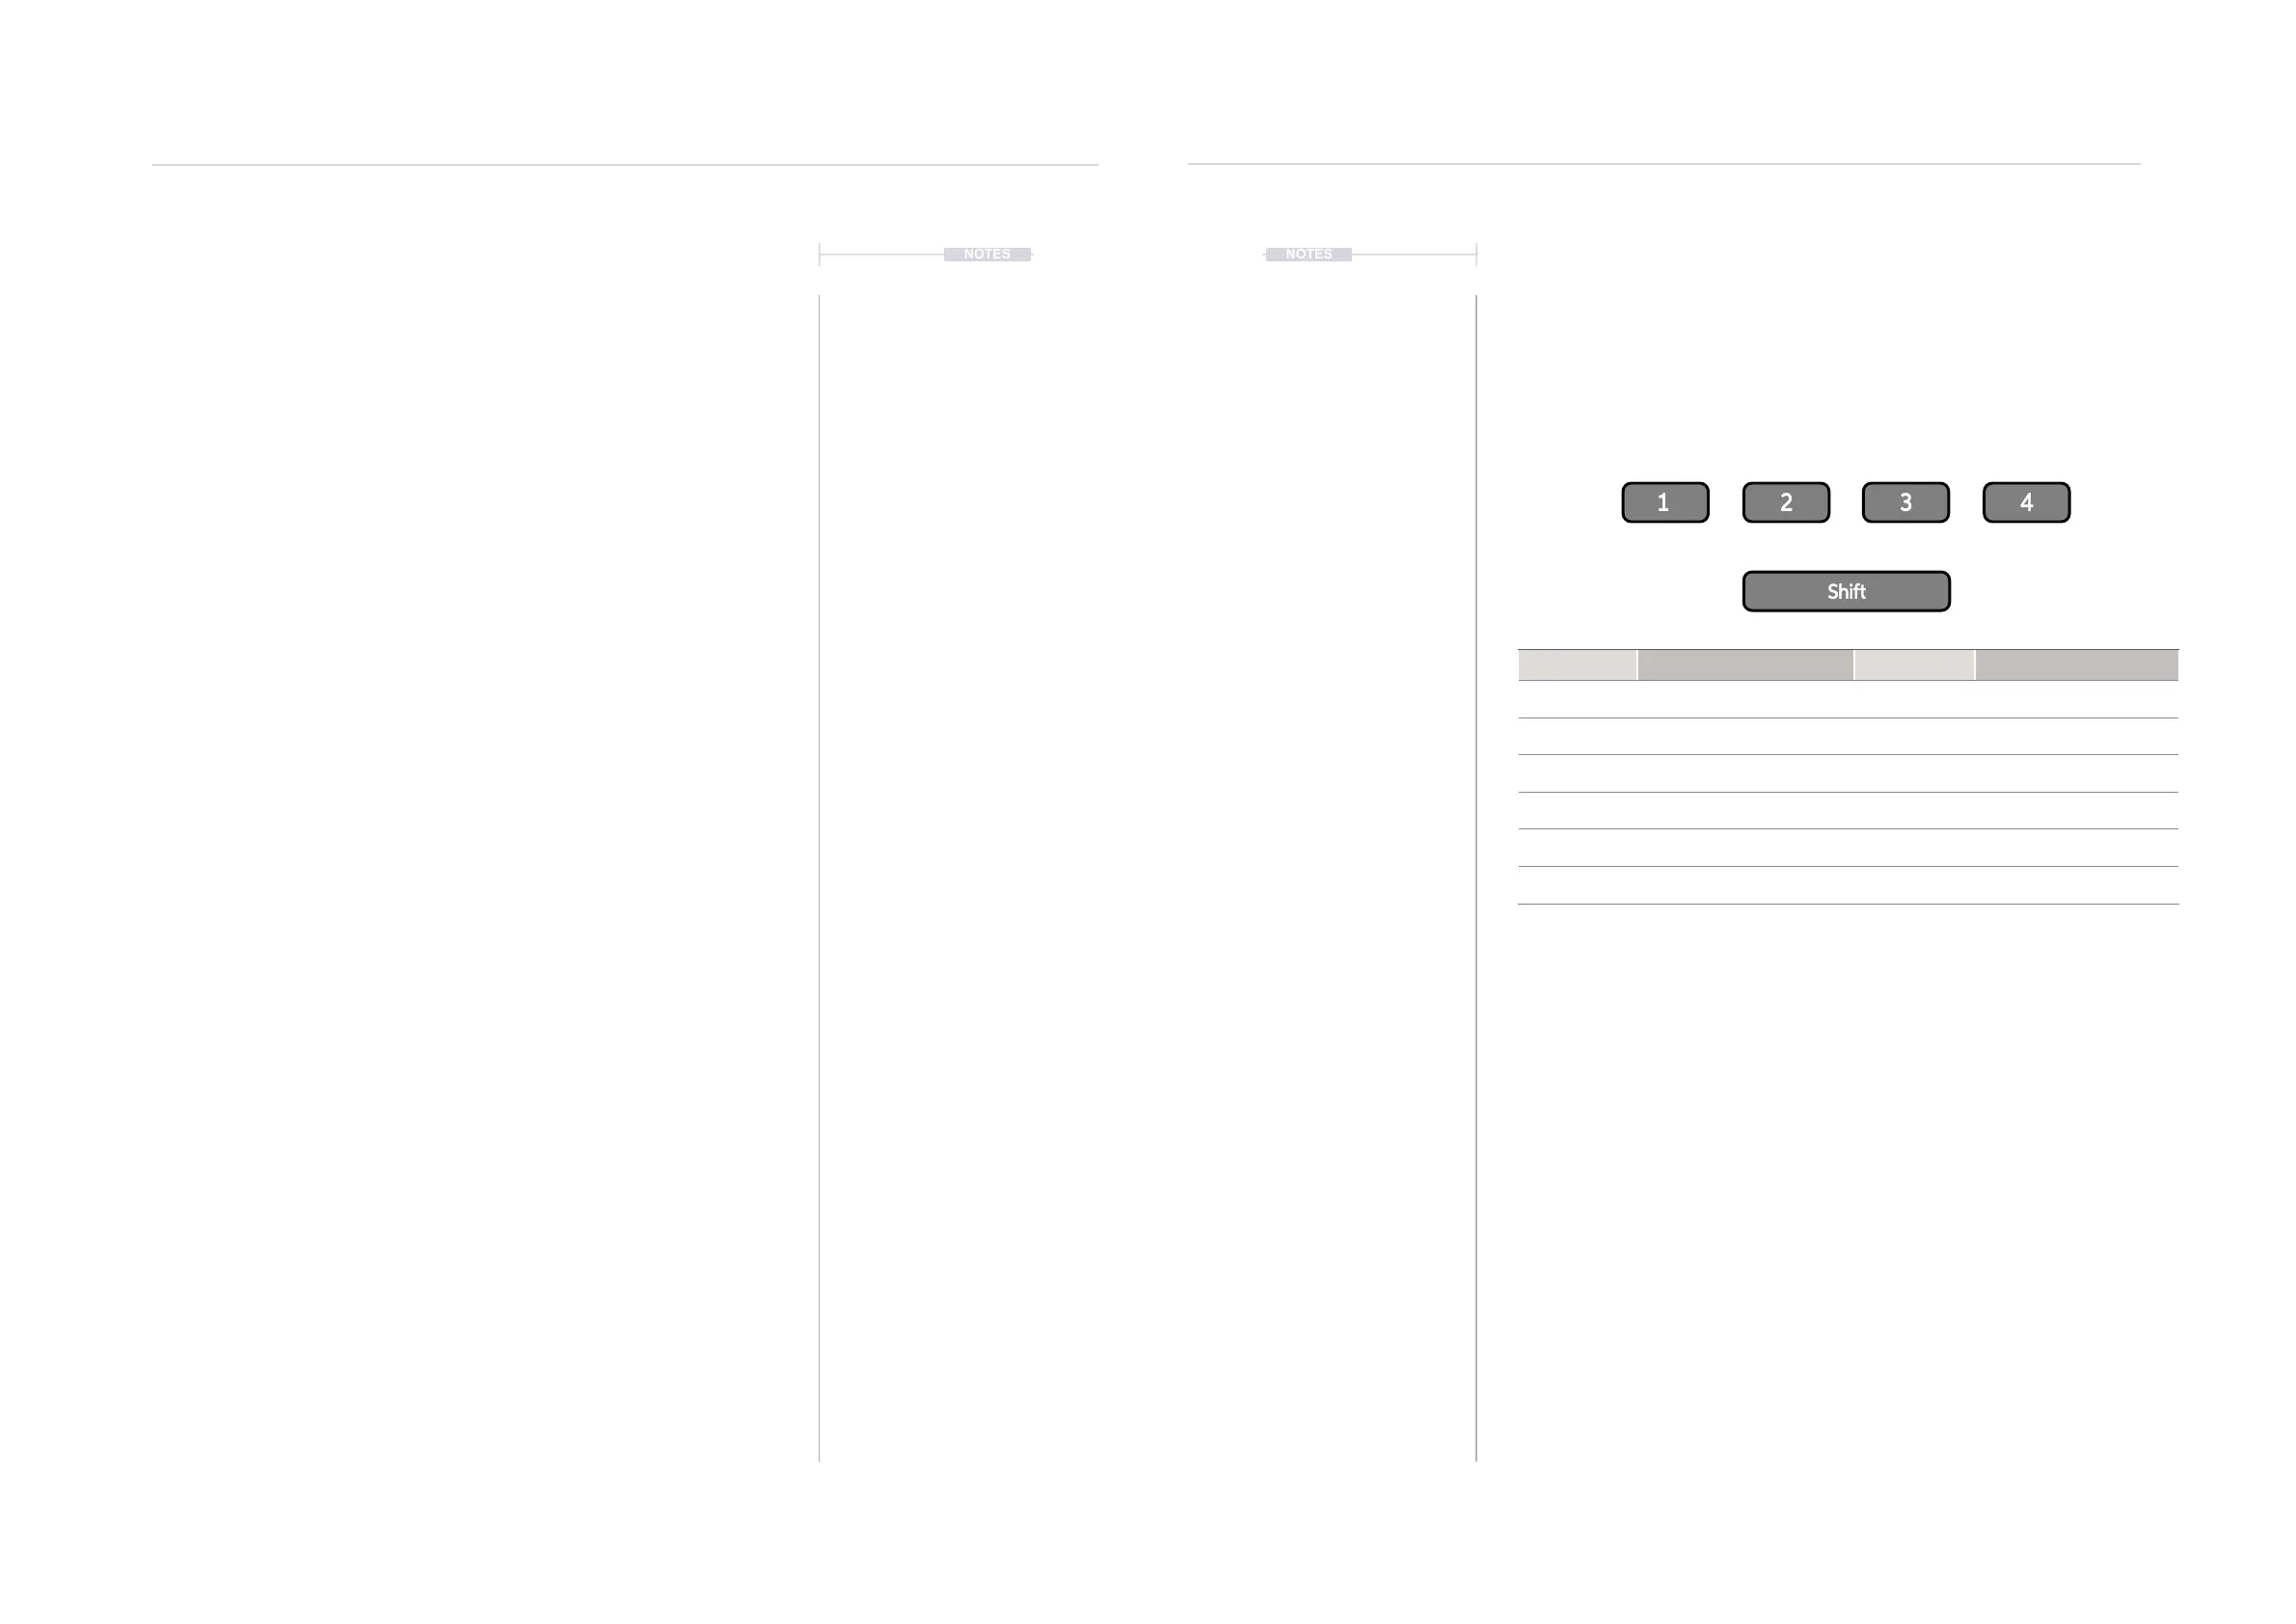
13.6 Assignable Function Buttons
Tracker Mini has 4 assignable buttons that are used to quickly access
operating modes and their pages. Each of physical buttons can have two
pages assigned, accessed directly and also using shift. The assignments
are found in the ‘Cong’ menu options under ‘Fn buttons binding’
Default Button Assignments
▌ EDITING THE FUNCTION KEY ASSIGNMENTS
1. Hold [Shift] + [4] or use [Menu] to select the ‘Cong’ Menu.
2. Navigate using the screen buttons to the ‘Fn buttons binding’ option.
3. In the central sub menu, the 8 assignments are displayed. To change
the highlighted option within the desired sub menu press the (Up) and
(Down) screen buttons or D-Pad Navigation buttons.
4. Press [Change], 6
th
Screen button option. The available page options
are presented. Use the screen navigation or D-Pad Navigation buttons
to select the desired option.
5. Press [Apply], 6
th
Screen button option to conrm the selection.
Optionally the [Cancel] option can be used if required.
6. The desired selection will be assigned to the function button selected.
This will be available when using the 4 physical buttons directly or with
the [Shift] button.
Button Combo Function Button Combo Function
Fn 1 Pattern Shift + Fn 1 Song
Fn 2 Instrument Parameters Shift + Fn 2 Sample Loader
Fn 3 Sample Playback Shift + Fn 3 File
Fn 4 Master Shift + Fn 4 Cong
Unassigned Perform Unassigned Sample Editor
Unassigned Games Unassigned Sample Recorder
Fn 1 Fn 3Fn 2 Fn 4