95
Polyend Tracker Mini Manual
94
Polyend Tracker Mini Manual
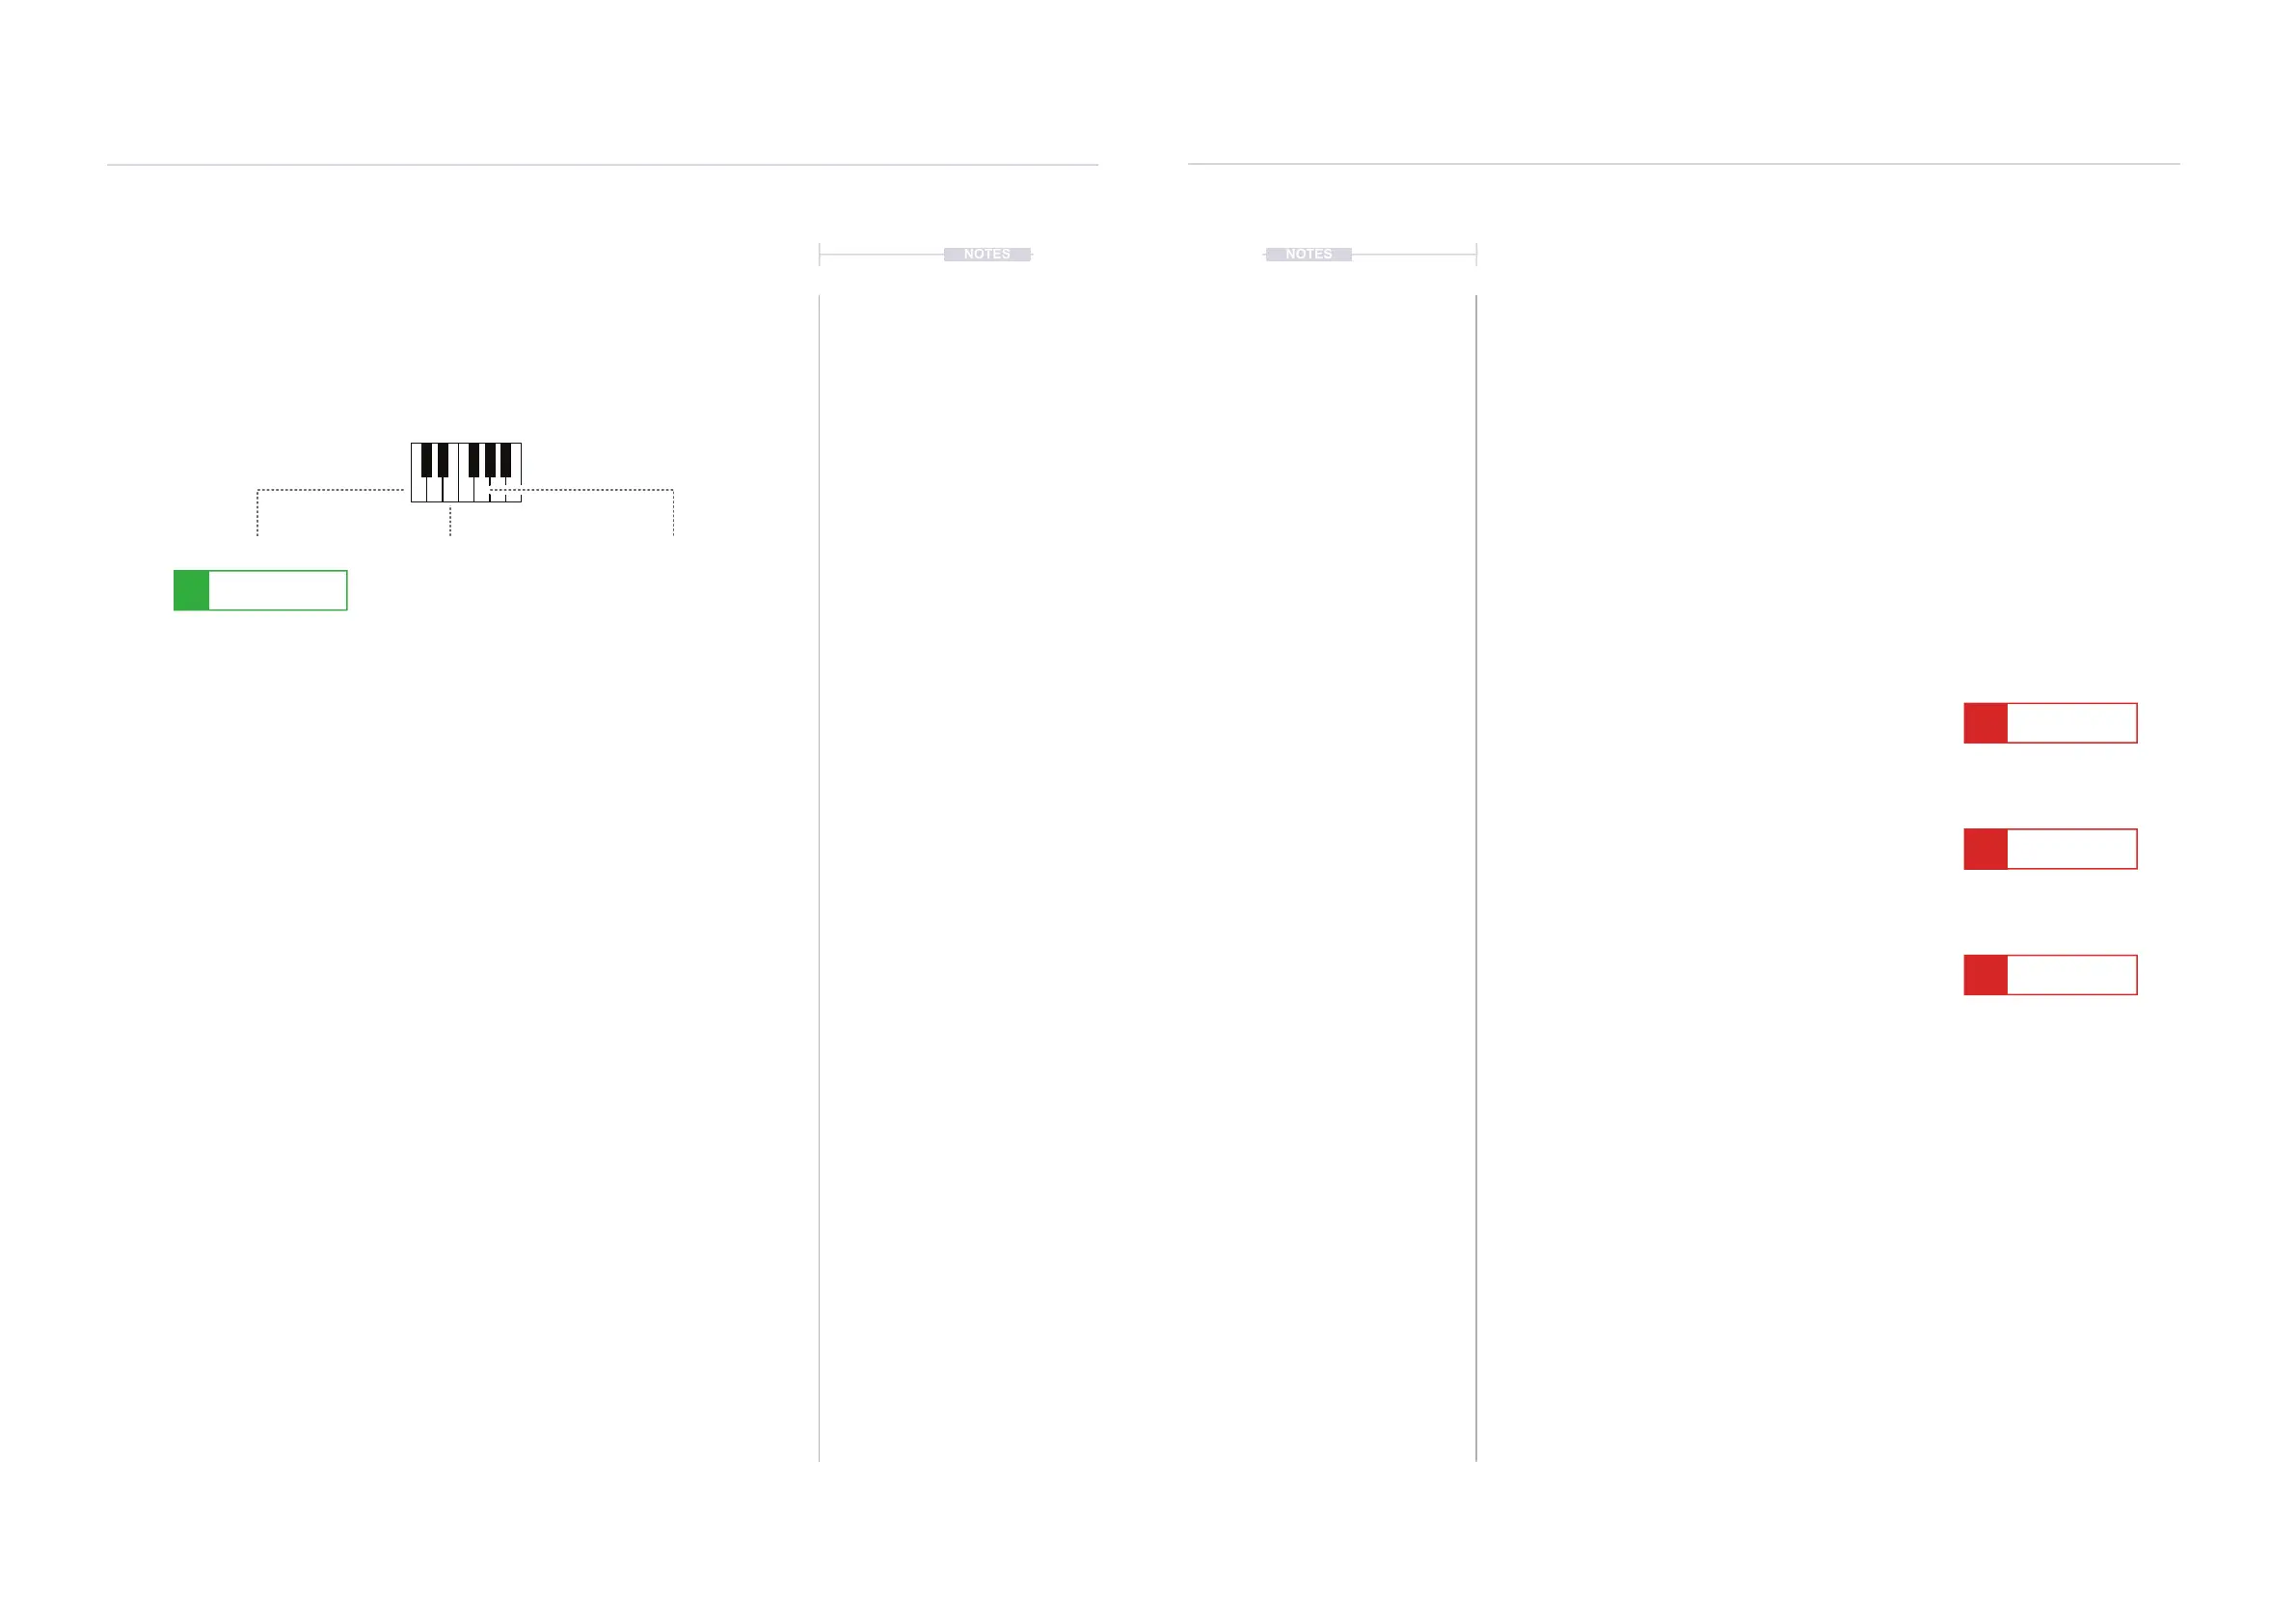
Polyphony & Chords
Each track in Tracker Mini can handle one voice which can play multiple
notes, but not simultaneously. To create chords, multiple tracks would be
used when each track represents a note. A triad would therefore need 3
tracks to play the chord.
Tracks can be rendered to a new audio sample and reduce the tracks used.
This re-sampling method can also be used to render into an audio le when
FX slots are full.
▌ RENDERING TRACKS TO AUDIO CHORDS
1. Press [1] to select the pattern mode page and Press [Rec] to select
record edit mode.
2. Hold [Shift] + (Up), (Down), (Left), (Right) to select the range to render.
For example, select across all the tracks making up the chord and
optionally select the pattern duration of 16 steps
3. Press [More]. The 8
th
Screen Button to select more pattern options.
4. Press [Render Selection], the 1
st
Screen Button.
5. The naming page appears. A name can be edited i.e. name of chord or
press [Auto Name], 5
th
Screen Button to automatically apply a name.
6. When the name is entered, Press [Render & Load], 7
th
Screen Button.
This option will not only render the audio but also automatically load the
sample into the instrument list. The pattern will halt playback if playing.
7. When the le has been ‘exported’, the instrument list will open ready to
preview or select the sample exported.
8. Press [1], to return to the pattern page. Now replace the instrument on a
track with the rendered chord sample. Ensure the note is set to the
same default for the sample playback, example C5.
9. Remove the other track samples to free them up.
NOTESNOTES
Sequencing Steps
5
Sequencing Steps
5
Track 1
1
…
Track 2 Track 3
C
E
G
C5 02
- -- -
P 25 E5 02
- -- -
P 25 G5 02
- -- -
P 25
Special Note Commands
Three special note commands can be applied instead of the actual note
value. These are not used for applying a note sound, but are used for
controlling how a note ends. These include CUT - Immediately silences the
audio, FAD - Fades out audio gradually and OFF - Triggers Note Off for the
envelope and starts the release phase.
To access these options, on an empty step, use the Inner and Outer [-]. The
Inner [-] will place a ‘FAD’ message and additional presses of [-] will then
change to ‘CUT’ and ‘OFF’. The Outer [-] will place an ‘OFF’ message. On
an existing step, the note can be edited further if required to create notes or
note messages using [+] / [-].
FAD - Fade.
Will gradually reduce the audio sound and fade it
out. Also will turn MIDI Notes off.
CUT - Cut.
Will immediately stop the audio sound. Also will
turn MIDI Notes off.
OFF - Off.
Will act as ‘Note-Off’ and trigger the release phase
of the envelope to reduce the sound.
FAD 02
- -- -
v 45
CUT 02
- -- -
v 45
OFF 02
- -- -
v 45