How to Set the Automatic Date Advance Time
To set the Auto Date Advance Time:
1. Log in as the Supervisor (see How to Log in as the Supervisor on page 114 ), then :
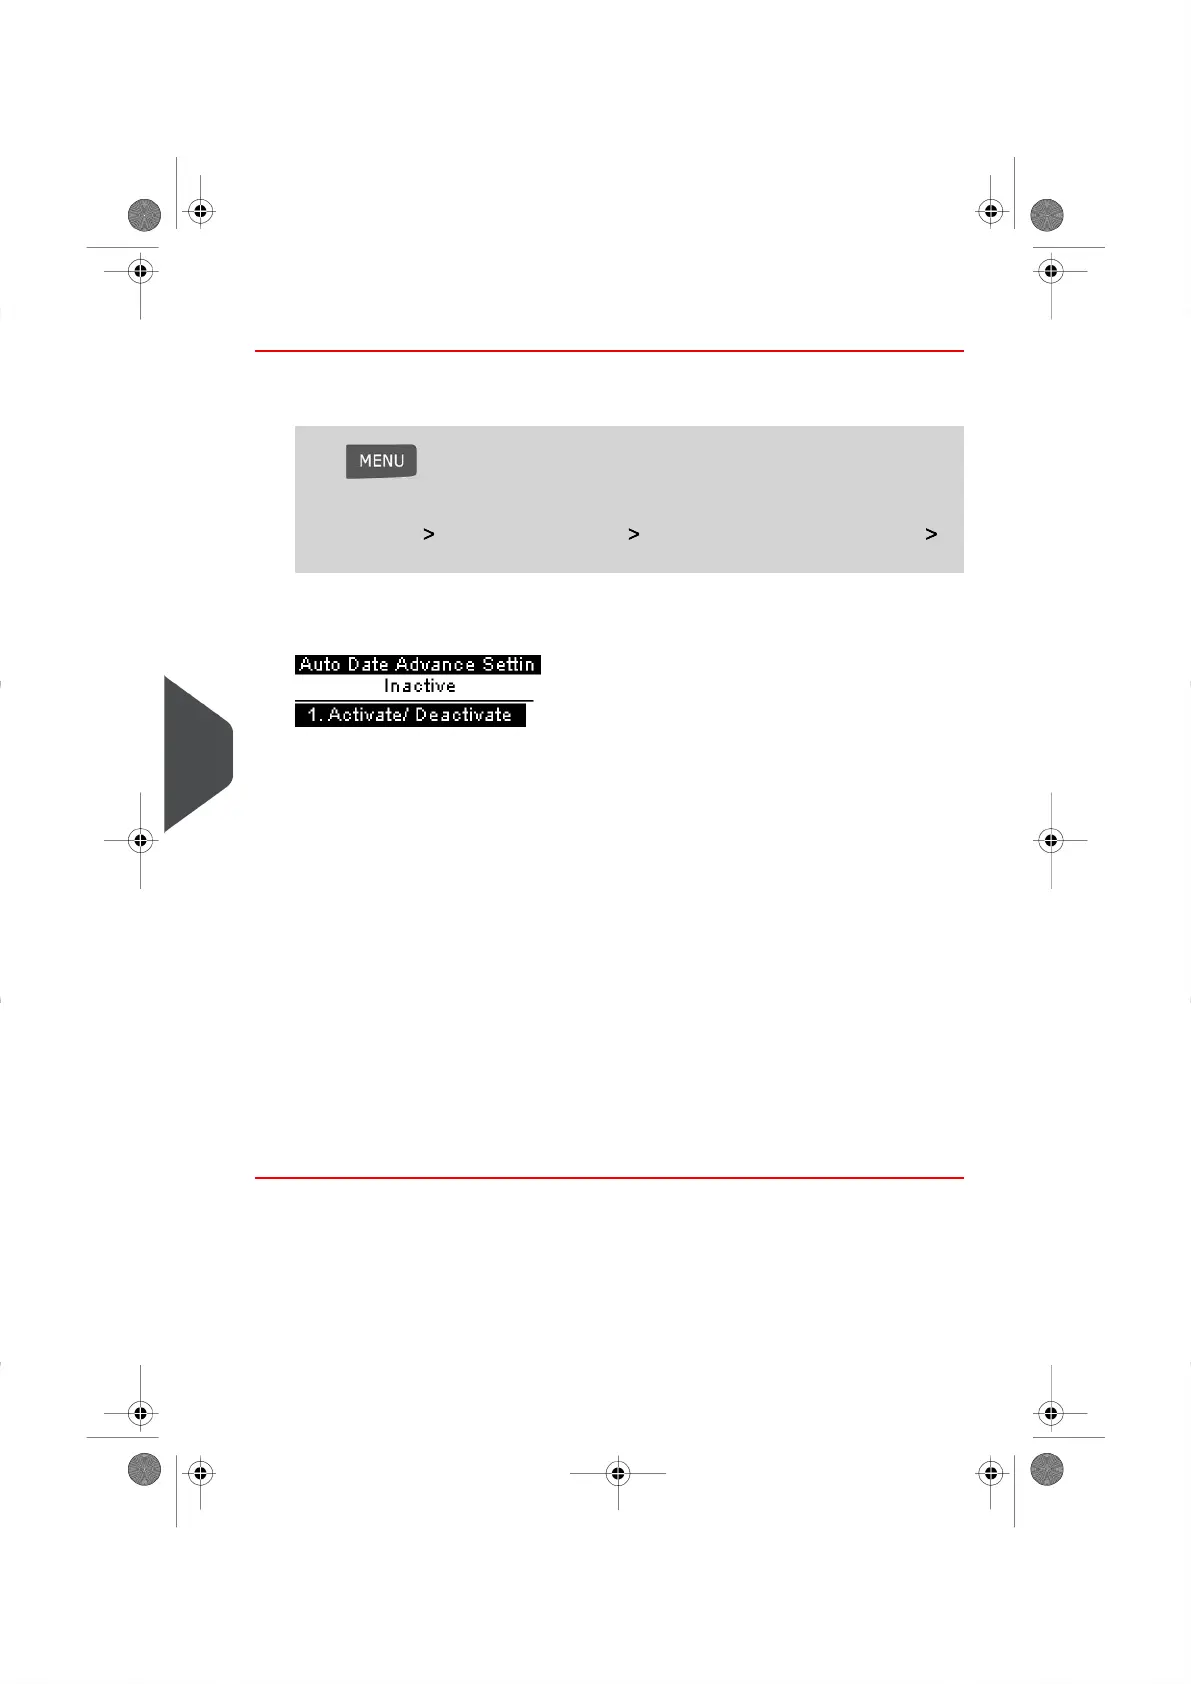
Press and type 3.3.4
Or
Select the path: Default User Settings Default Impression Preferences
Automatic Date Advance
The Automatic Date Advance Screen appears.
The second line of the screen indicates whether the function is active or not.
2. Press the Auto Date Advance key on your screen to Enabled status.
Select ON and press [OK] to enable the Auto Date-Advance function.
3. Enter the Automatic Date Advance Time (Time cannot be set to 00:00 hours).
On the first screen, type 2 then enter the Automatic Date Advance Time (Time cannot
be set to 00:00 hours) and press [OK.]
4. Select Working Day to gain access to Working Days Selection Screen.
On the next screen type 3, then enter the day by using the keypad to select/deselect
each day. Press [OK].
5. Tap the Day on your Screen and press Select/Deselect to select or deselect each
day.
6. Select the day and press Select/Deselect to select or deselect each day.
7. Press [OK] to validate your selection.
134
| Page 134 | | |
9
Configuring your Mailing System
 Loading...