5. Press the [User Tools] key to return to the initial screen.
• You can press the [Back] key to exit to the previous level of the menu tree.
Specifying a Custom Paper Size
This section describes how to specify a custom paper size.
• Custom size paper cannot be loaded in tray 2.
• When you perform printing, make sure that the paper size specified with the printer driver matches
the paper size specified with the control panel. If a paper size mismatch occurs, a message
appears on the display. To ignore the error and print using mismatched paper, see page 99 "If a
Paper Mismatch Occurs".
When Using the Touch Panel Model
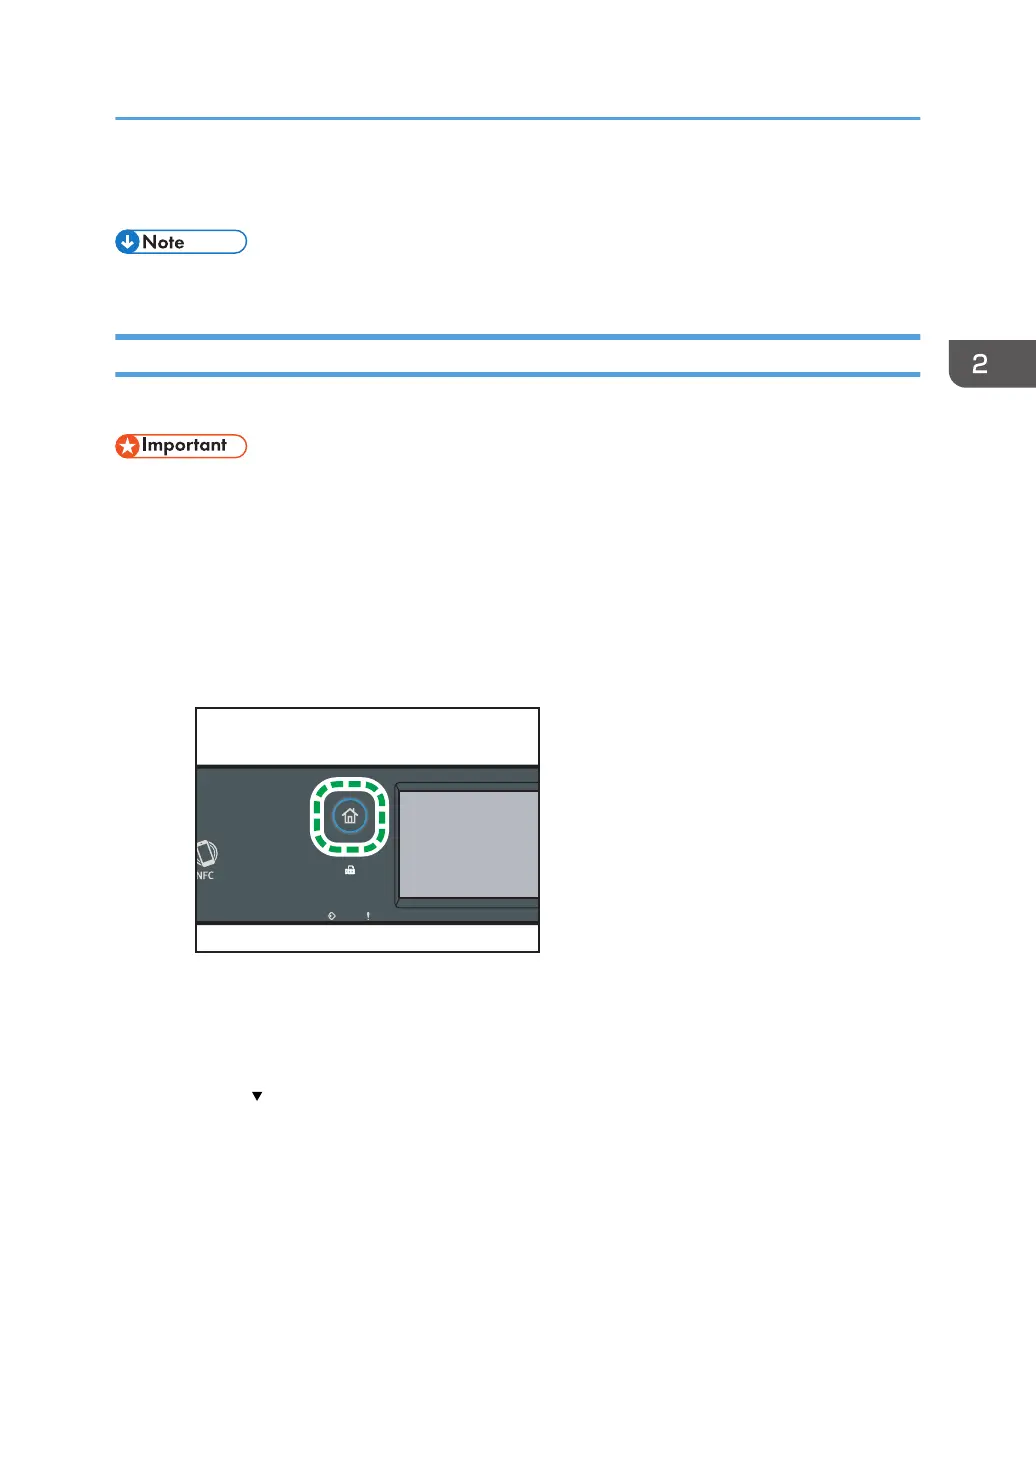
1. Press the [Home] key.
2. Press the [Setting] icon on the [Home] screen.
3. Press [Paper Settings].
4. Select the tray for which you want to specify the paper size.
5. Press [ ].
6. Press [Custom Size].
7. Select [mm] or [inch].
8. Press the box next to [Horiz:] twice.
9. Enter the horizontal size, and then press [OK].
10. Press the box next to [Vert:] twice.
11. Enter the vertical size, and then press [OK].
Specifying Paper Type and Paper Size Using the Control Panel
67
 Loading...