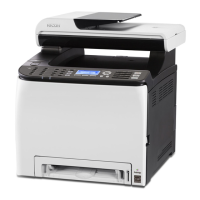
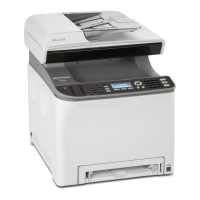
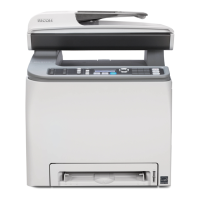
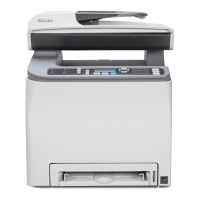
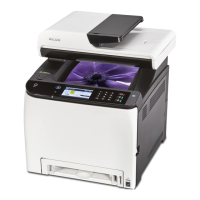
No. Name Description
1 Input Tray for the ADF (Auto
document feeder)
Place stacks of originals here. They will feed in
automatically.
This tray can hold up to 35 sheets of plain paper for the
SP C260SFNw and up to 50 sheets of plain paper for
the SP C262SFNw.
2 Auto Document Feeder
(Exposure Glass Cover)
The ADF is integrated with the exposure glass cover.
Open this cover to place originals on the exposure
glass.
3 Exposure Glass Place originals here sheet by sheet.
4 Extender for the ADF Tray Extend these when placing paper longer than A4 in the
input tray for ADF.
5 Standard Tray/Top Cover Printed paper is delivered to this tray. Up to 150 sheets
of plain paper can be stacked here.
Open this to replace the print cartridges.
6 Front Cover Open this cover to replace the waste toner bottle or
remove jammed paper.
7 Front Cover Open Lever To open the front cover, pull this lever on the right side
of the machine.
8 End Fence Adjust this fence to the paper size.
9 Tray 1 This tray can hold up to 250 sheets of plain paper.
10 Bypass Tray Load paper here sheet by sheet.
11 Side Fence Adjust this fence to the paper size.
12 Control Panel Contains a screen and keys for machine control.
13 USB Flash Disk Port Insert a USB flash disk for using the Scan to USB
function or connect a digital camera using a USB cable
for PictBridge printing.
14 Output Tray for the ADF Originals scanned with the ADF are delivered from
here.
15 ADF Cover Open this cover to remove originals jammed in the ADF.
1. Guide to the Machine
18
 Loading...

