14. Press the WPS button on the router (access point) within two minutes.
For details about how to use the WPS button, refer to the manuals for the router (access point).
15. Check the result.
• Connection has succeeded:
Press [OK] to return to the screen displayed in Step 12, and then press the [Home] key to
return to the initial screen.
Configuring the Wi-Fi settings is complete.
• Connection has failed:
Press [OK] to return to the screen displayed in Step 12. Check the configuration for the router
(access point), then try the connection again.
Using a PIN Code
A router (access point) is needed to set up a connection. To establish a connection using the PIN code,
use a computer that is connected to the router (access point).
Before doing the following procedure, install the printer driver according to the procedure on page 398
"Installing the Printer Driver".
Make sure the Ethernet cable is not connected to the machine.
1. Check that the router (access point) is working correctly.
2. Open the PIN code configuration window (web page) for the router (access point) on
your computer.
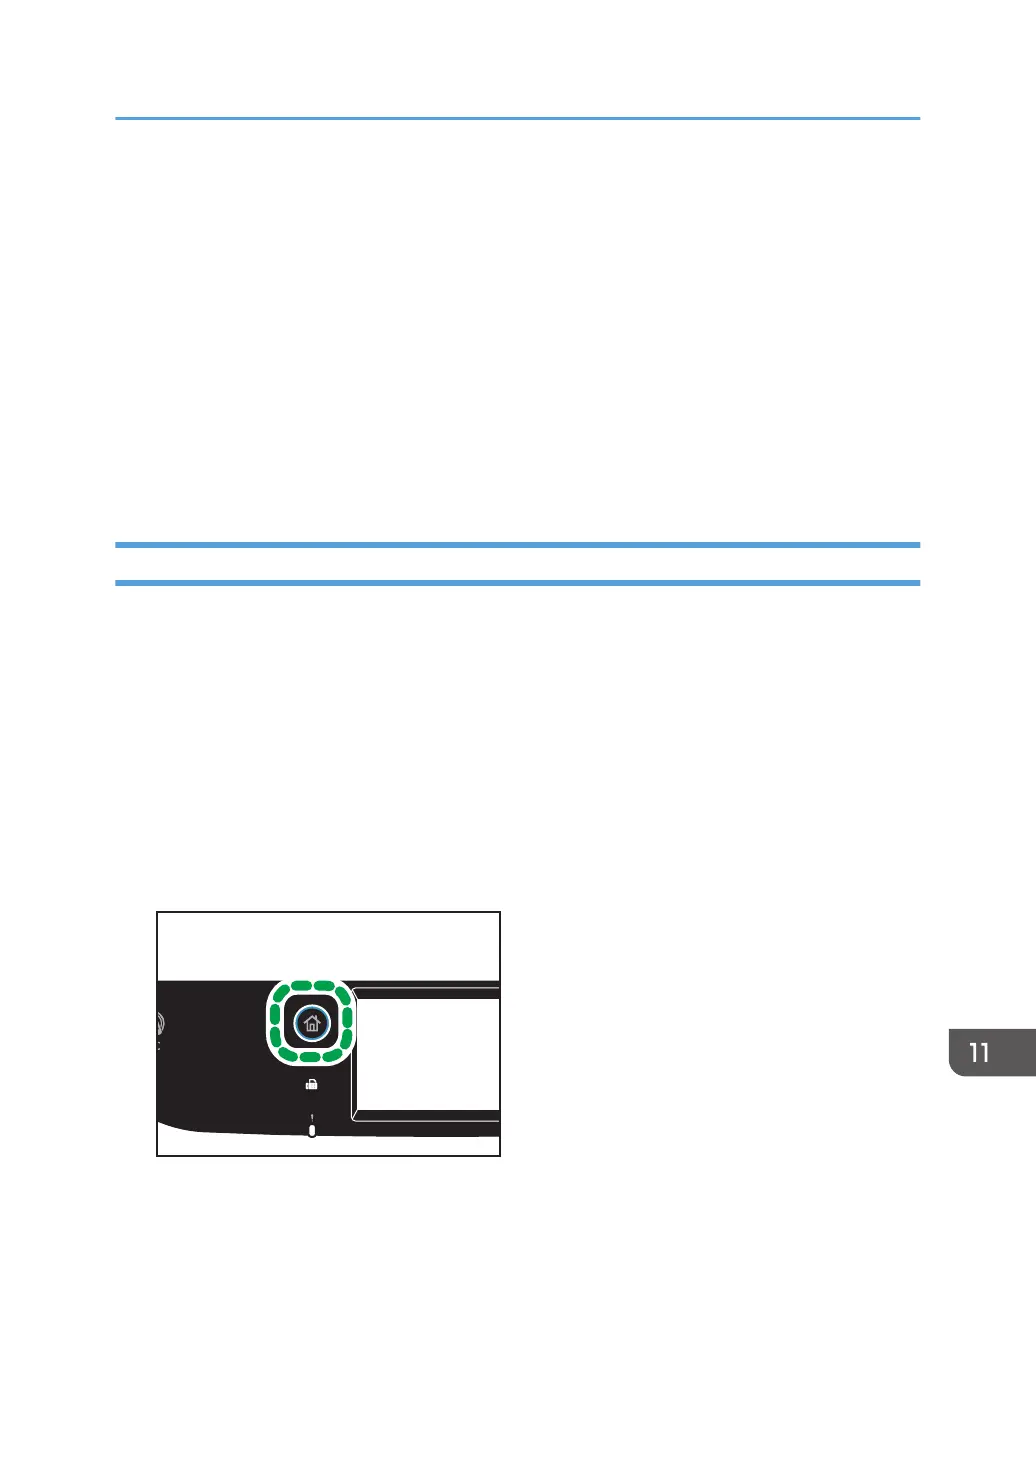
3. Press the [Home] key.
4. Press the [Setting] icon on the [Home] screen.
5. Press [Network Settings].
Connecting the Machine to a Wireless Network
401
 Loading...

