4.7 Power-on Inspection
Press the power key on the front panel to switch on the instrument. During the start-
up process, the instrument performs a series of self-tests. If the instrument passes the
self-test, the welcome interface will be displayed; otherwise, the corresponding self-
test failure information will be displayed.
TIP
If you want to power on the instrument again after powering it off, please make sure that the
time interval between the two power-on operations is greater than 5 s.
4.8 Connecting the Outputs
This series power supply is equipped with front and rear output terminals. This
section describes how to make front and rear connections.
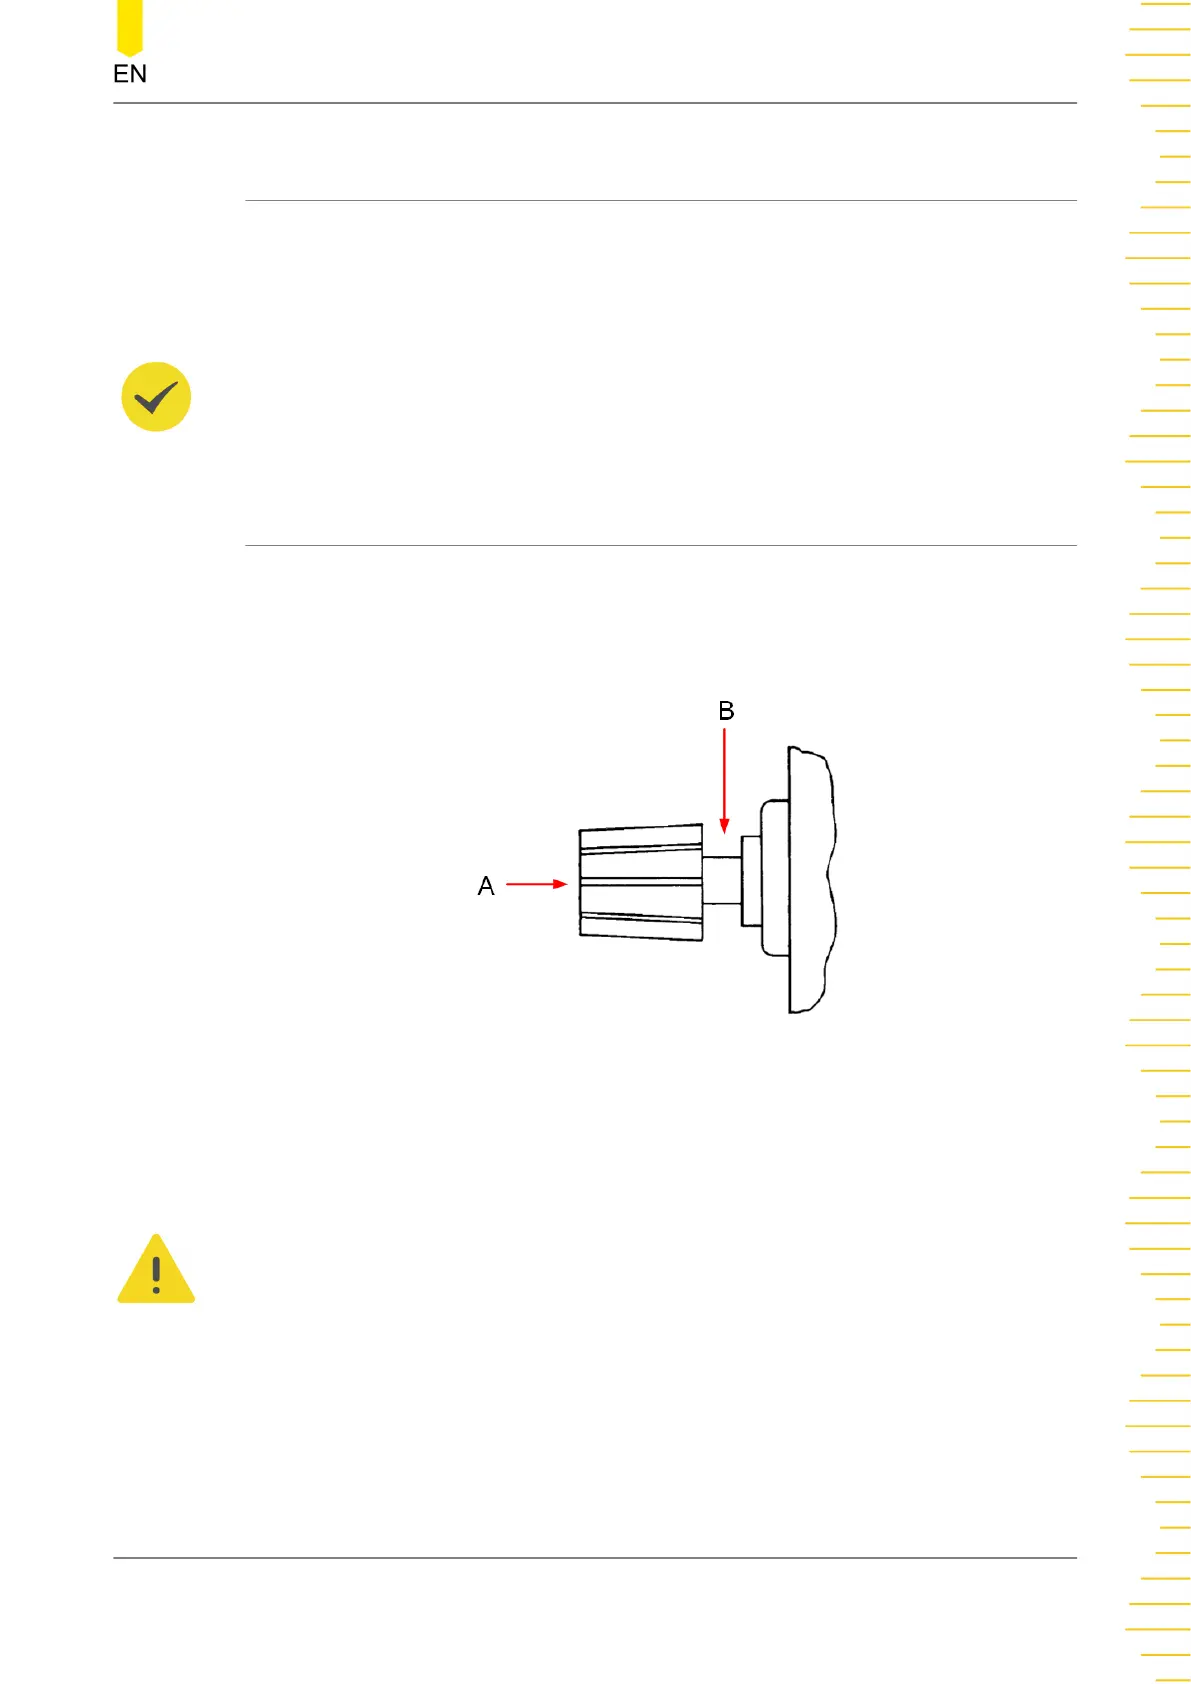
Front Outputs Connections
Method 1: Connect wires to the front of the terminals as shown in (A).
Method 2: Rotate the terminal block screws counter-clockwise and connect wires to
the terminals in location (B). Then rotate the screws clockwise to tighten the wires.
This method can help avoid errors caused by the terminal resistance.
CAUTION
Turn off AC power before making front panel connections. All wires and straps must be
properly connected to prevent currents from damaging the loads.
Rear Outputs Connections
Insert the connector plug into the rear terminal. Secure the connector by tightening
the locking screws.
Quick Start
Copyright ©RIGOL TECHNOLOGIES CO., LTD. All rights reserved.
DP2000 User Guide
21