Wrist Camera Instruction Manual
5.2. Teach Object Wizard
Camera Locate Node
To insert a Camera Locate node in the robot program, from the Universal Robots PolyScope interface:
l Start a new program or open yours, then go to the Program tab.
l Select the Structure tab.
l Go to the URCaps tab and tap Cam Locate to insert the node inside your program.
Teach Object Wizard
Info
Snapshot position must be defined to launch the object teaching wizard. If not, go to section 4.
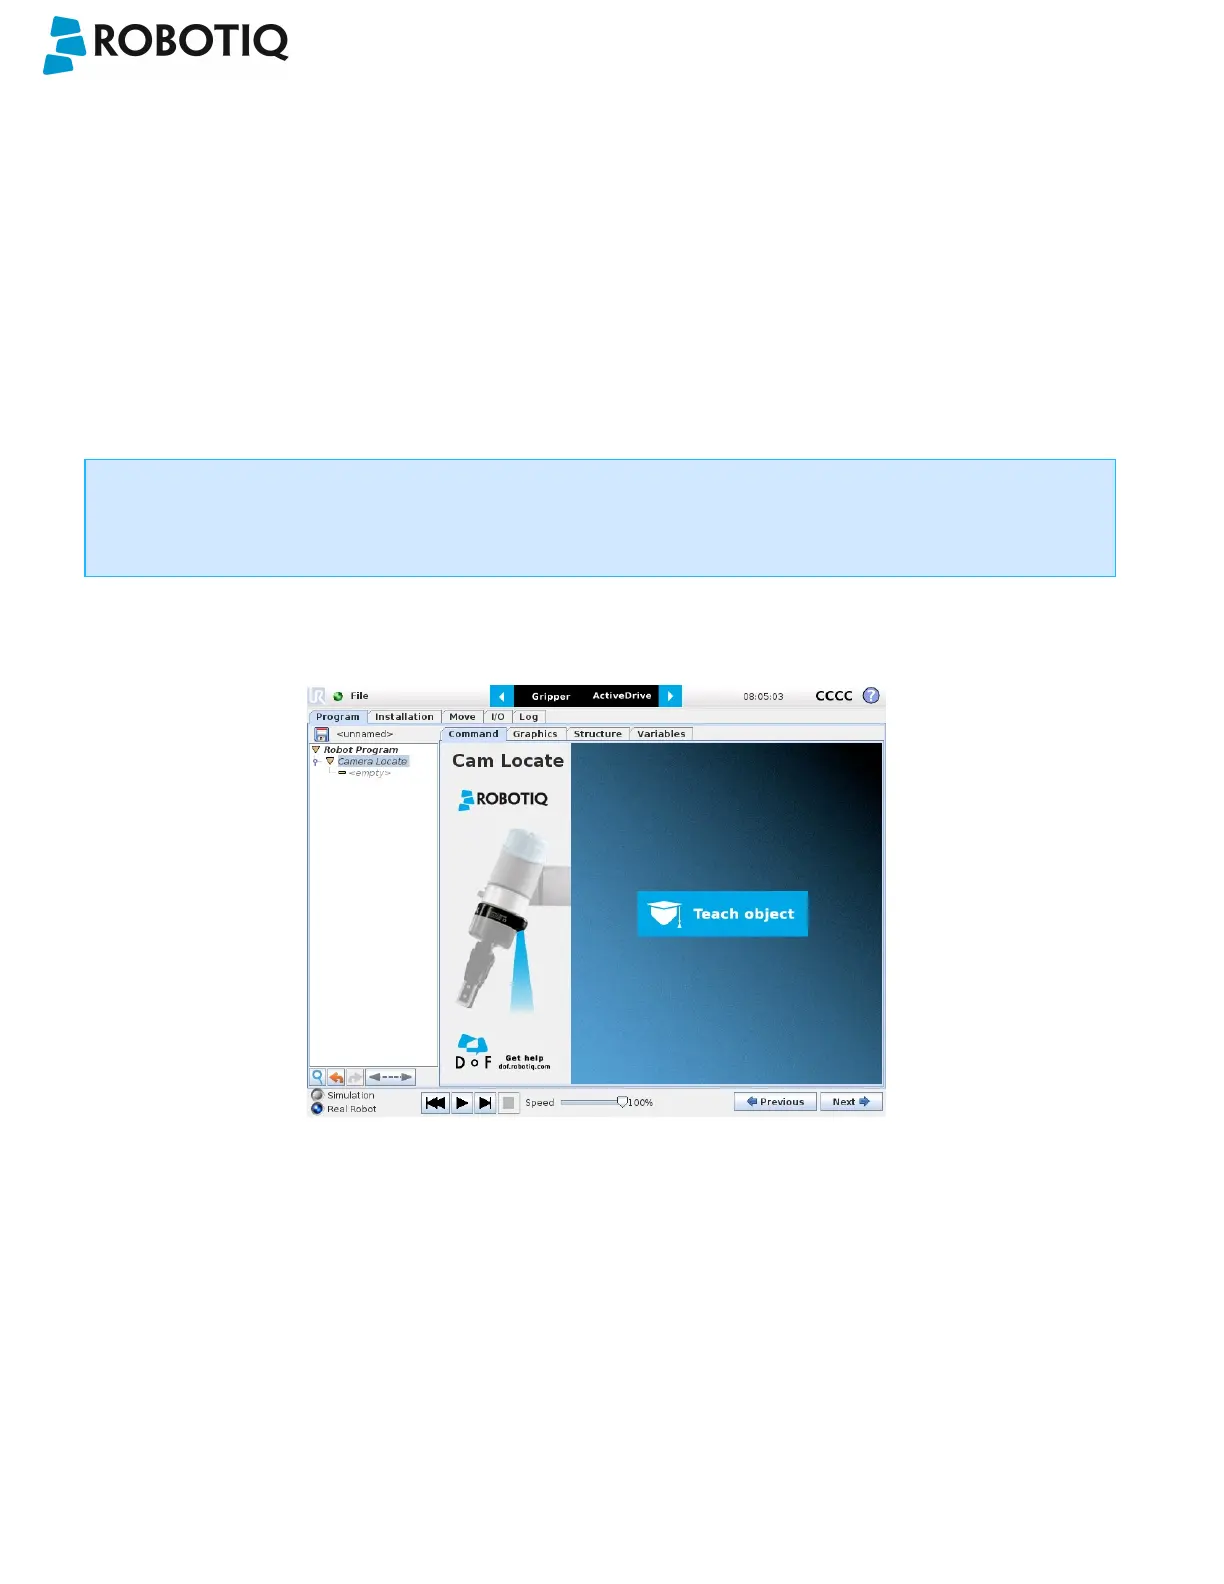
The Teach object wizard will guide you through the process of teaching an object for locating with the camera. Select the
Cam Locate node, go to the Command and tap Teach object to launch the wizard.
Fig. 5-1: Launch the object teaching wizard.
Choose teaching method
The first step is to choose the teaching method. Choose between either the automatic or parametric method:
l Automatic method: builds a model based on photos and a scan of the object. Best for complex and irregular shapes.
Use this method if the object orientation has to be detected with one of its features. Please refer to the Automatic
Method section for more details.
l Parametric method: builds a model based on parameters of a basic 2D shape (circle, ring, square or rectangle). This
method is faster and allows the vision system to recognize and locate with high robustness objects that have few
distinctive features such as raw material blanks. Usually gives best results than the Automatic method for simple
geometry and highly reflective objects. Please refer to the Parametric Method section for more details.
©Robotiq inc. 2016-2018
42