Section 2: Installation
CG2 Series Operator Manual Page 2-9
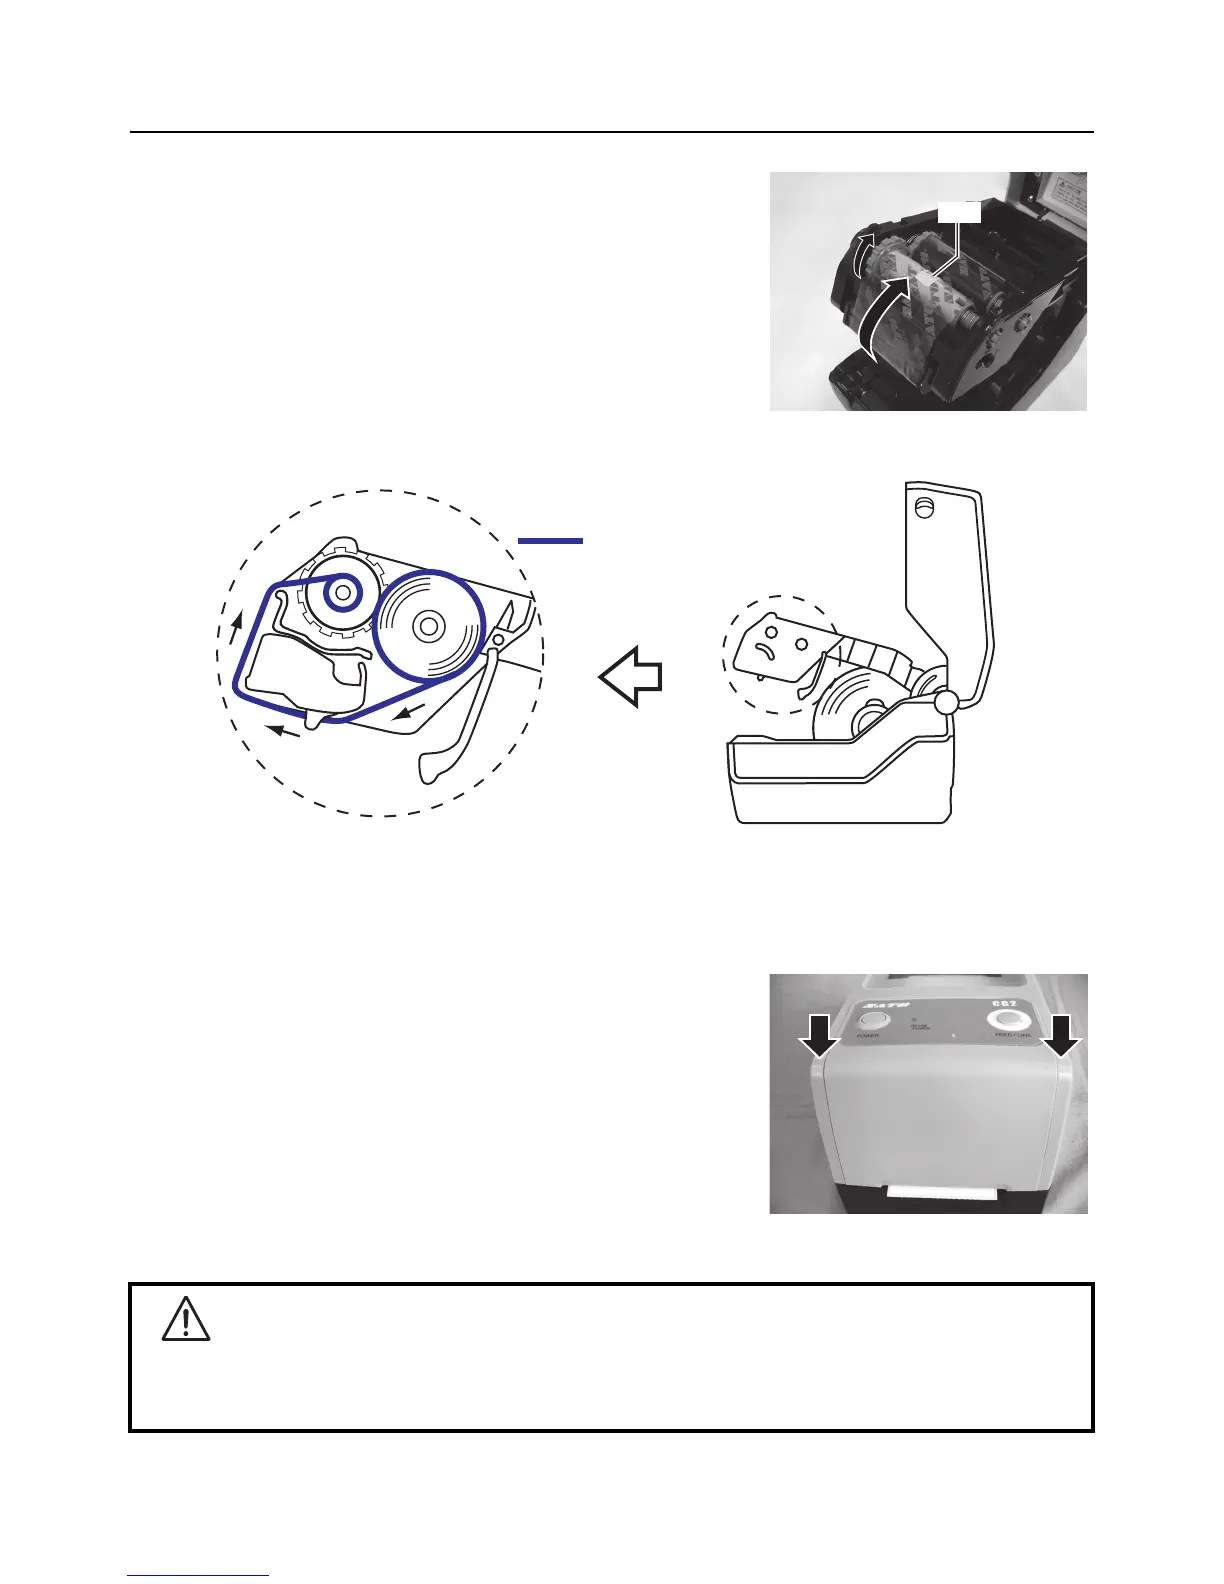
2.4 LOADING THE CARBON RIBBON (FOR CG208TT, CG212TT ONLY) (cont’d)
5.
From the ribbon supply unit, pass the carbon ribbon
underneath the print head assembly to the ribbon
wind-up unit.
Affix the carbon ribbon to the ribbon core using adhesive
tape, and wind it up several times in the direction shown
by the turn arrow.
Confirm that the ribbon has been loaded as shown in the
figure below or as illustrated on the inner side of the top
cover.
Note:
The dull side (ink side) of the ribbon should be facing outward as it travels through the print head
assembly.
6. Close the top cover until it clicks into position.
Note:
• Be careful not to get your fingers pinched while
closing the top cover.
7. After loading the media and the carbon ribbon, do a test
print to check that the media roll and ribbon have been
loaded properly. See Section 3.3 User Test Print Mode
for instructions on how to run test print.
Caution
• When replacing carbon ribbon, bear in mind that the print head and its surrounding area remain hot.
Keep your fingers away from these areas to prevent injury.
• Avoid touching even the edge of the print head with your bare hands.

 Loading...


