Section 3: Operation and Configuration
CG2 Series Operator Manual Page 3-3
3.1 OPERATOR PANEL (cont’d)
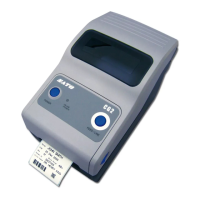
The CG2 Series printer has three potentiometers to change the printer settings. VR1 and VR2 potentiometers
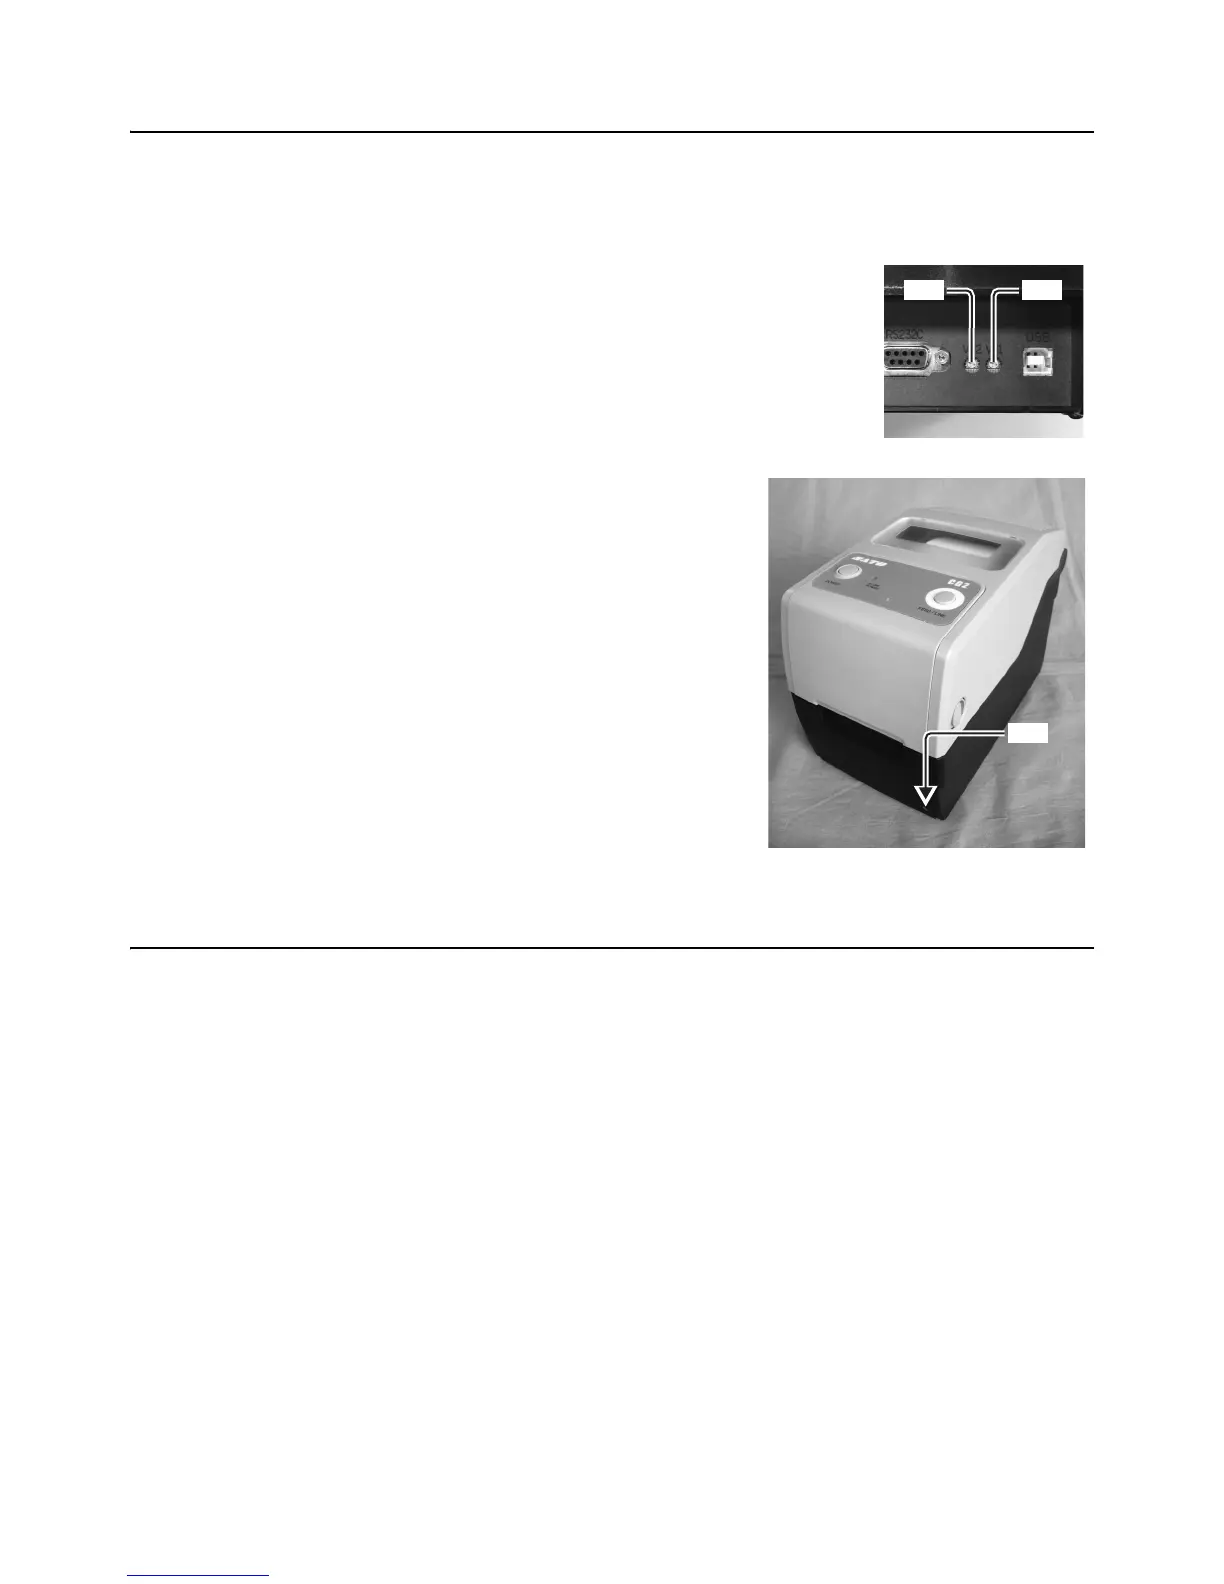
are located at the bottom back panel of the printer, while VR3 potentiometer is located at the bottom right of
the front side.
• VR1 (Gap) potentiometer
This potentiometer is used to adjust the sensing level for
the gap sensor. This adjustment should be done in the
Factory Adjustment Mode. Please refer to SATO authorized
servicing personnel for details.
• VR2 (I-Mark) potentiometer
This potentiometer is used to adjust the sensing level of the
I-Mark sensor. This adjustment should be done in the
Factory Adjustment Mode. Please refer to SATO authorized
servicing personnel for details.
• VR3 (Offset/ Pitch position) potentiometer
This potentiometer adjusts the option (Cutter, Dispenser,
Tear-off) stop position (offset position).
Offset adjustment with VR3:
±3.75mm, ±0.15” (that is ±45dot for 305dpi printer)
Offset adjustment with command: ±99dot
Total adjustment can be done for this printer: ±144dot
(for 305dpi printer)
Pitch position adjustment is available only in the Factory
Adjustment mode. Please refer to SATO authorized
servicing personnel for details.
The setting value can be cleared with factory clear (All
clear).
3.2 OPERATING MODES
You can set the printer in any of the following modes:
1. Normal mode (including Online/Offline modes)
2. User Test print mode
3. Factory Test print mode
4. Operation Setting mode:
• Program download mode
• Font download mode
• Default setting mode
• HEX Dump mode
• USB/ Wireless LAN interface
• RS-232C/ LAN interface
• Keypad selection
5. Print mode of Wireless LAN setting (Applicable only when the optional Wireless LAN is installed.).
You can access the modes by pressing and releasing the POWER button and the FEED/LINE button at
particular points during the ON LINE (POWER) indicator's lighting sequence.
 Loading...


