26 User’s Manual
3 Configuring The Program
3.0 DAQlink III Quick Start Guide
Set Fixed IP address on Computer
1. Set fixed IP address on your computer.
2. Follow instruction in Section 2 of the manual.
3. Fixed address of 192.168.0.101 should be used.
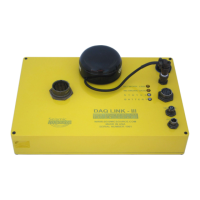
Setup Hardware
1. Connect Ethernet patch cable from DAQlink III unit to the Computer.
2. Connect DC power to 2 pin connector on DAQlink III unit ( 11 – 18 VDC).
3. Connect Analog Geophone Cable to 55 pin connector.
4. Connect Trigger Cable to 3 pin connector.
Install Vscope software
1. Insert CD to your hard drive.
2. After Installation is complete then start the Vscope program
Initialize DAQlink III unit
1. Go to the Option pull down menu.
2. Select Device.
3. Highlight the DAQlink III unit # to be used.
4. Select DAQ settings – If DAQlink III unit does not respond check the Ethernet
settings
5. Set Channel #1 for desired settings.
a. Gain = 16 works well for most seismic acquisition.
b. All other default selections should be OK.
c. Select Auto trigger.
d. Select the sample rate to use and the record length.
6. Select OK twice to load values into DAQlink III unit.