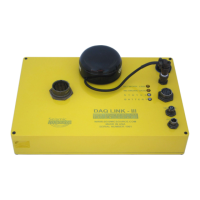
28 User’s Manual
4.1.1 DAQlink III Order
The order in which the DAQlink III units are shown is the same order that they will
appear when the data is displayed. The up and down arrows can be used to change the order of
the DAQlink III units.
4.1.2 Copy to All
After setting up one DAQlink III unit, the DAQ settings can be copied to the other units.
Highlight the DAQlink III unit that has been “setup”. With multiple DAQlink IIIs connected the
“copy to all” button will appear, press “yes” to copy the “setup” parameters to the other units, or
“cancel” to bypass the copy to all function.
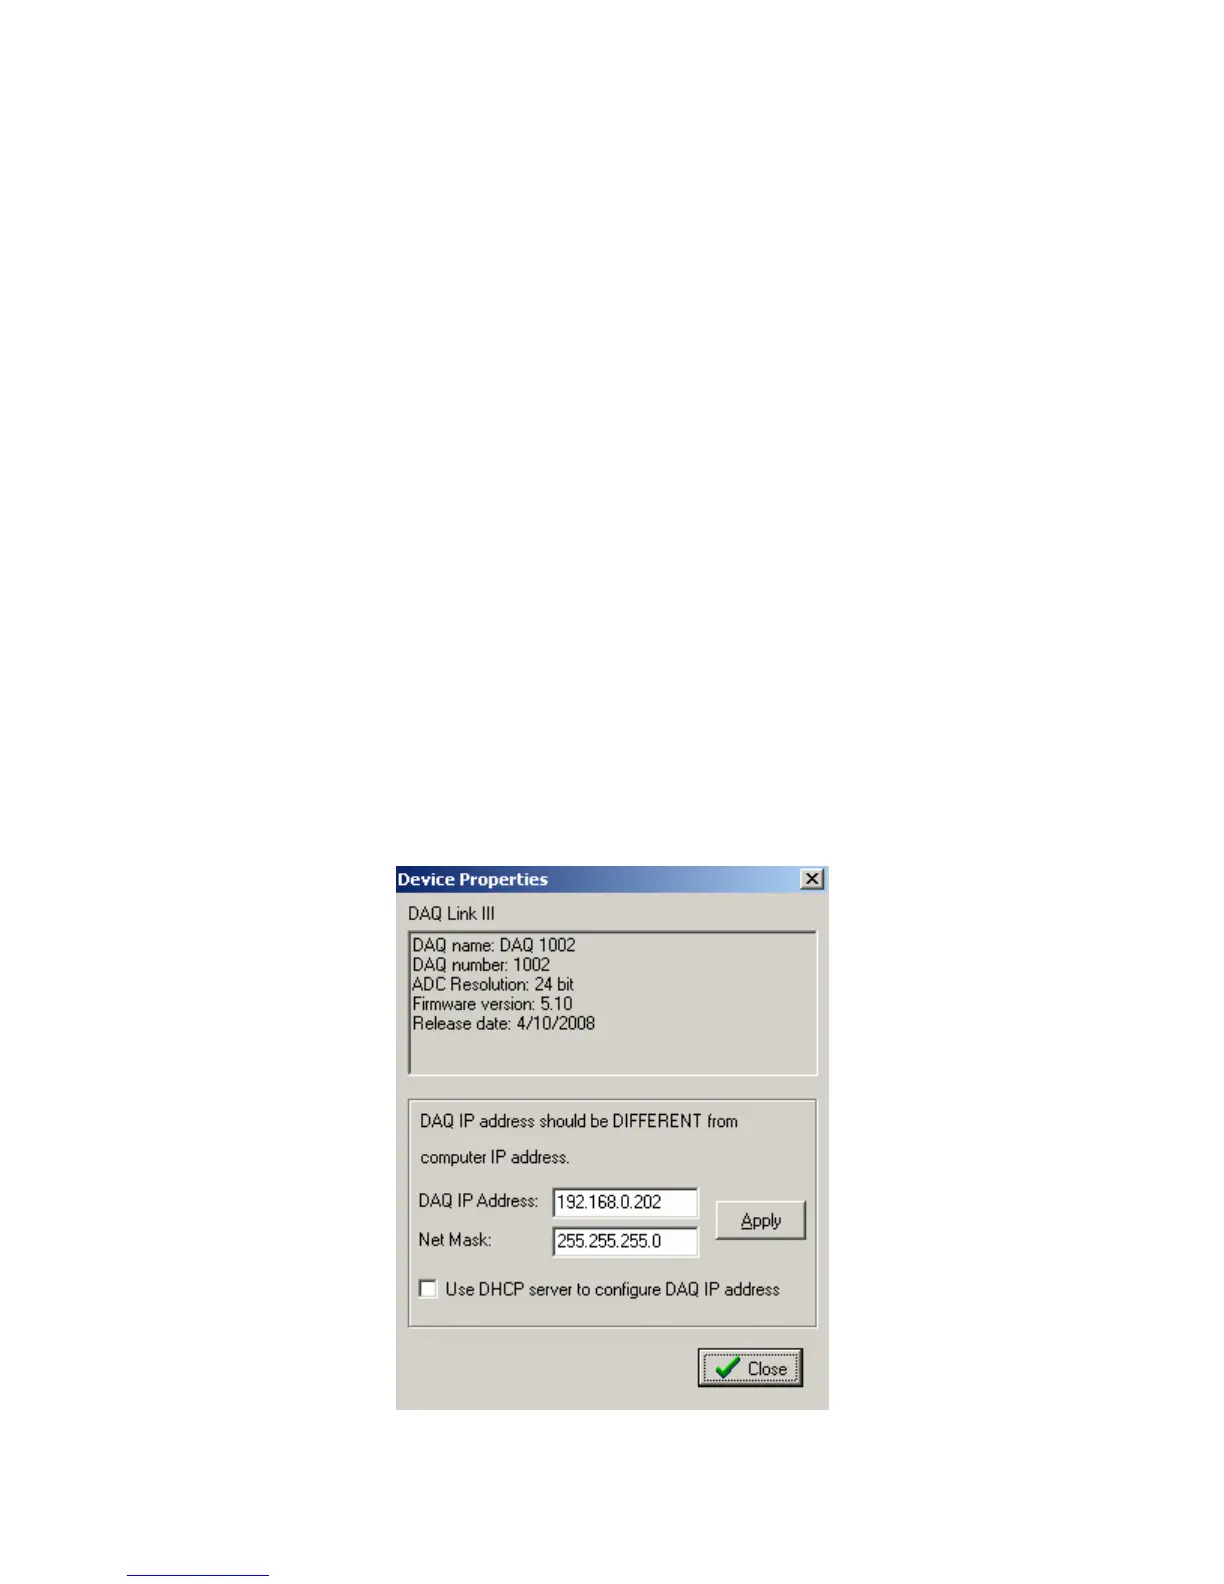
4.1.3 IP settings
Each DAQlink III unit should have a unique IP address. The IP settings selection allows
viewing and editing of the current IP setting for the unit.
For the IP address shown, the 192 defines a class C network. With class C networks the
first 3 octets must be the same for all units. This means that the first three entries (192.168.0)
must be the same for the units to communicate. The last octet is a number between 0-255. The
number 0 and the number 255 are reserved and should not be used for a DAQlink III IP address.
Only the numbers 1-254 should be used. The computer’s IP address should also be unique; it
cannot have the same IP address as a DAQlink III unit.
The Net Mask should be the same for all units. All bits that are not 0 in the net mask have
to match. 255.255.255.0 Mask is shown which means the first 3 bytes (octet) have to match.
Use DHCP server to configure IP configuration – When checked, the DHCP server does
the IP configuration automatically. The DHCP server supplies an IP address to any host that asks
for it. Recommend always using manual address when possible, because it's easier to
troubleshoot in case of a problem.
Figure 4.1.3Device IP selections