27
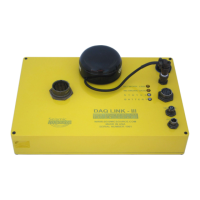
4.1 DAQlink III Setup
Connect and power up DAQlink III unit. Start the VScope program by double clicking on
Vscope.exe file in Windows Explorer. Select the DAQ setup menu by selecting menu Options-
>Device. Or “left click” the “Device” button on the toolbar.
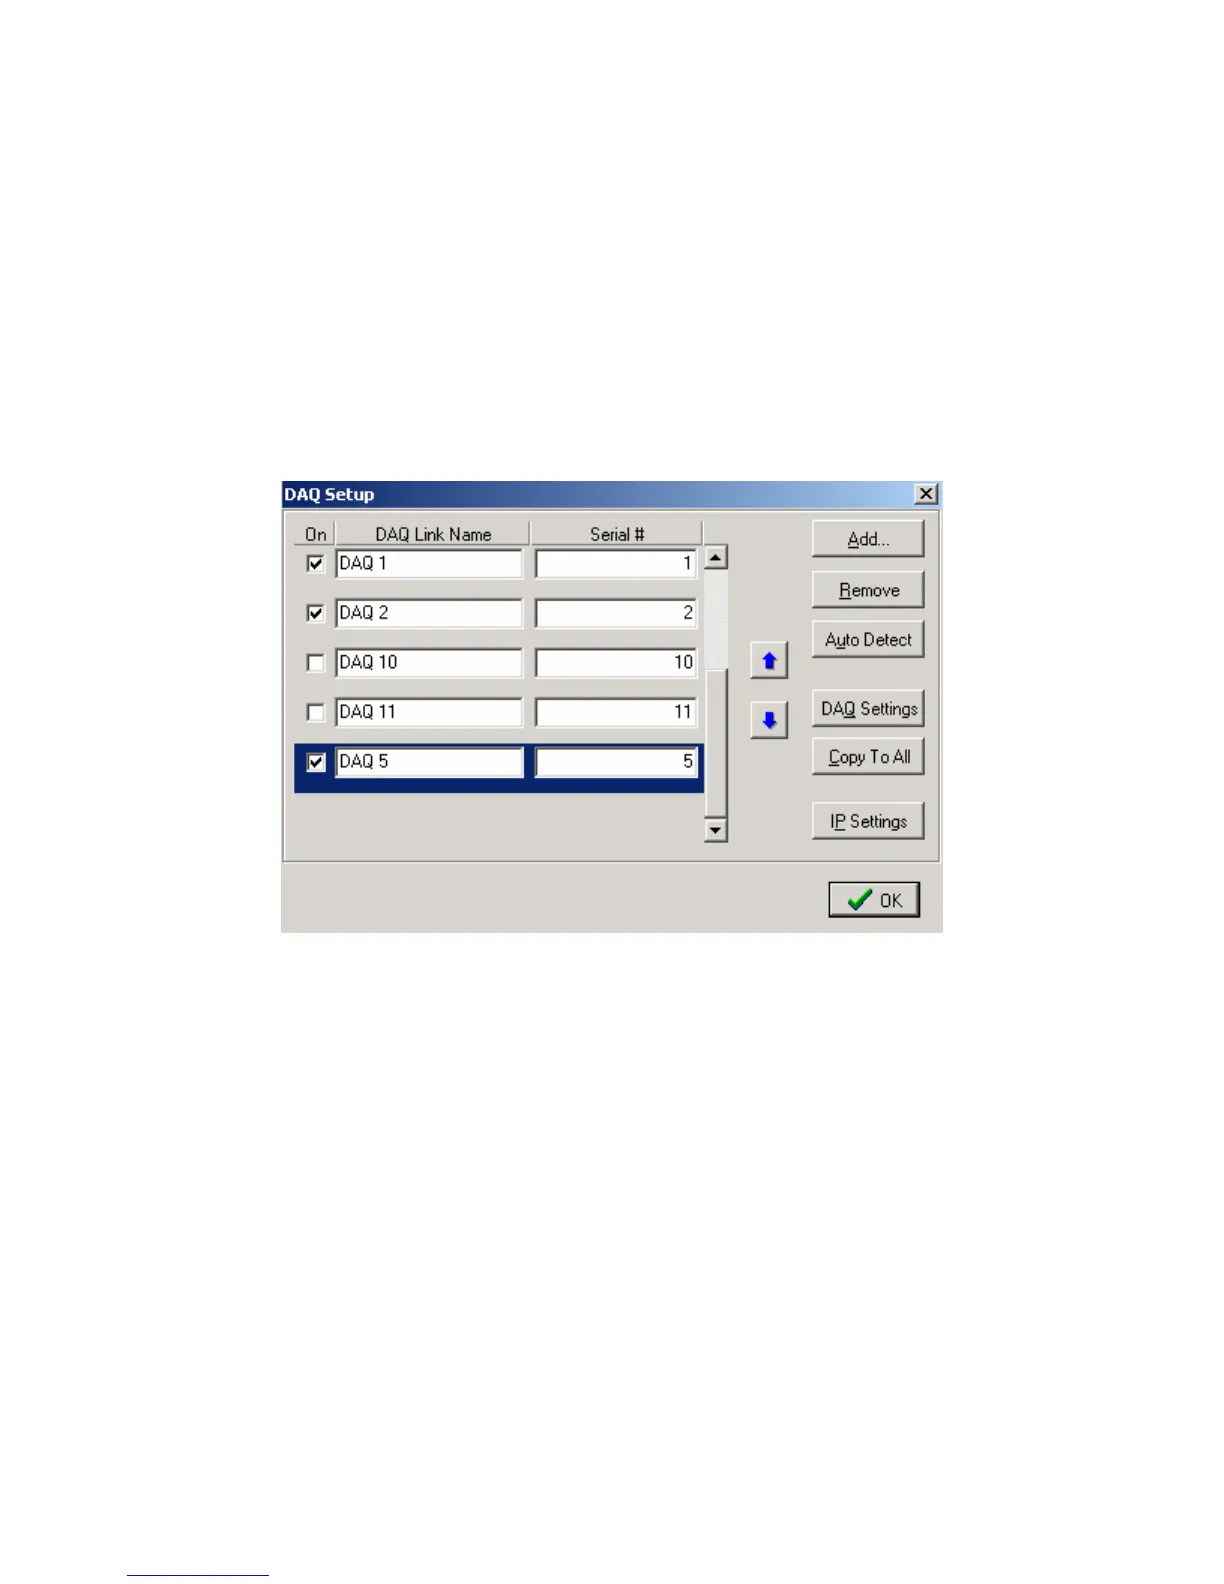
If no unit serial numbers are displayed in the window click Auto Detect. All DAQlink III
units connected to computer should be automatically found and displayed.
Make sure the unit is enabled. A check mark by the serial number shows that the unit is
enabled. Just left click the small box next to the serial number to enable it. Multiple DAQlink III
units can be connected to one computer using standard network equipment (hubs, switches,
wireless access points, etc).
Figure 4.1 Device setup
Figure 4.1 shows five DAQlink III units connected to the computer.
The first column shows that DAQ1, DAQ2, and DAQ5 have been selected for
acquisition.
The user can change the second column, DAQ Link Name field.
The Serial # field is hardware programmed into the DAQlink III unit and cannot be
changed.
In figure 4.1, DAQ unit 5 is highlighted. Clicking DAQ Settings or IP Settings will show
the configuration of the highlighted unit. To highlight a different unit simply left click on a
different DAQ link name.
Remove Button will remove the highlighted unit from the list.
Add button can be used to add a new DAQlink III unit. However, it is recommended to
use the auto detect feature to add new units.