Kapitelüberschrift hier eintragen 4 - 9
Siemens AG SPR2-230.814.01 Page 9 of 14 SIREMOBIL Iso-C 3D
Medical Solutions Rev. 05 08.04 CS PS 24
• Insert the connector into the front, the red marking has to point upward (see Fig. 21).
• Attach the nut using only a long socket wrench. Do not forget the washer.
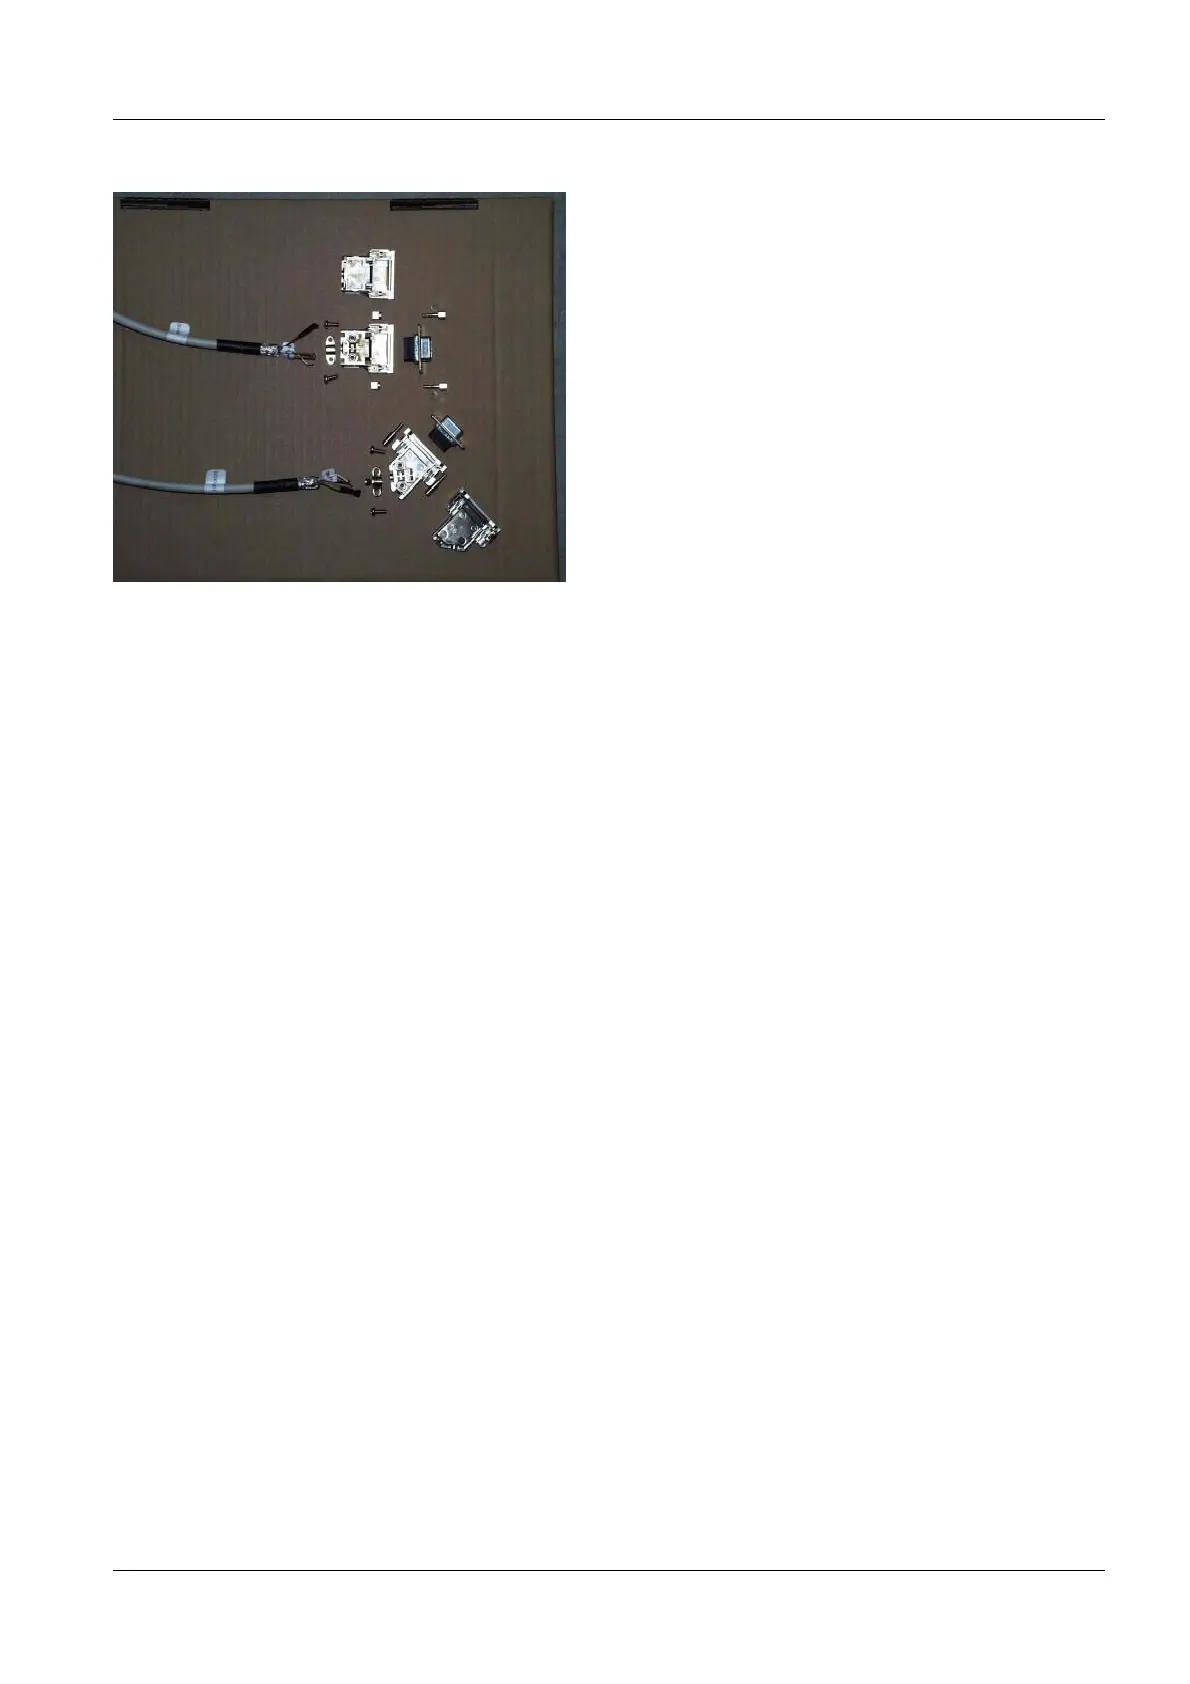
• Insert the labeled cores with contacts at the end of cable D200.X1001 into the slanted
connector housing D200.X1001 (see Fig. 22).
- Insert core X1001.7 into contact 7 until it locks into place
- Insert core X1001.2 into contact 2 until it locks into place.
• Move the connector into the housing.
• Attach the strain relief using screws.
• Insert the connector housing and ensure that it fully locks into position.
• Insert the connector housing D200.X1001 into plug-in-location D200.X1001 on PC board
D200 and tighten it with screws.
Fig. 22 Connector parts

 Loading...


