94
Electrical Connection
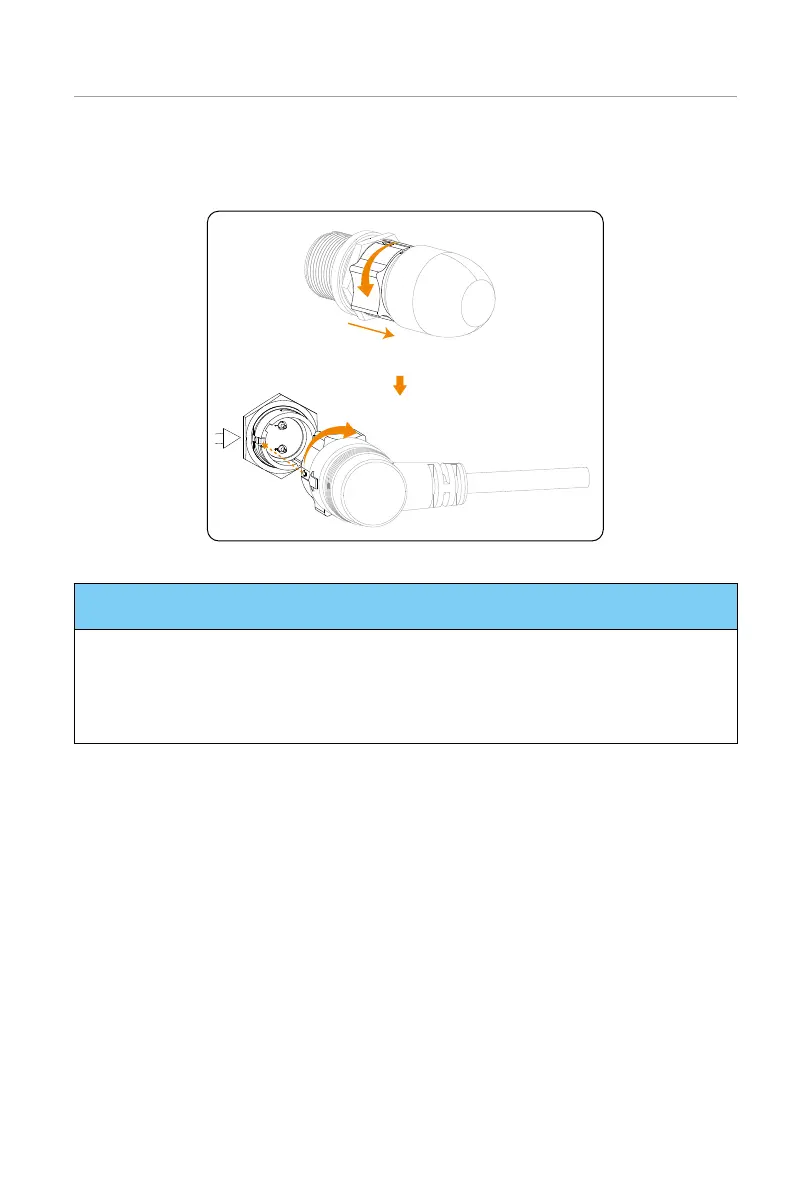
Step 6: Firstly rotate the rotating ring until the arrow on it is aligned with the arrow on
the panel before removing the short-circuit plug, and then insert the heater cable
into the HEAT port and rotate clockwise to close it.
Align the groove
according to the
arrows
Figure 7-12 Locking heater cable
NOTICE!
• A rotation wrench is used to tighten both ends of the communication cable, and it
may be removed after tightening.
• Don't violently remove the cable when it is locked.
• A corrugated pipe with an external diameter of 67.2 mm is recommended for use to
keep cable insulation in place and avoid potential damages.

 Loading...


