98
Electrical Connection
Wiring procedures
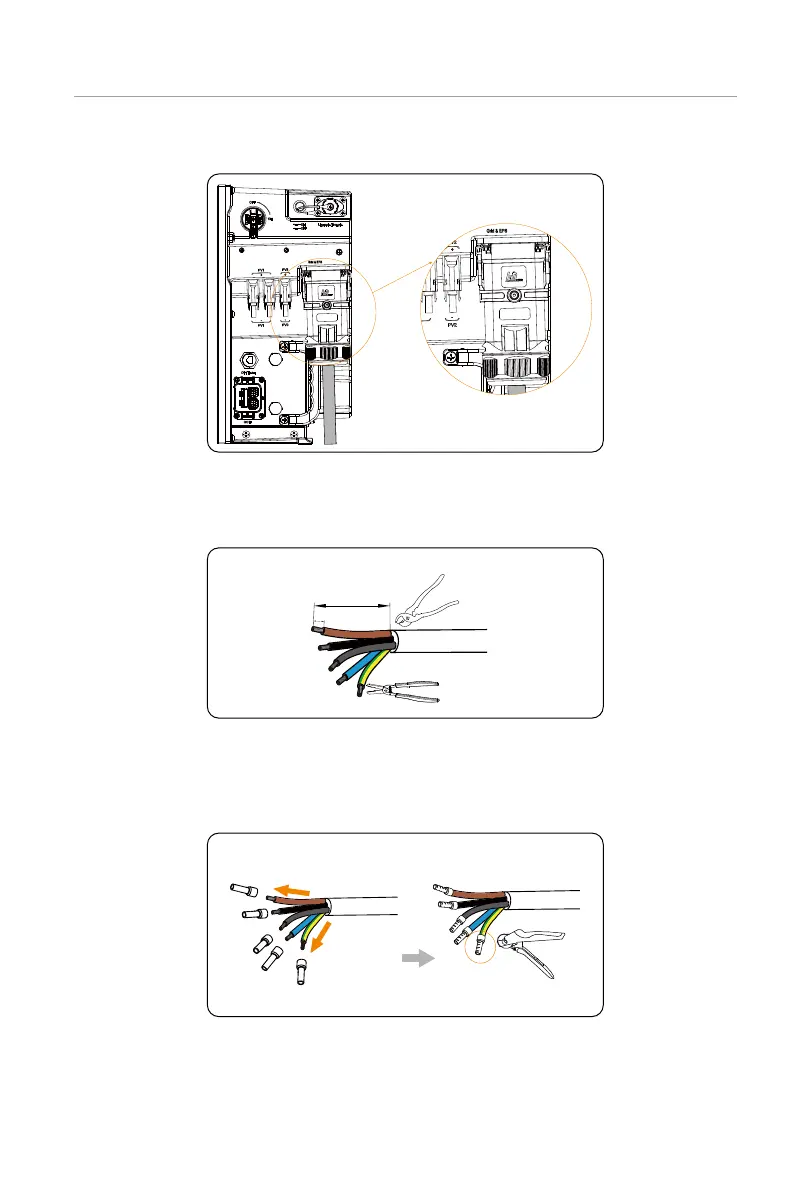
Figure 7-15 Well connected Grid & EPS cables
Step 1: Prepare a Grid cable (five-core wire) and an EPS cable (five-core wire) and strip
the insulation jacket as below.
16~17 mm
65~72 mm
wire cutter
wire stripper
Figure 7-16 Striping the Grid and EPS cables
Step 2: Insert L1, L2, L3 and PE wires of the Grid and EPS cables into ferrules. Use a
crimping tool for ferrules to crimp the ferrules. Make sure the conductors are
correctly assigned and firmly seated in the ferrules.
crimping tool
for ferrules
ferrules
Figure 7-17 Crimping the Grid and EPS cables

 Loading...


