60
Mechanical Installation
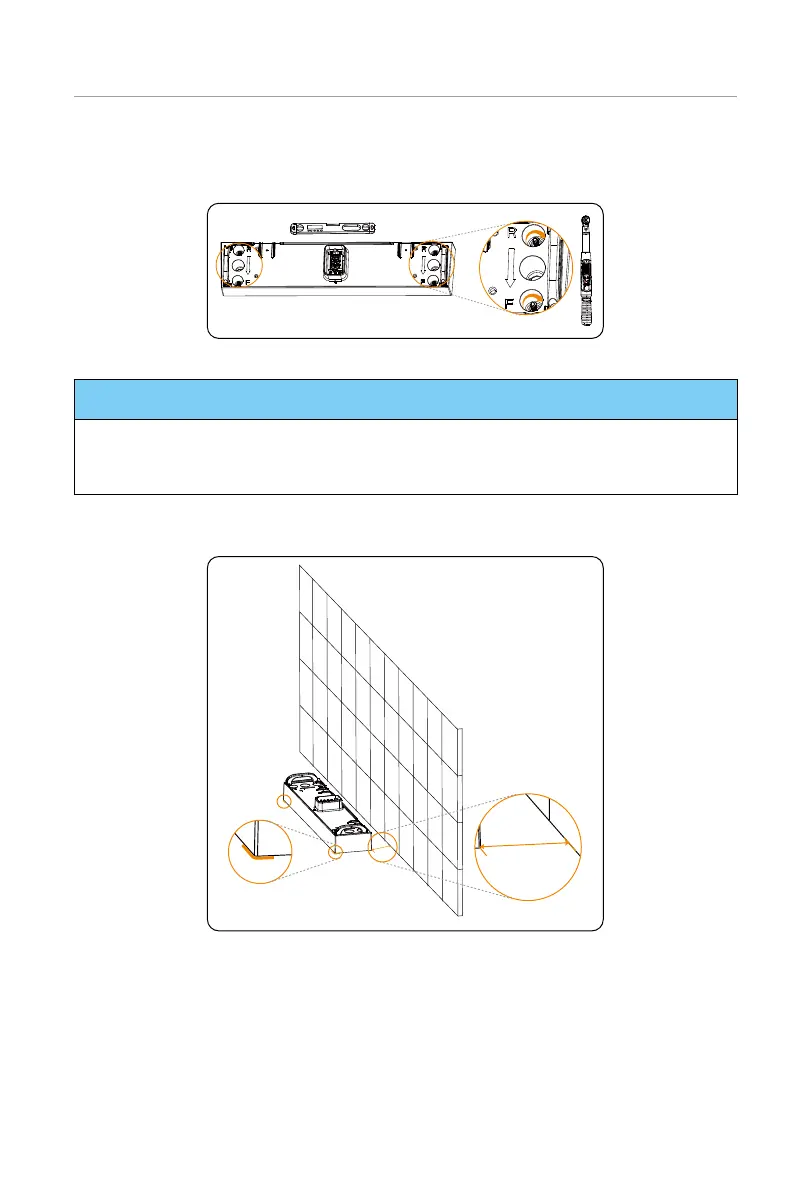
Step 3: Rotate the adjustment screws clockwise to ensure that it is even.
Turn clockwise to lower the base, and turn anticlockwise to raise the base.
Figure 6-5 Rotating adjustment screws
NOTICE!
• Use a spirit level to measure both side of the base to ensure that the base is even;
• If not, please rotate the adjustment screws by a torque wrench being to ensure that
the base is even.
Step 4: Locate the base 90 mm away from the wall, accurately mark the location of the
base on both sides with a marker.
Mark the location
90 mm
90 mm
Figure 6-6 Placing the base

 Loading...


