61
Mechanical Installation
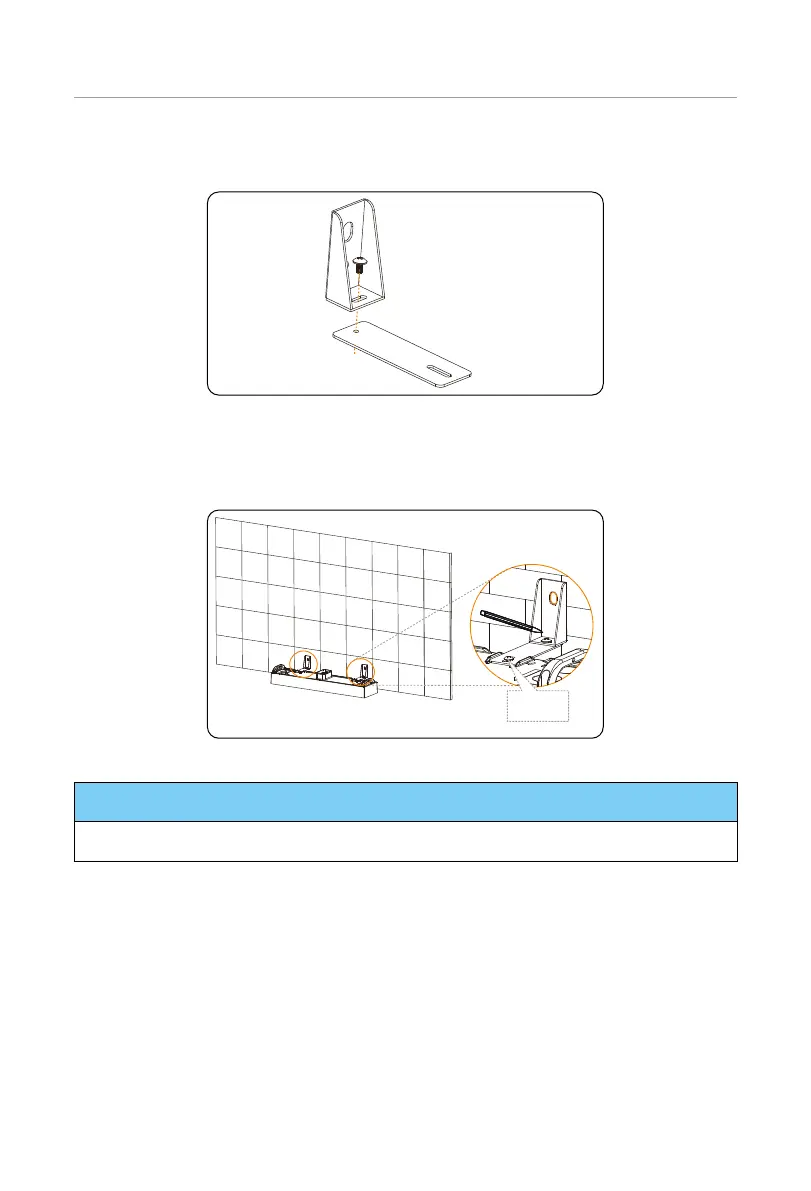
Step 5: Attach the angle bracket and adjustable bracket together by using M5*14 screws,
but do not tighten them for a while.
Figure 6-7 Attaching two brackets
Step 6: Place the assembled bracket on the wall, align the hole to the hole on the battery
module; and circle along the inner ring of the holes on the angle brackets.
Totalling 2 assembled brackets need to be installed.
Don't
tighten it
Figure 6-8 Circling inner ring of holes
NOTICE!
• Don't tighten screws fully until the angle bracket is secured on the wall.

 Loading...


