ENGINE 3-31
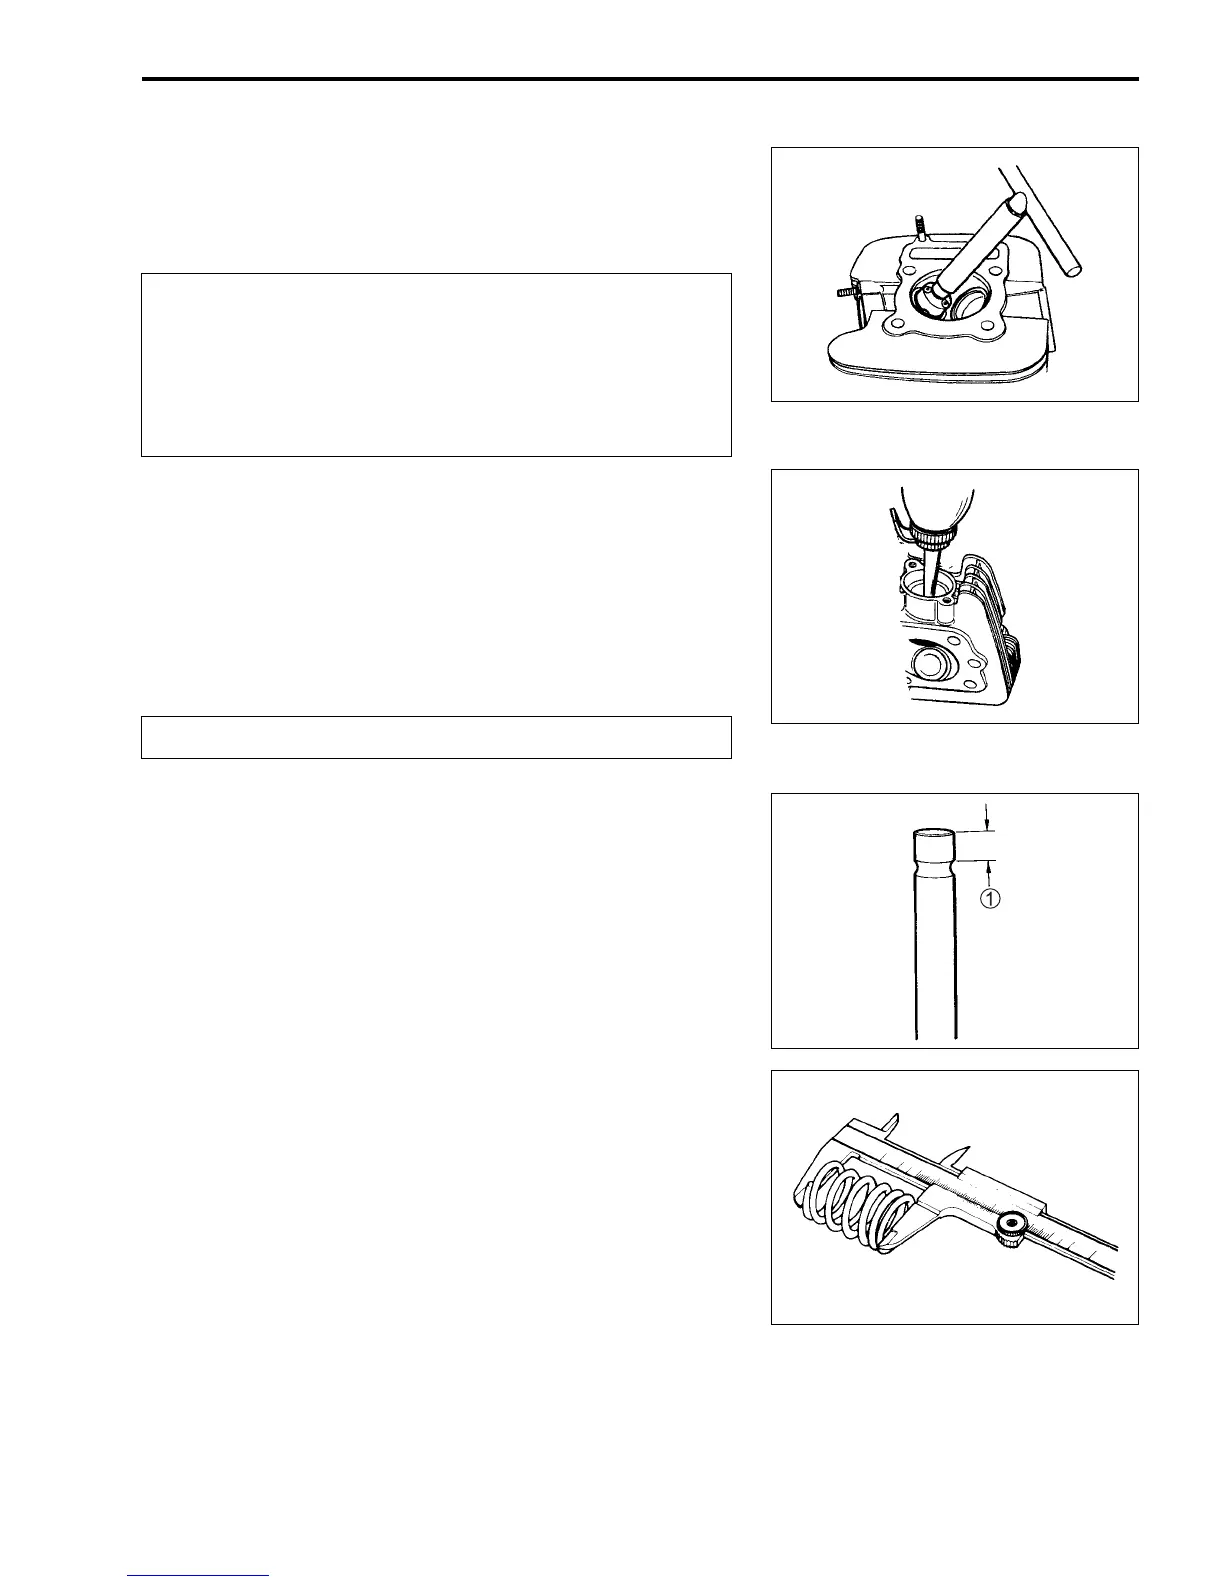
• After the desired seat position and width is achieved, use the
45° cutter very lightly to clean up any burrs caused by the pre-
vious cutting operations.
NOTE:
After servicing the valve seats, be sure to check the valve clear-
ance after the cylinder head has been reinstalled. (2-5)
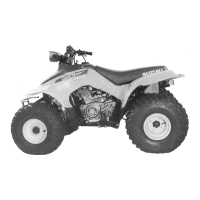
• Clean and assemble the head and valve components. Fill the
intake and exhaust ports with gasoline to check for leaks.
• If any leaks occur, inspect the valve seat and face for burrs or
other things that could prevent the valve from sealing.
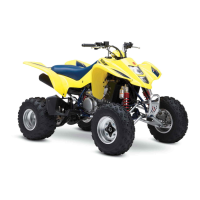
VALVE STEM END CONDITION
Inspect the valve stem end face for pitting and wear. If pitting or
wear of the stem end face are present, the valve stem end may
be resurfaced, providing that the length 1 will not be reduced to
less than the service limit. If this length becomes less than the
service limit, the valve must be replaced.
Valve stem end length
Service Limit: 2.5 mm (0.10 in)
VALVE SPRING
The force of the coil spring keeps the valve seat tight. Weak-
ened spring result in reduced engine power output, and often
account for the chattering noise coming from the valve mecha-
nism.
Check the valve springs for proper strength by measuring their
free length and also by the force required to compress them. If
the spring length is less than the service limit, or if the force
required to compress the spring does not fall within the range
specified, replace both the inner and outer springs as a set.
Do not use lapping compound after the final cut is
made. The finished valve seat should have a velvety
smooth finish but not a highly polished or shiny fin-
ish. This will provide a soft surface for the final seat-
ing of the valve which will occur during the first few
seconds of engine operation.
Always use extreme caution when handling gasoline.