Continue to use the key as long as you do not see any change of direction of the
pointer as you are moving the workpiece.
8. When the insert passes the culmination point, the pointer of the galvanometer will
change its direction of rotation and move in the opposite direction.
9. At that moment, you will know that you have passed the inflection point and that you
have to move the workpiece in the opposite direction in order to go back to where the
pointer modifies its direction again (ideally play with key to visually position the
inflection point at 0 on the display).
10. Once you have detected the inflection point, the next step consists of unlocking the
locking ring and probing down, as the insert has been positioned at the culmination
point.
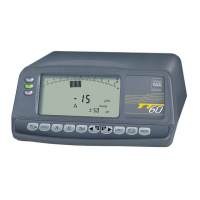
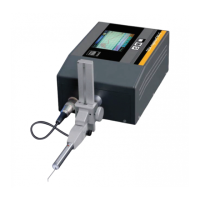
The use of the LED during the process of determining a culmination point in static mode
offers an advantage when looking for a reliable but quick measurement. The LED
positioned at the limit of the shaft that is used to fix the probe support will change its colour
according to the action that will be applied on the probe.