83
10.Attach the sensor compartment cover and close it (the clip must
click into place).
After replacing an O
2
-sensor, plug in and change for 60
min. before you use the device.
7.4. Replacing the filter for NO sensors
✓ The measuring instrument must be switched off and isolated
from the power supply.
1. Place the measuring instrument on its front.
2. Open the cover of the sensor compartment (locking clip) and
take it off.
3. Loosen the bow from the sensor and take it out of the bracket,
see Changing / retrofitting sensors, page 80.
4. Pull the hose connectors off the sensor.
5. Remove the sensor from the slot.
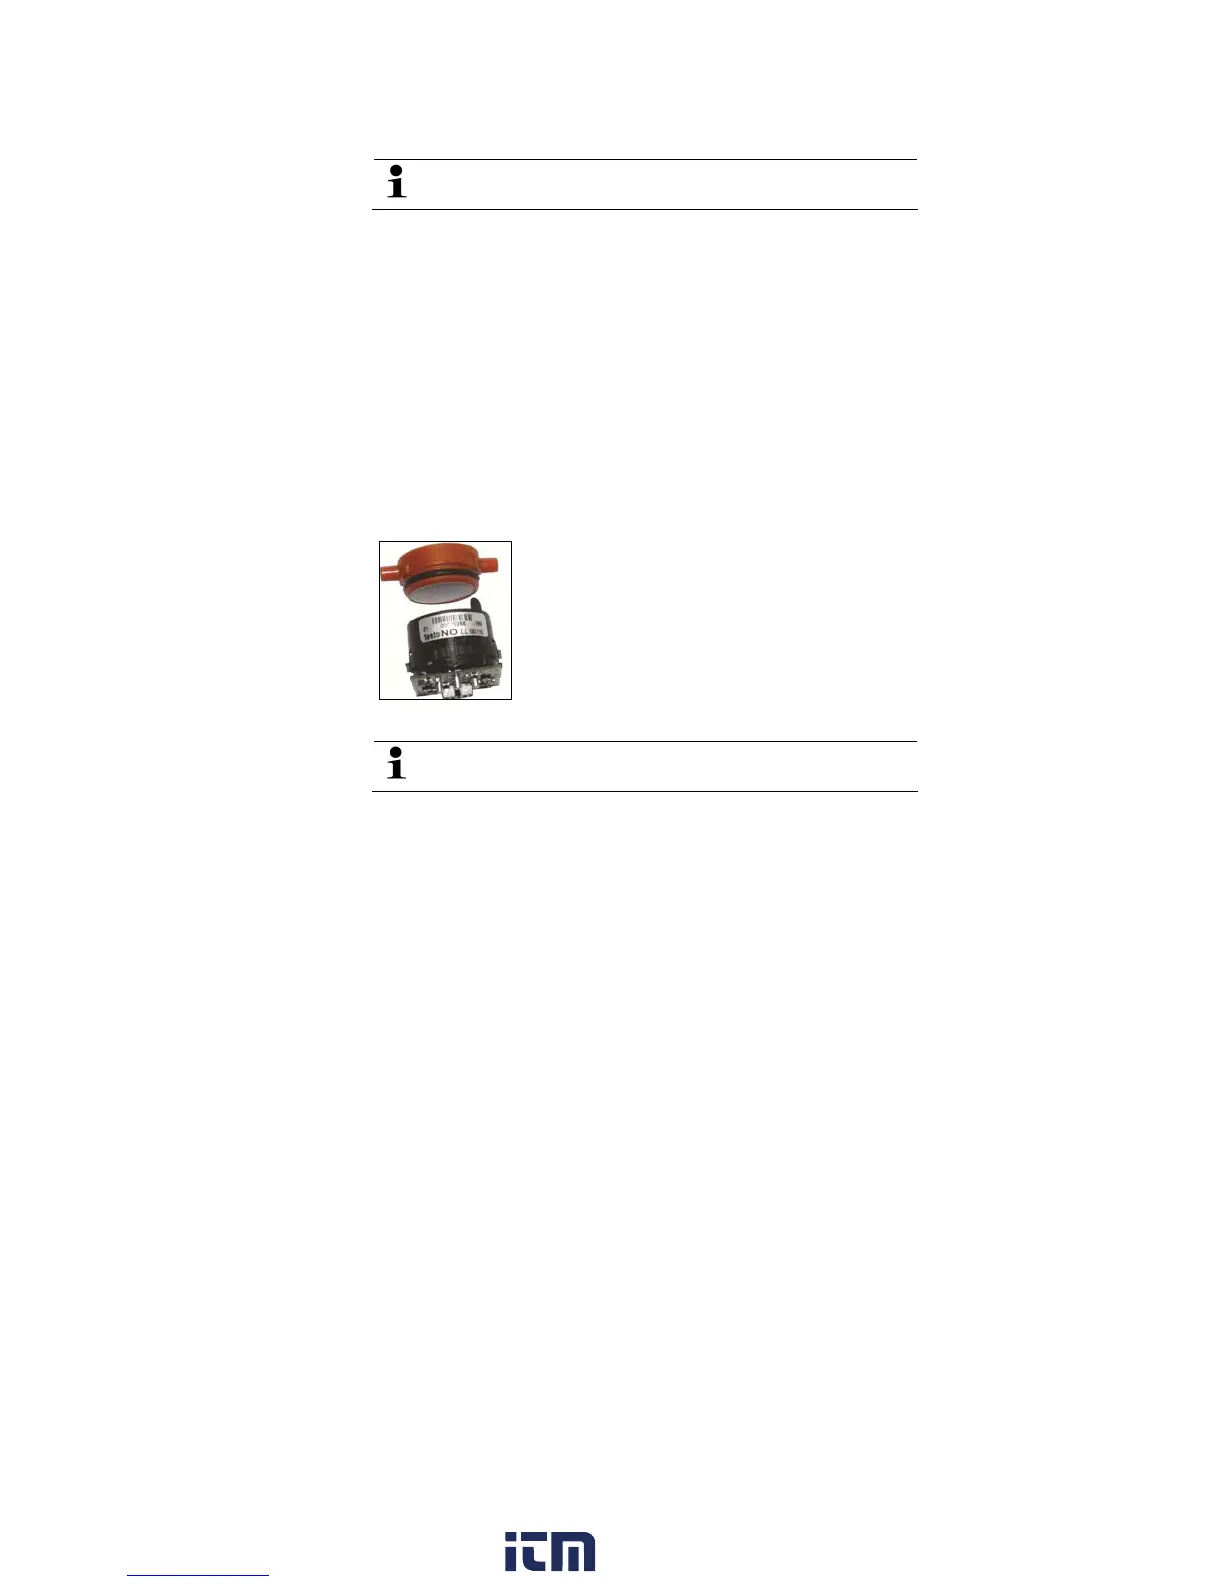
6. Remove the used filter from the sensor.
7. Plug the new filter on the sensor.
Avoid touching the sensor. Follow the marking on filter and
sensor.
8. Insert the sensor in the slot.
9. Press the hose connectors on the sensor.
10.Insert the bow into the bracket, see Changing / retrofitting
sensors, page 80.
11. Attach the service cover and close it (the clip must click into
place).
12. Reset the ppm-hour meter, see ppmh counter, page 64.
7.5. Recalibrating sensors
See Calibration data, page 65.
w ww . . co m
information@itm.com1.800.561.8187