Redstone™ Optical Spectrum Analyzer Chapter 7: Software Setup
Page 19 STN053070-D02
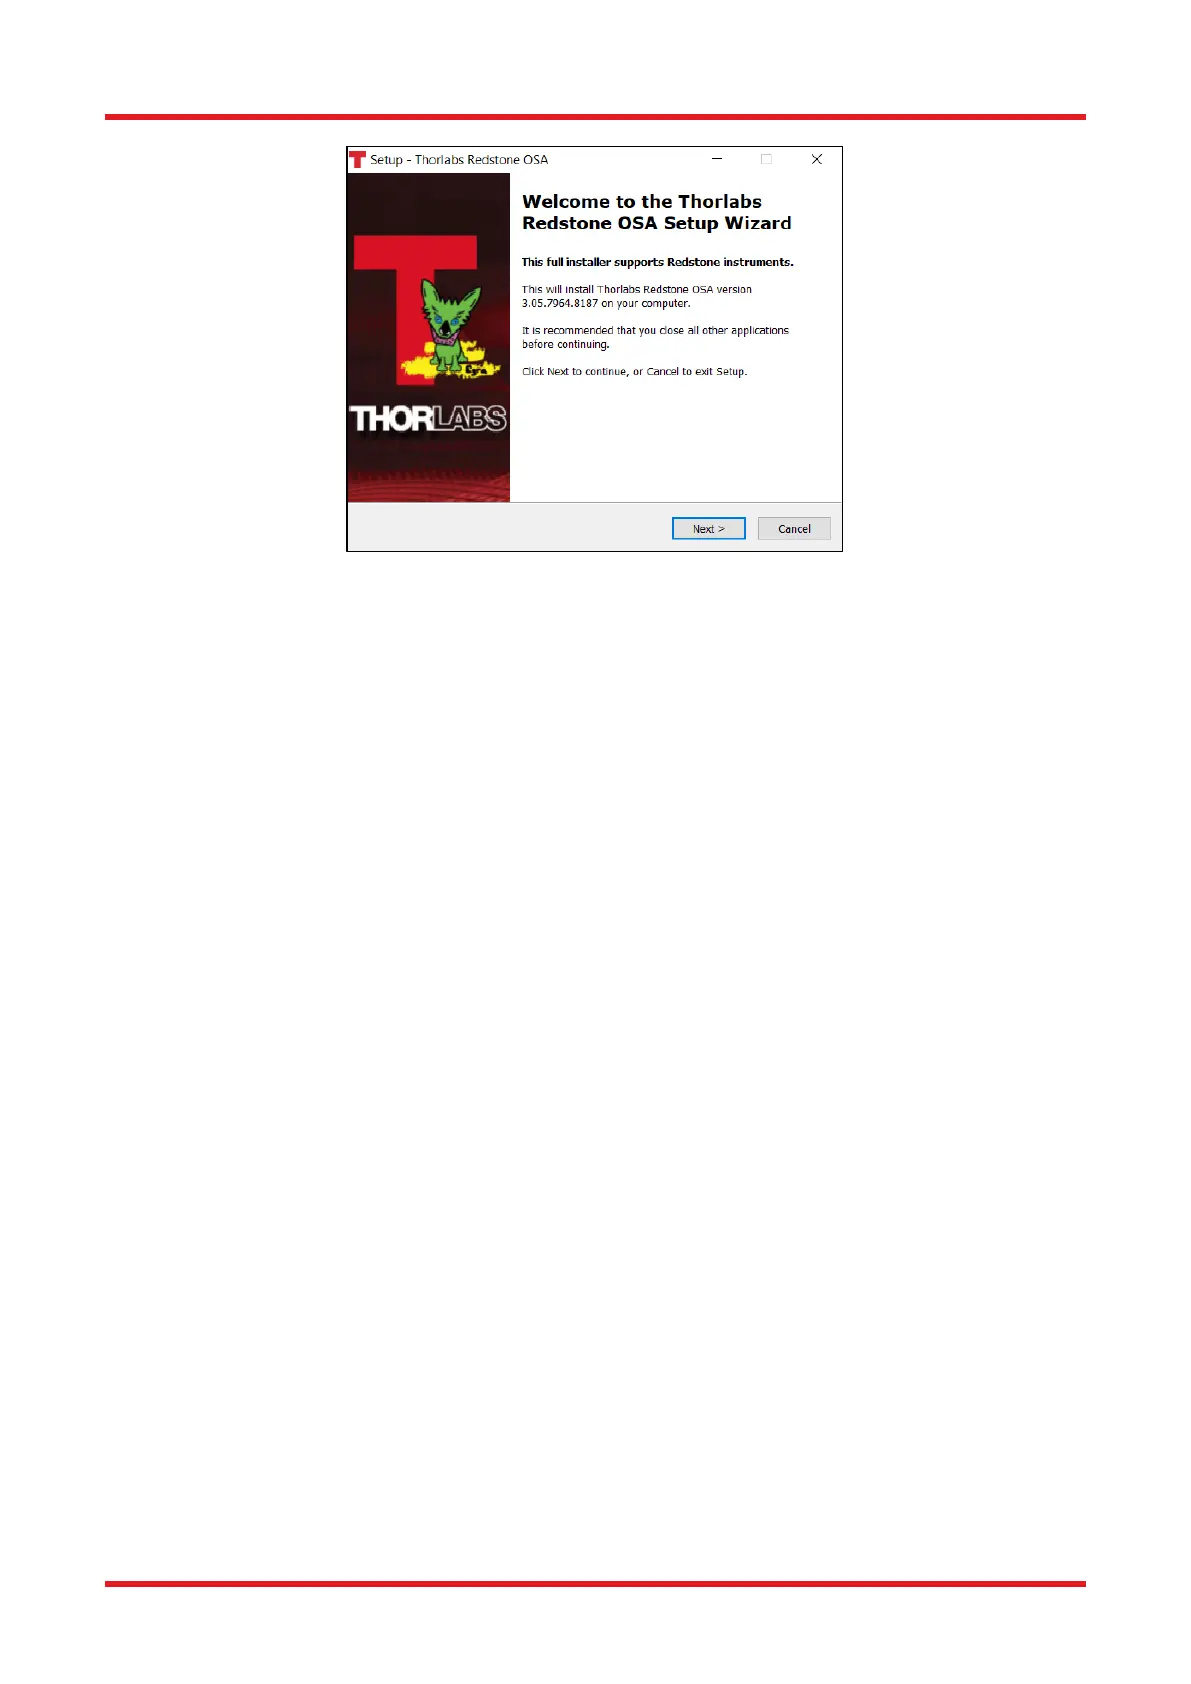
Figure 13. On-Screen Software Setup Screen
7.3. Connecting to the PC
After the software installation has finished, you can connect the Thorlabs OSA to an available USB port on the
PC. Use only the cable that is included with the OSA, e.g., Thorlabs Item # USB3-MBA-118.
After connecting the instrument to the PC, the operating system will load the appropriate USB drivers for the
OSA. Please wait for this procedure to finish before doing anything else.
7.4. Starting the Application
After the PC software is installed and the OSA is connected to the PC, the application controlling the instrument
may be started. The Thorlabs OSA software can be found by clicking the “Start” button and then “Thorlabs” (or
“Programs” → “Thorlabs” → “OSASW,” depending on your Windows
®
version), and clicking on the application
icon named “Thorlabs Redstone OSA.”
When the Thorlabs OSA application starts it will automatically detect all Thorlabs Redstone Optical Spectrum
Analyzers connected to the PC. A list of all connected OSAs can be seen by clicking the button “Devices” found
under Instrument in the main window menu.

 Loading...


