- Acquisition of the topographic map with all associated measurements
- Identification of Mesopic and Photopic pupil
13.5.1 Acquisition procedure
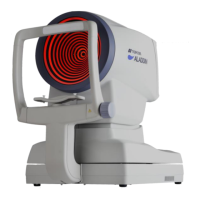
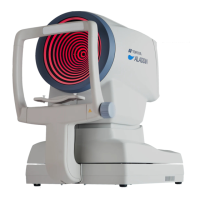
Backlighting of the Placido disk is automatically activated when you enter the acquisition environment. If the
instrument is not used for a few minutes, the cone turns off; to turn it on again, just press the joystick button.
To acquire the image or measurements in general, whatever mode you are in, simply proceed as follows:
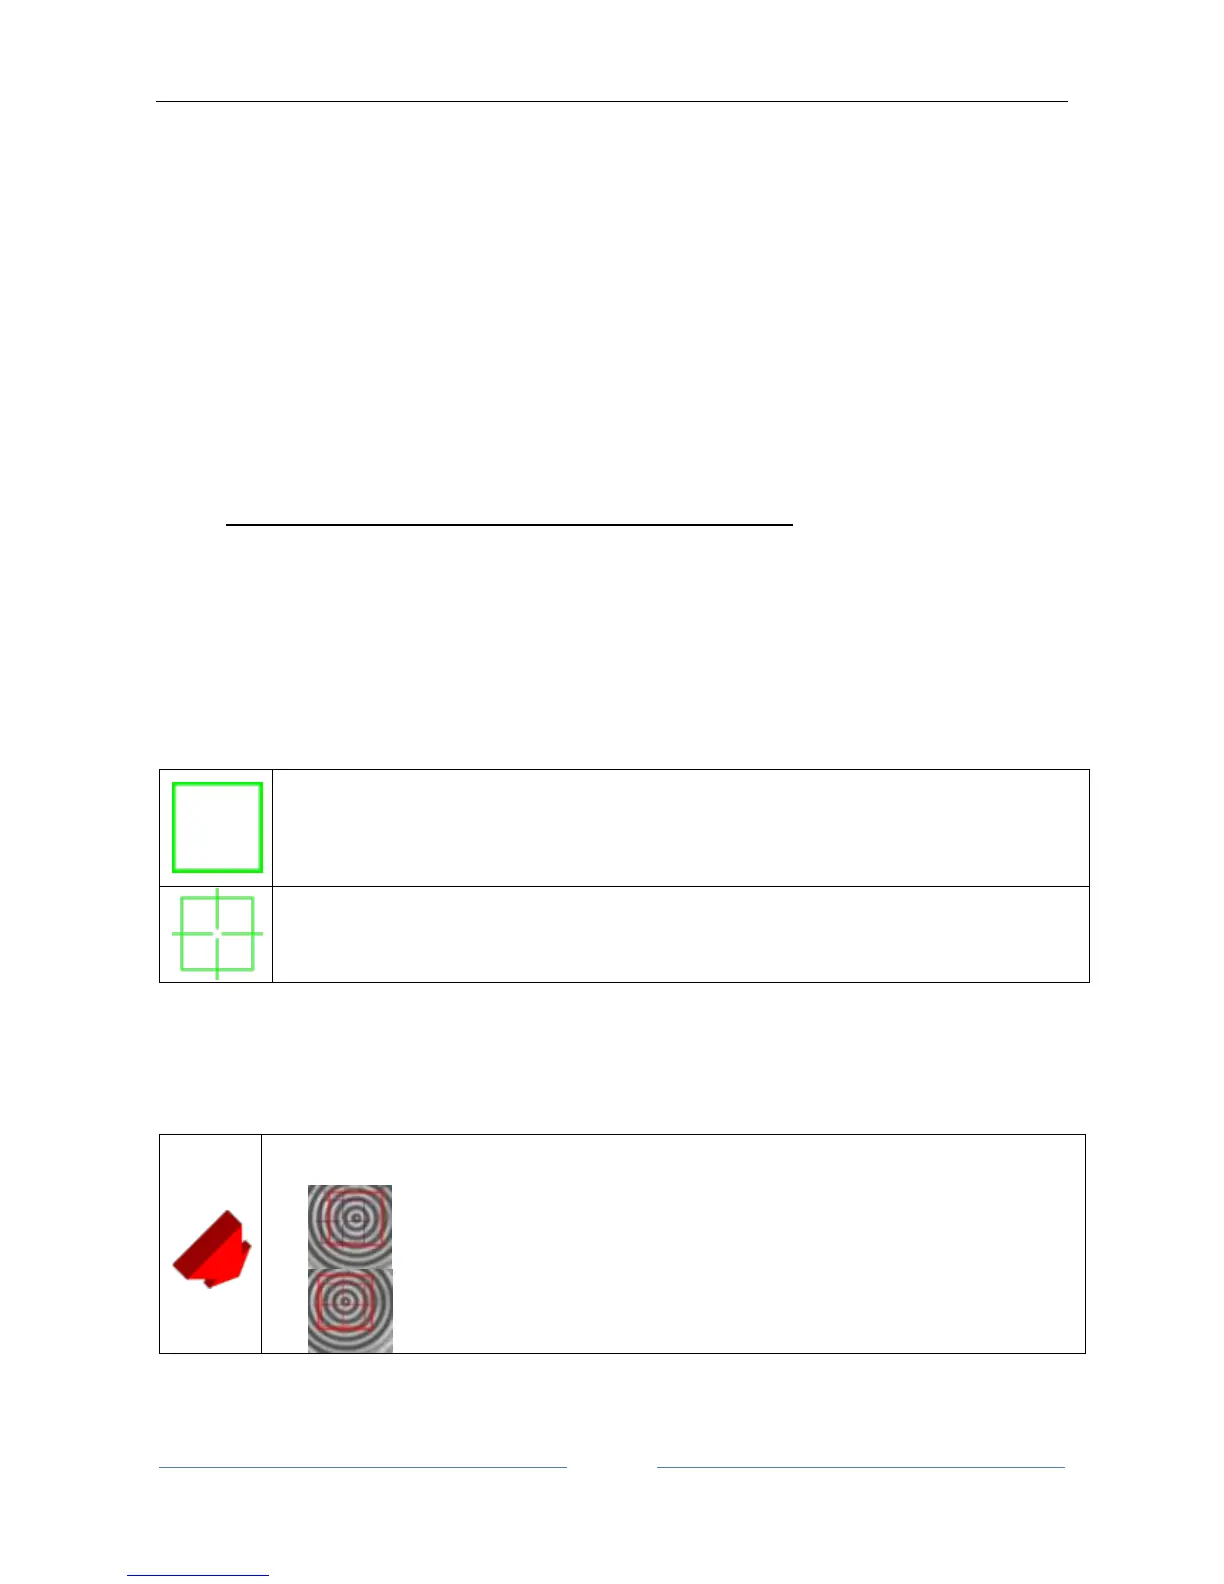
1. Align the live image in the center and focus, then press the joystick button to start the acquisition.
2. Move the instrument forwards and backwards (following the indications of the red and blue arrows
on the screen) to find the ideal focus. While you find the ideal focus achieve the central alignment by
centering the two squared aims with vertical or horizontal movements.
3. When the green indicators are displayed and the two squares are centered (both green), press the
joystick button again and the system will automatically capture the required image and/or
measurements.
4. Don’t move the joystick in the few seconds during the acquisition.
Focusing and centering guidance system is composed of two aspects:
Centering
Focusing distance
Centering ideal conditions are achieved by centering the two squared aims by means of horizontal and
vertical movements.
The squared aims are the following:
Ideal Centering Marker, represents the ideal axis of alignment, matching the center of rings in
the Placido image of the eye
The two squares assume different colors depending on two aspects: focusing position and centering in
tolerance.
Focusing ideal conditions are achieved by following the 4 indicators at the corners of the viewport, which
explain the needed movement in the “forward/backward” direction.