13.4 Acquisition environment: general instructions
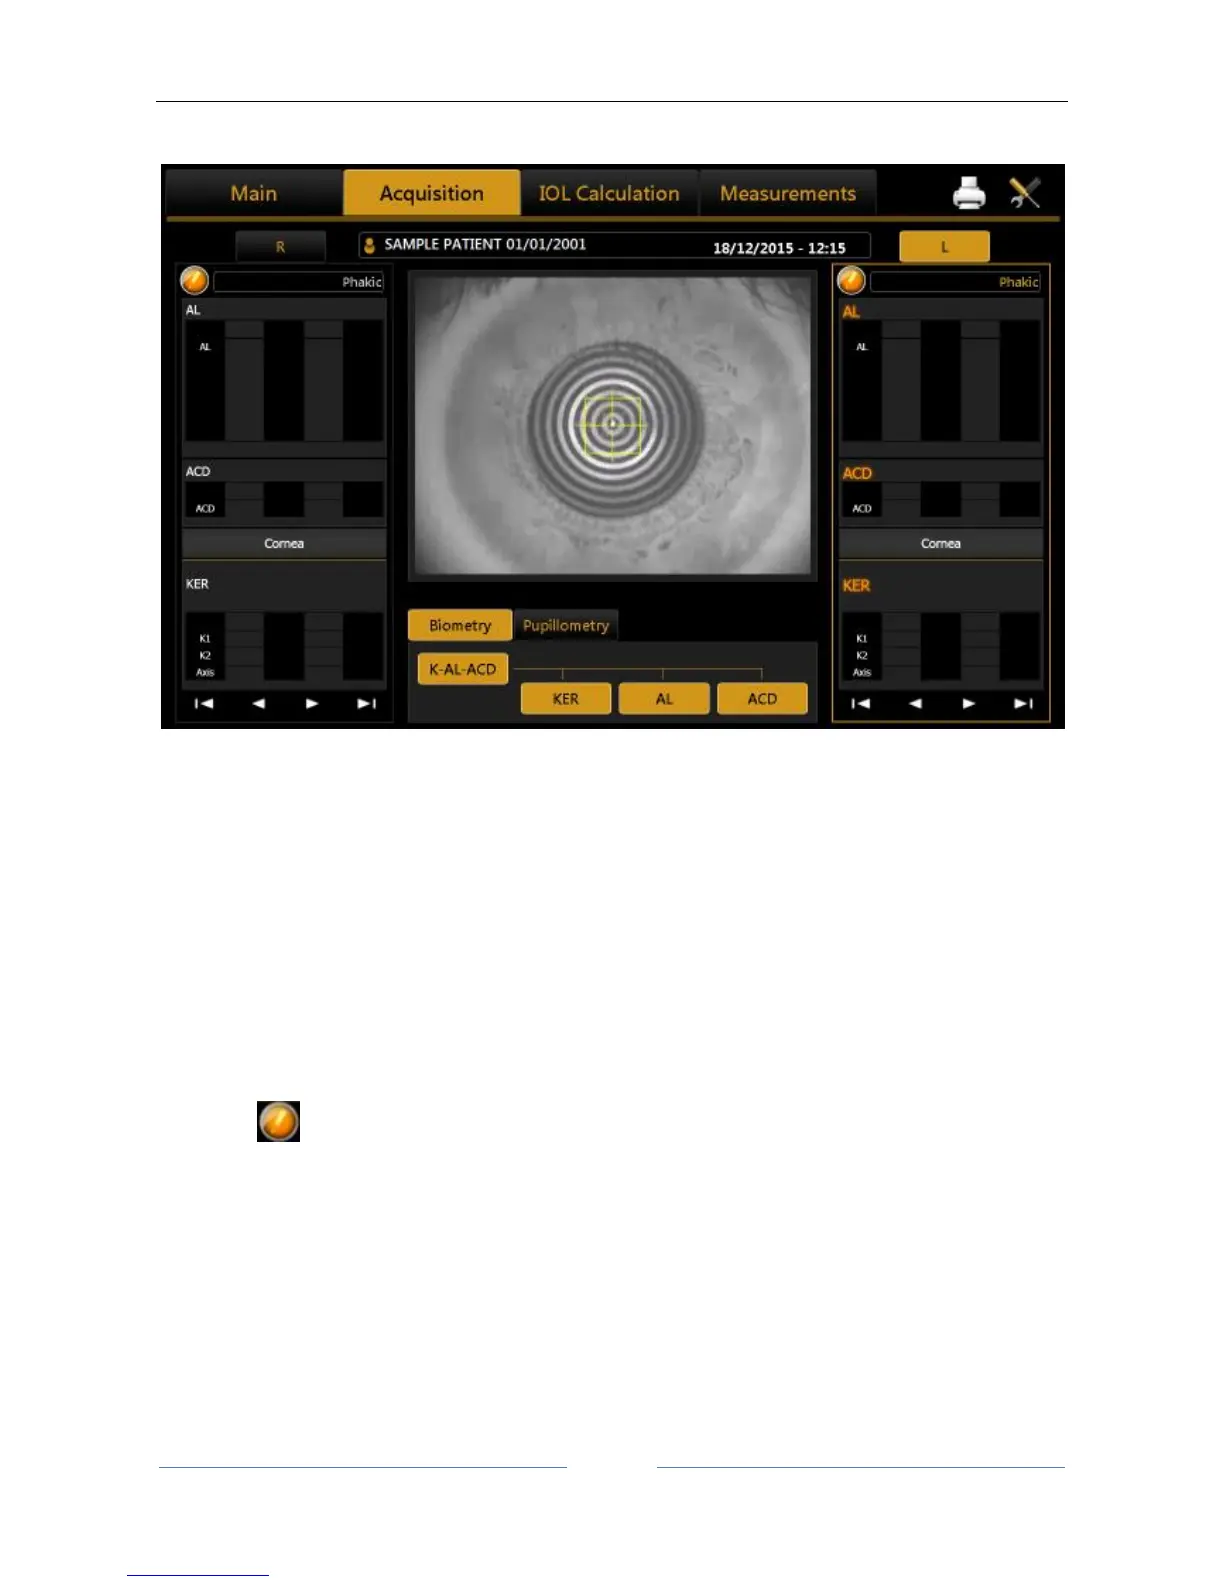
Figure 29
Figure 29 shows the acquisition screen.
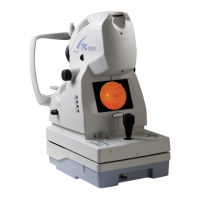
The joystick illustrated in Figure 30 is the only part the user has to physically control during acquisition. The
button on the top marked "Acquisition button" starts the acquisition of the various measurements.
The thumb wheel marked "Height Regulation" allows you to adjust the instrument's height according to the
patient's position.
On the chin rest there is also a knob for adjusting the height if the adjuster on the joystick is not enough to
achieve the correct position.
To perform the acquisition, position the patient with his/her chin on the chin rest and forehead on the
forehead rest. This is the correct position for performing the examination.
The button is available in both eye columns; its function is to modify the nature of the lens and Vitreous
body during the examination. The Axial Length will automatically be corrected depending on the new
refractive index.