94
MAINTENANCE
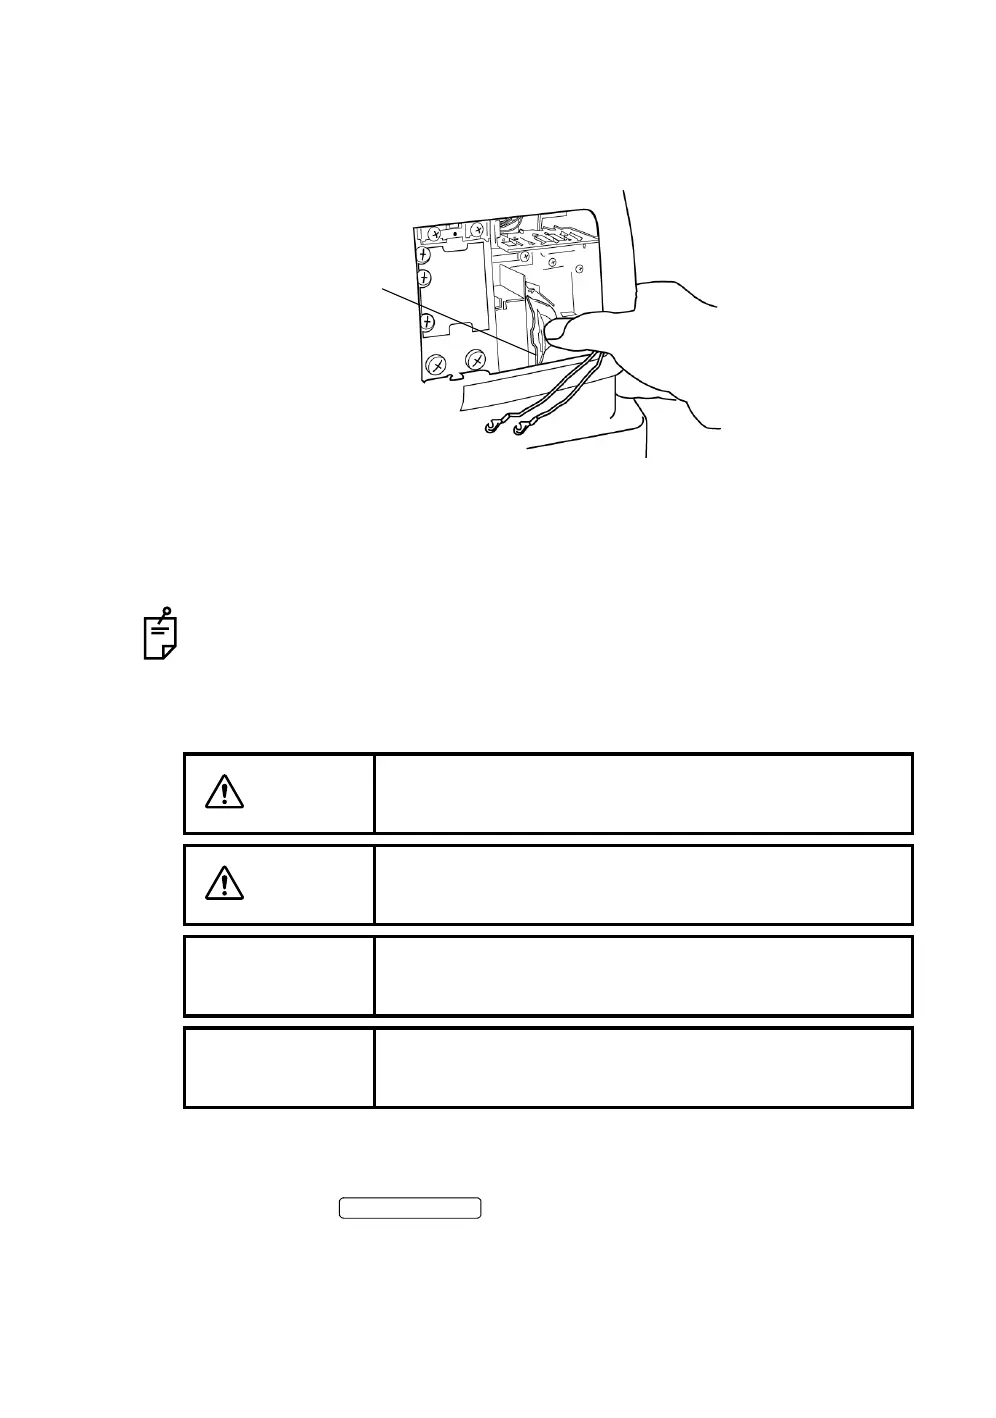
6 Hold the new lamp, so the convex part faces the operator, and slide it into
the lamp holder until it stops at the end. Make sure that the lamp is firmly
fixed in the lamp holder.
7 Fasten the lamp terminal securely with the two set screws.
8 Attach the lamp house cover by matching the projection at the bottom part
of the lamp house cover with the groove of the body cover. Turn the screws
with a coin, etc. and securely fasten the lamp house cover.
To avoid electric shock, if the lamp house cover is left unfixed, an error is dis-
played on the monitor and operations, including photography, cannot be done.
Replacing the xenon lamp
• The service life of the xenon lamp is approx. 10,000 cycles.
Replace the xenon lamp if it is burned or becomes whitened.
1 Turn the OFF and unplug the power cable, then wait for
more than 5 minutes for the natural electrical discharge.
2 Turn the screws with a coin, etc. and remove the lamp house cover.
CAUTION
To avoid electric shock, be sure to turn the power supply
off and unplug the power cable before replacing the lamp.
CAUTION
To avoid electric shock, do not touch the xenon lamp
immediately after it flashes or burns out.
NOTE
To avoid whitening due to fingerprints, do not touch the
lamp with bare fingers.
NOTE
Since the lamp is not resistible to shocks, handle it with
particular care.
Convex part
POWER SWITCH
 Loading...