Appendix B: Frequently Asked Questions
Page 152 100-11672 - Rev D
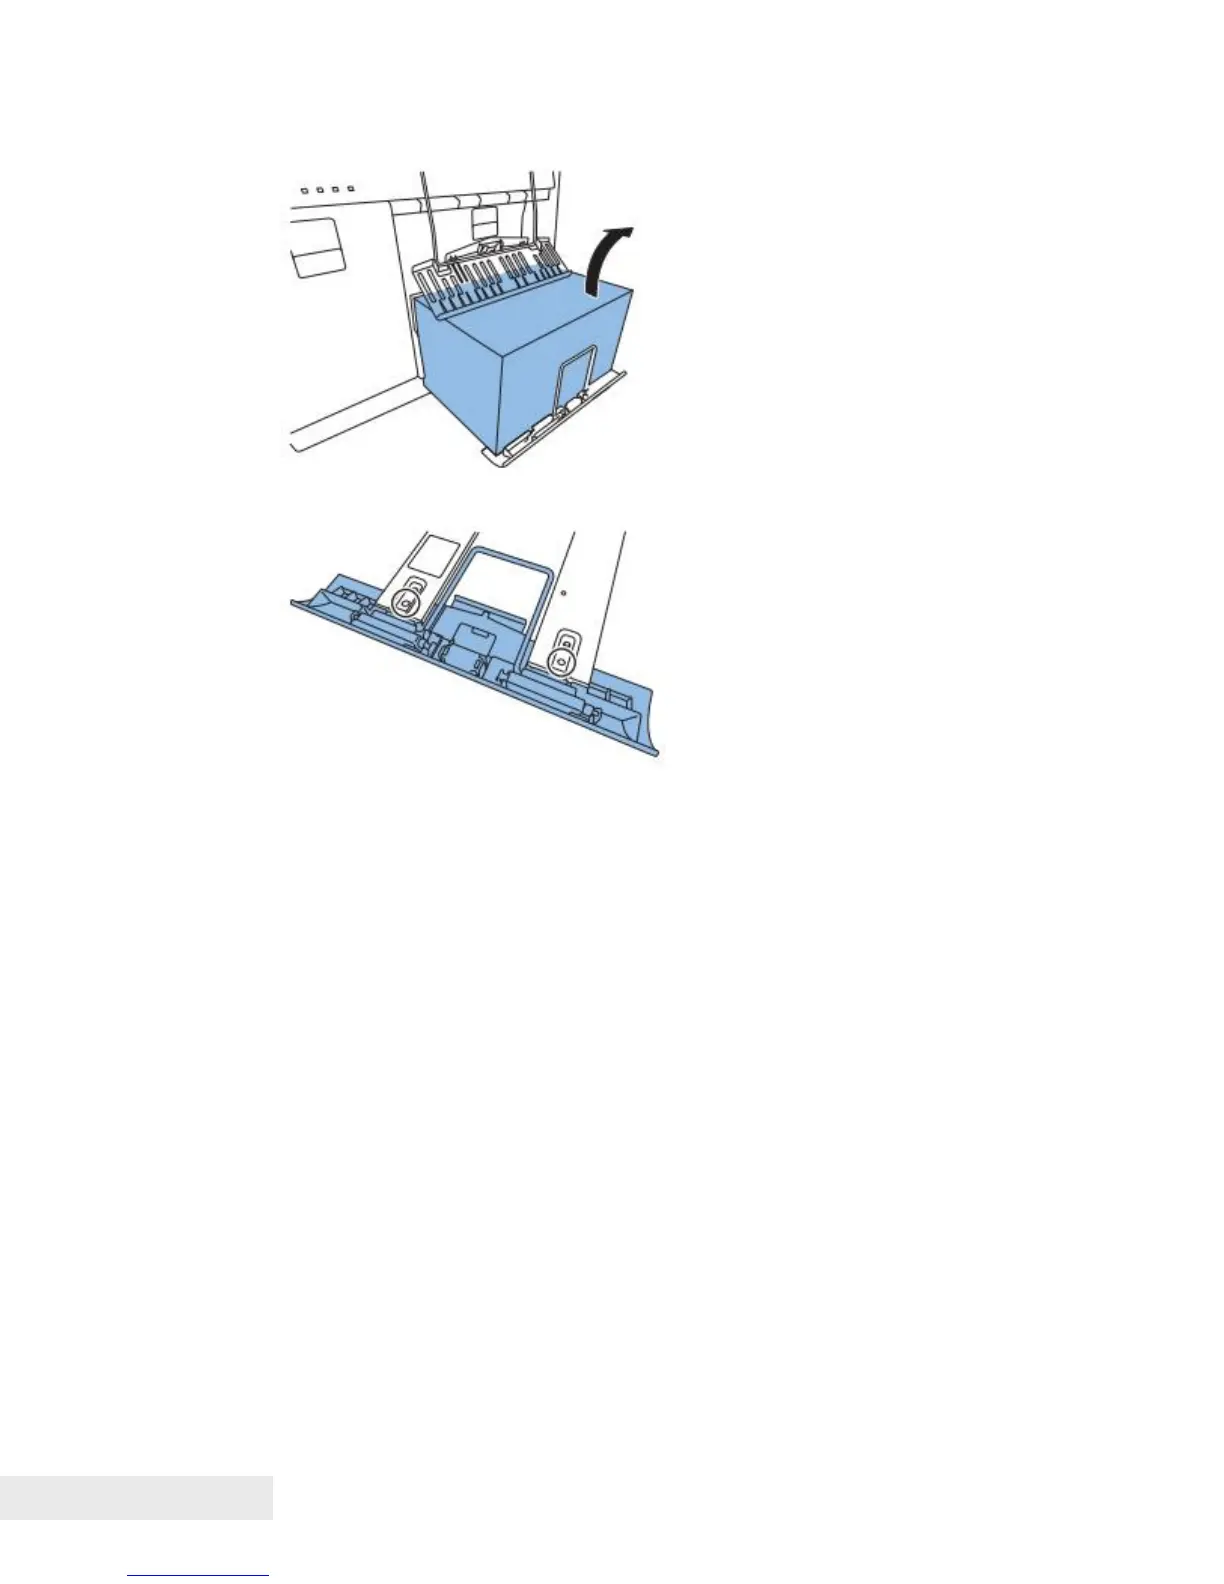
4) Remove the paper from Front Tray Unit.
5) Tighten the screws to secure Front Tray Unit that was prefixed in step 1).
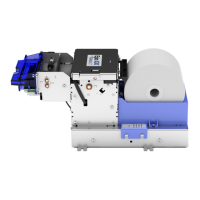
Work at Printer Controller PCB Replacement
Before Printer Controller PCB Replacement:
1) Connect PC to Printer, and then start service utility.
2) Retrieve the date from Printer Controller PCB to PC. ("Printer Controller
PCB Replacement Procedure" section)
After Printer Controller PCB Replacement:
• In the case data can be retrieved from Printer Controller PCB to PC.
3) Send the data from PC to Printer Controller PCB. ("Printer Controller PCB
Replacement Procedure" section)
• In the case data can not be retrieved from Printer Controller PCB to PC.
4) Record 4 adjustment values in the labels on Print Module and Purge Unit.
See the following illustrations.