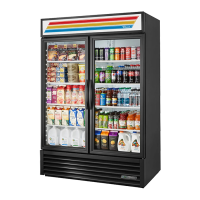
66
GDM & T SERIES IDL GLASS INSERT REPLACEMENT
Warning:
The Edges on the glass
insert are very sharp. To
avoid personal injury, u s e
adequate protection for your
eyes and hands when working
or handling this or any
other glass component.
Required tools:
- Phillips head screwdriver
- 3/8” Wide double sided tape
- Side cutters (if working with
freezers)
- Butt connectors (if working
with freezers)
- Crimping tool (if working with
freezers)
__________ STEP 1 __________
Disconnect power to the cabinet.
__________ STEP 2 __________
Disconnect IDL plug from cooler.
__________ STEP 3 __________
Loosen up the tension from torsion
spring and remove door. Refer to
Removal and Installation of GDM
and T-Series Swing Door
Instructions on page 46-47.
__________ STEP 4 __________
Remove doors handle and place
door on a flat surface.
__________ STEP 5 __________
Remove door gasket and back
plates from the top, bottom and
handle side.
__________ STEP 6 __________
Beginning at the upper corner in the
handle side, carefully pry the bro-
ken glass loose. If necessary, use a
heat gun or hair dryer to loosen up
the insert from double sided tape.
Note:
Do not forget to disconnect the
glass insert heater wires before
pulling it out and reconnect
them before sliding the new
glass insert in.
__________ STEP 7 __________
Remove any excess tape and glass
from the lip on the door’s frame and
replace with new double sided tape.
__________ STEP 8 __________
Install the new glass insert by push-
ing it into the light channel first and
then work out-wards toward the
handle side.
NOTE:
Make sure the TRUE logo on the
insert, is located outside at the
bottom of the frame.
__________ STEP 9 __________
Install gasket back plates and gasket.
__________STEP 10 __________
Mount door and tighten torsion
spring. Refer to Removal and
Installation of GDM and T-Series
Swing Door Instructions on page
46-47.

 Loading...