34
INSTALLATION INSTRUCTION
END CAP REPLACEMENT - T-SERIES SWING DOOR
REQUIRED TOOLS
• Phillips Head Screwdriver
• 1/4" Hex Head Driver
• Putty Knife
• Two-Way Tape
• Rubber Mallet
• .30 drill
• Rivet Gun
• Black Silicone (optional)
• Silver/Gray Silicone Caulk (optional)
___________ STEP 1 ___________
Disconnect power to unit.
___________ STEP 2 ___________
Carefully lay cabinet on its back using
2x4's etc. to cushion and elevate from the
floor.
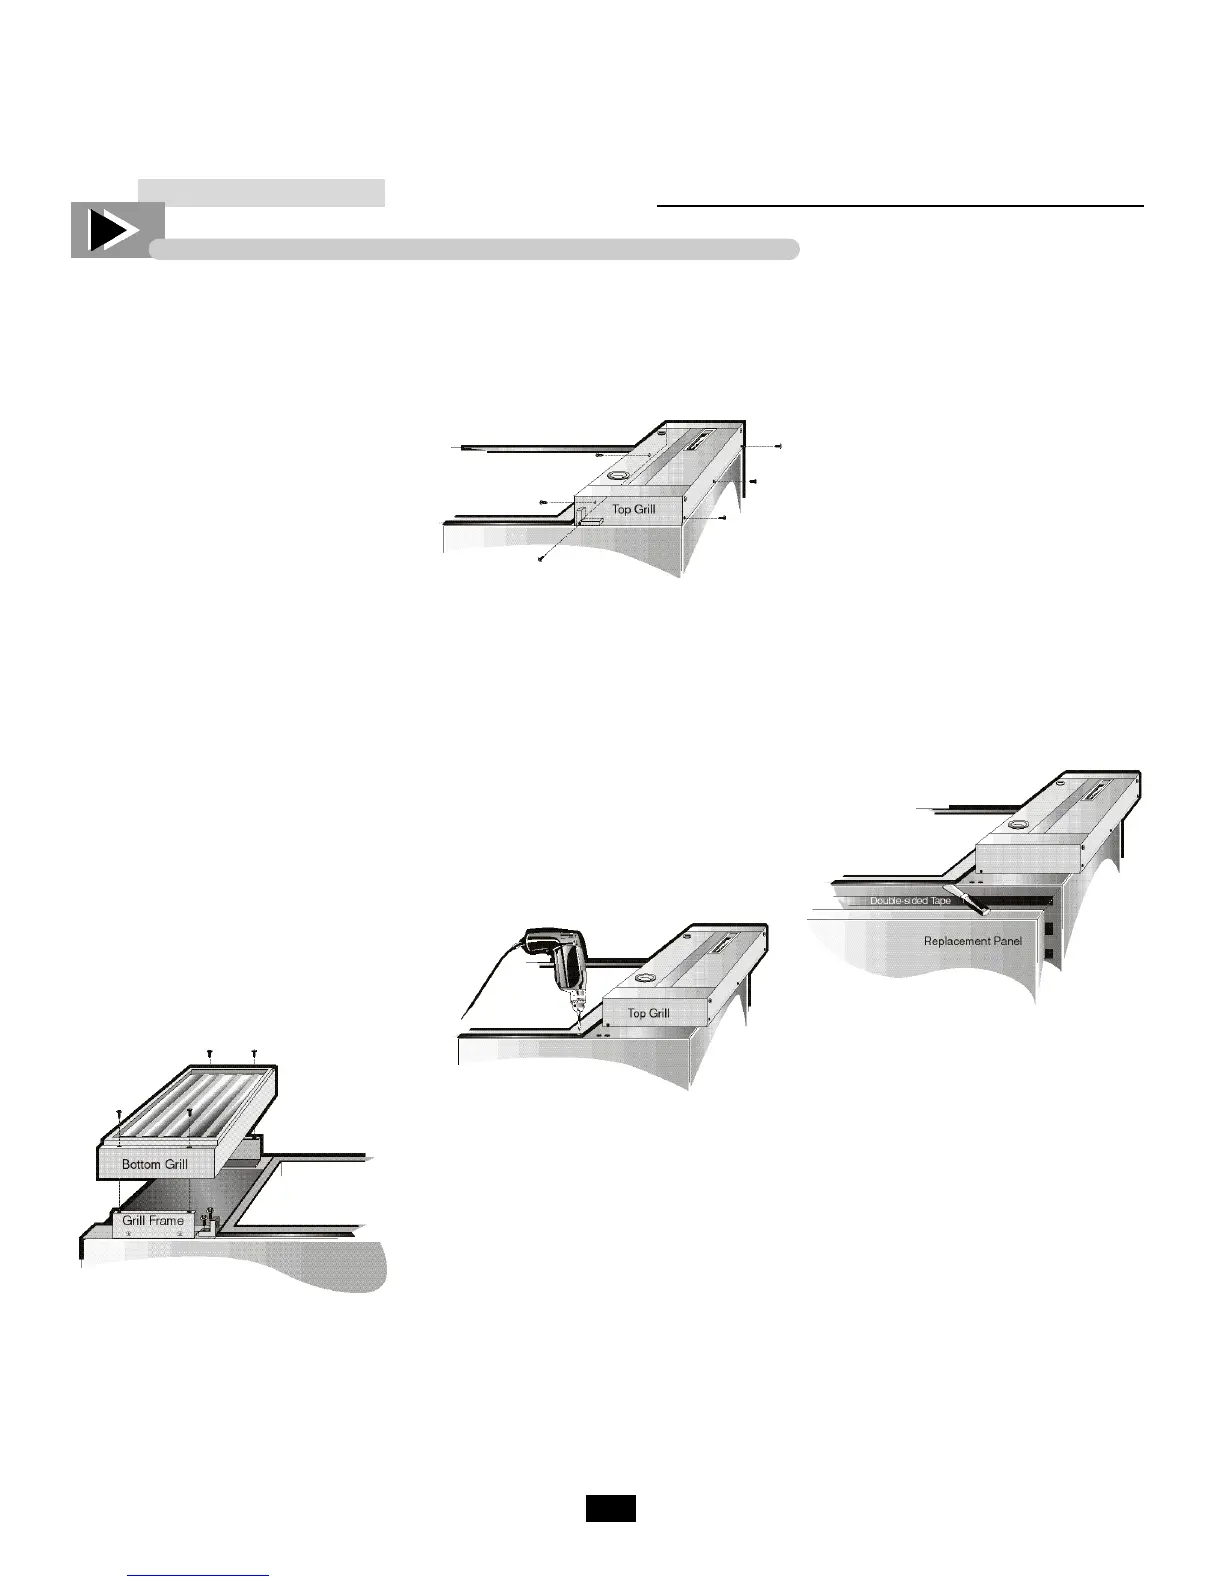
___________ STEP 3 ___________
Take off lower grill assembly by remov-
ing four front corner screws. Loosen (do
not remove) two screws in grill bracket
on the side to receive replacement panel.
___________ STEP 4 ___________
Take off top grill assembly by removing
three screws along the rear edge on top,
two screws in the front underside and
single screw on right side into top hinge
bracket.
Gently lift grill and slide away from side
to receive replacement panel. Be careful
not to disconnect wiring to thermometer.
___________ STEP 5 ___________
If replacement is on the hinge side of the
cooler remove the door and hinges. (see
instruction on page 3).
___________ STEP 6 ___________
Drill out rivet in stainless gasket base on
right side top with a .30 bit.
(no rivet on left side) and bottom.
___________ STEP 7 ___________
Install 5 strips of two-way tape vertical-
ly the length of the side being capped.
___________ STEP 8 ___________
Remove replacement panel from
masonite box. (replacement panel may
be used on either end) 1/2" lip faces
front.
___________ STEP 9 ___________
Carefully bend 1 3/4" rear lip inward
slightly in order to create an angle less
than 90° to produce a snug fit while
installing.
___________ STEP 10 ___________
Peel plastic film away from 1/2" front lip
only.
Install panel by working the top front
1/2" lip in slot between cabinet and plas-
tic gasket base and continue down the
cabinet and under bottom grill frame.
It may be necessary to use a putty knife
to widen gap.
When cap is in position gently tap fold-
ed edge with a rubber mallet until flush.
___________ STEP 11 ___________
Tighten screws in bottom grill frame
___________ STEP 12 ___________
Smooth replacement end over two sided
tape and around rear edge.
Remove protective film.
FIGURE 1.
FIGURE 3.
FIGURE 2.
FIGURE 4.

 Loading...


