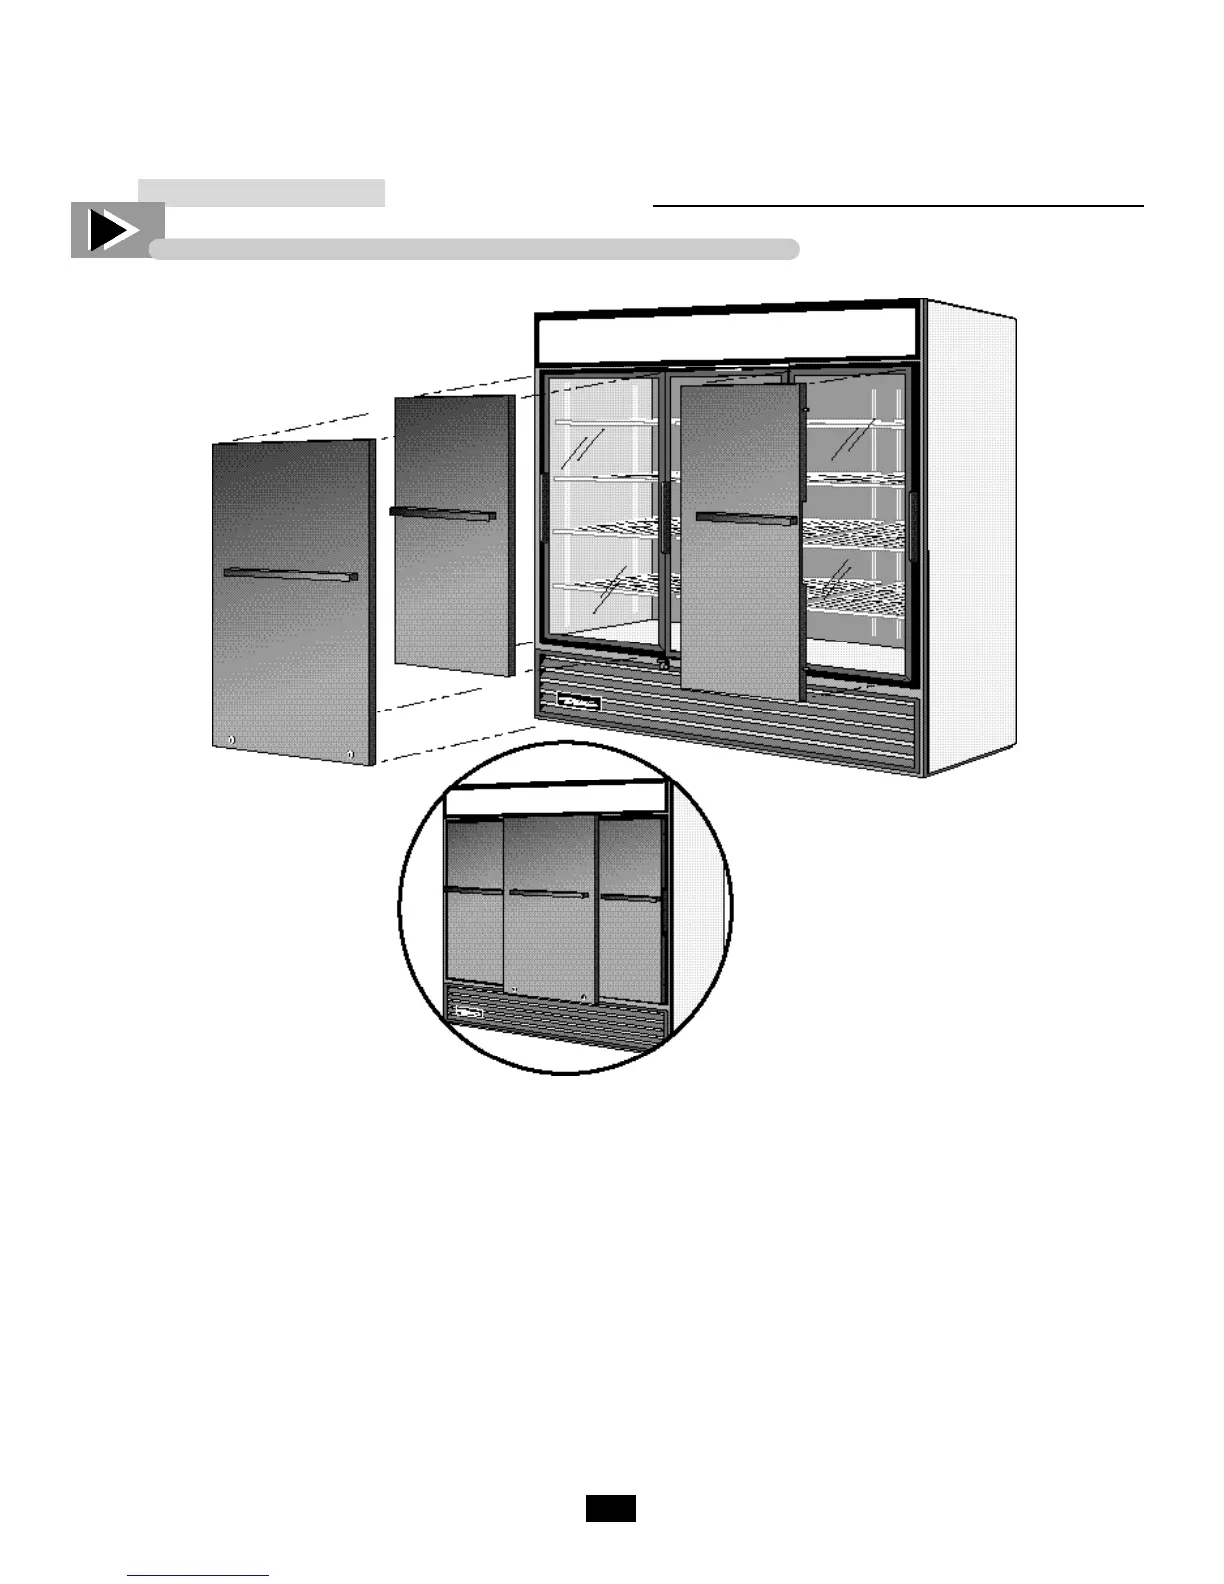
Figure 1.
INSTALLATION INSTRUCTION
Vandal Panel - GDM-69
REQUIRED TOOLS
• Drill - 1/4" Bit
- 3/16" Bit
• Pop-Rivet gun
• Tape Measure
___________ STEP 1 ___________
Unplug the cooler.
___________ STEP 2 ___________
Position bracket "A" directly under the
sign panel trim with the lip down. (See
figure 2.)
___________ STEP 3 ___________
Center the bracket on the front of the
cooler.
___________ STEP 4 ___________
Drill five holes in the cooler front by
transferring them through the pre-
drilled bracket.
___________ STEP 5 ___________
Pop-rivet the bracket in place.
___________ STEP 6 ___________
The two brackets "B" will be mounted
on the front of the cooler, directly
below the bottom door tracks.
IMPORTANT
Check all dimensions carefully
before drilling
___________ STEP 7 ___________
Position one bracket "B" so that the
center of the bracket is 26 1/2" from
the right hand edge of the cooler.
Located the second bracket "B" so that
it is 26 1/2" from the left hand edge of
the cooler. (See figure "2")
___________ STEP 8 ___________
Check the height of the brackets before
drilling.
The dimension from the top of the lip
on bracket "A" to the bottom of the
lip on bracket "B" must be 53". (See
figure "2")

 Loading...


