48
REQUIRED TOOLS
• Phillips Head Screwdriver
• Hex Head Driver
___________ STEP 1 ___________
Unplug the cooler
___________ STEP 2 ___________
Turn the temperature control to the
"OFF" position ("0").
___________ STEP 3 ___________
Remove the black control knob on the
temperature control. (It pulls off.)
___________ STEP 4 ___________
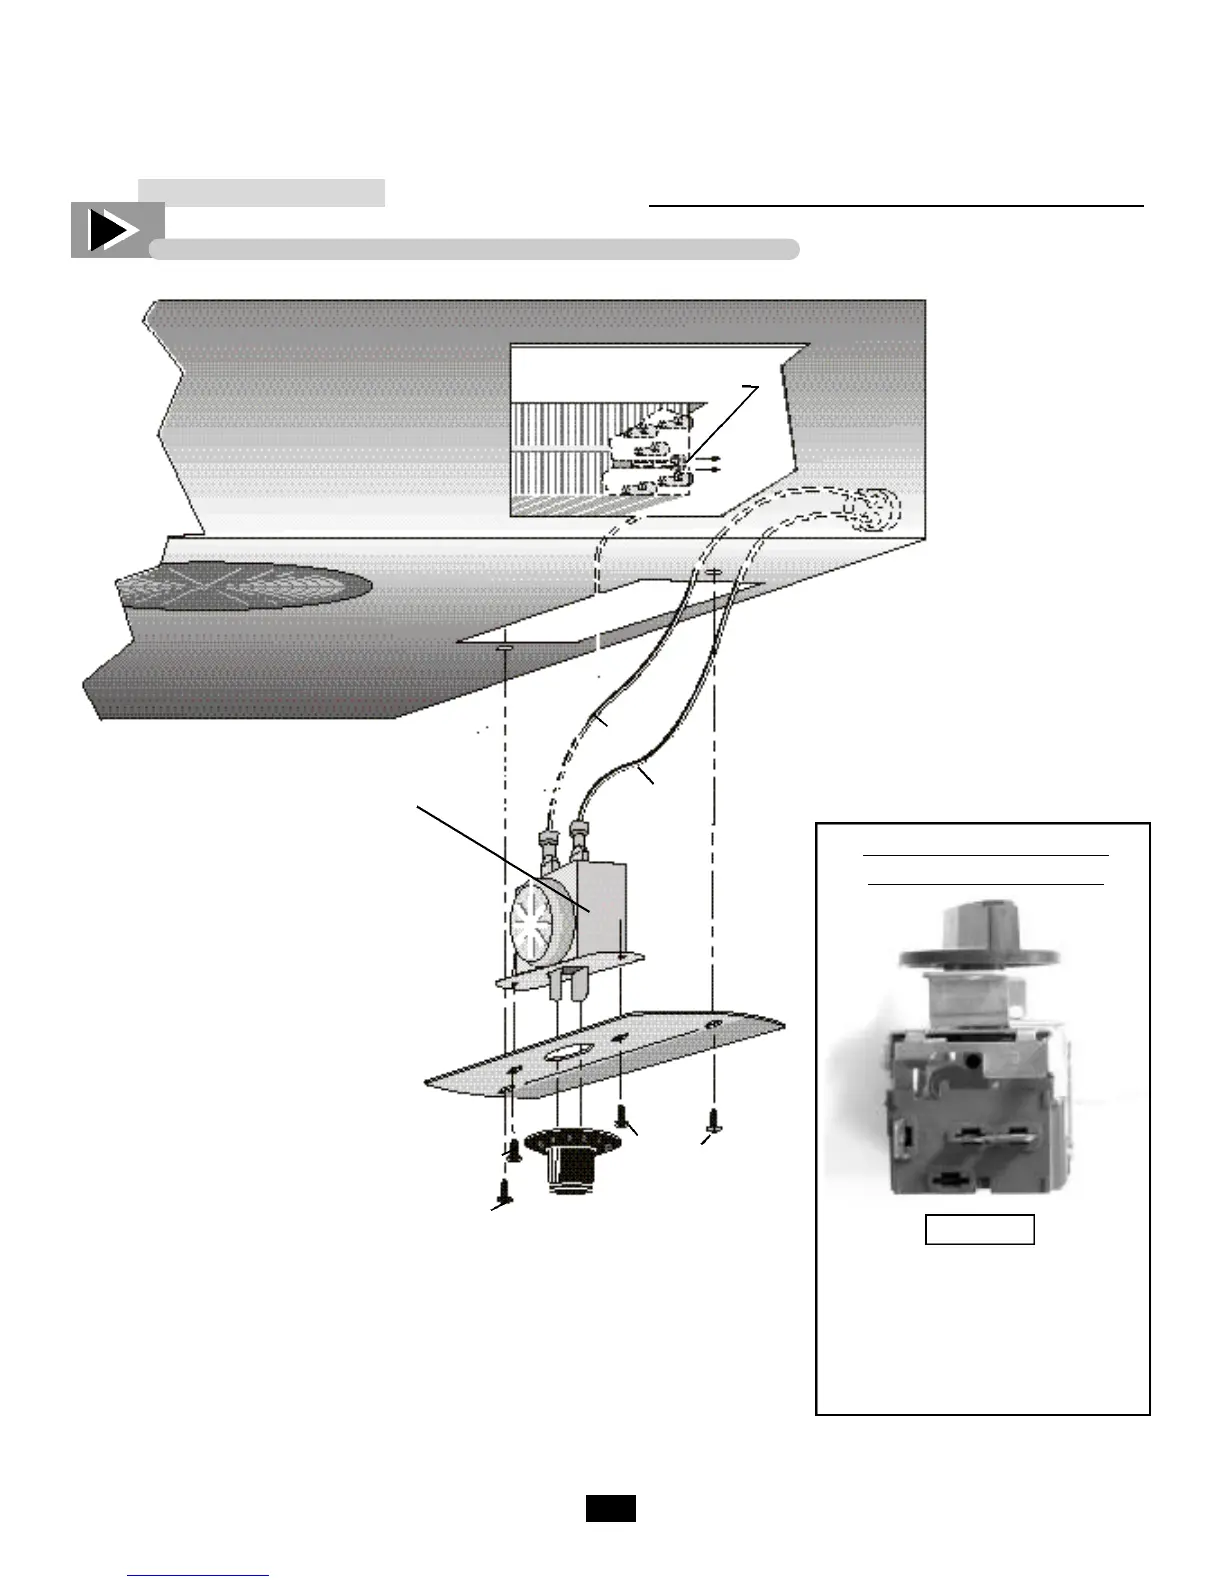
Remove the screws that secure the
mounting plate to the evaporator top.
Item "A".
___________ STEP 5 ___________
Remove the two screws that hold the
control to the mounting plate. Item"B".
___________ STEP 6 ___________
Disconnect the two wires from the tem-
perature control. Items 1 and 2.
_________ STEP 7 ___________
Reach to the side of the evaporator
coil and remove the permagum from
around the control bulb. Completely
remove the control bulb from the
sleeve, and pull straight out after
removing the permagum.
INSTALLATION INSTRUCTION
TEMPERATURE CONTROL CHANGE-OUT - GDM
NOTE:
If it becomes necessary to remove the
housing be sure to tape off any interior
panel at risk of being scratched.
Figure 1.
Figure 9.
Control Change Out.
and the other wire to terminal #4.
connector sent with new control.

 Loading...


