VEMCO – VR100 Manual 28 May 2018 12
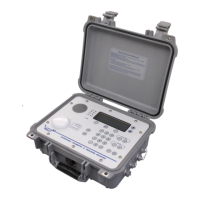
Remove the protective cap from the hydrophone connector by grasping
the ridged edge of the cap and pulling away from the VR100.
Remove the protective cap from the connector on the end of the
hydrophone you’re using.
Never remove the receiver’s
front panel from the case –
the internal components
could be irrevocably
damaged.
There are no
user-serviceable parts
inside. Opening the unit
will void your warranty.
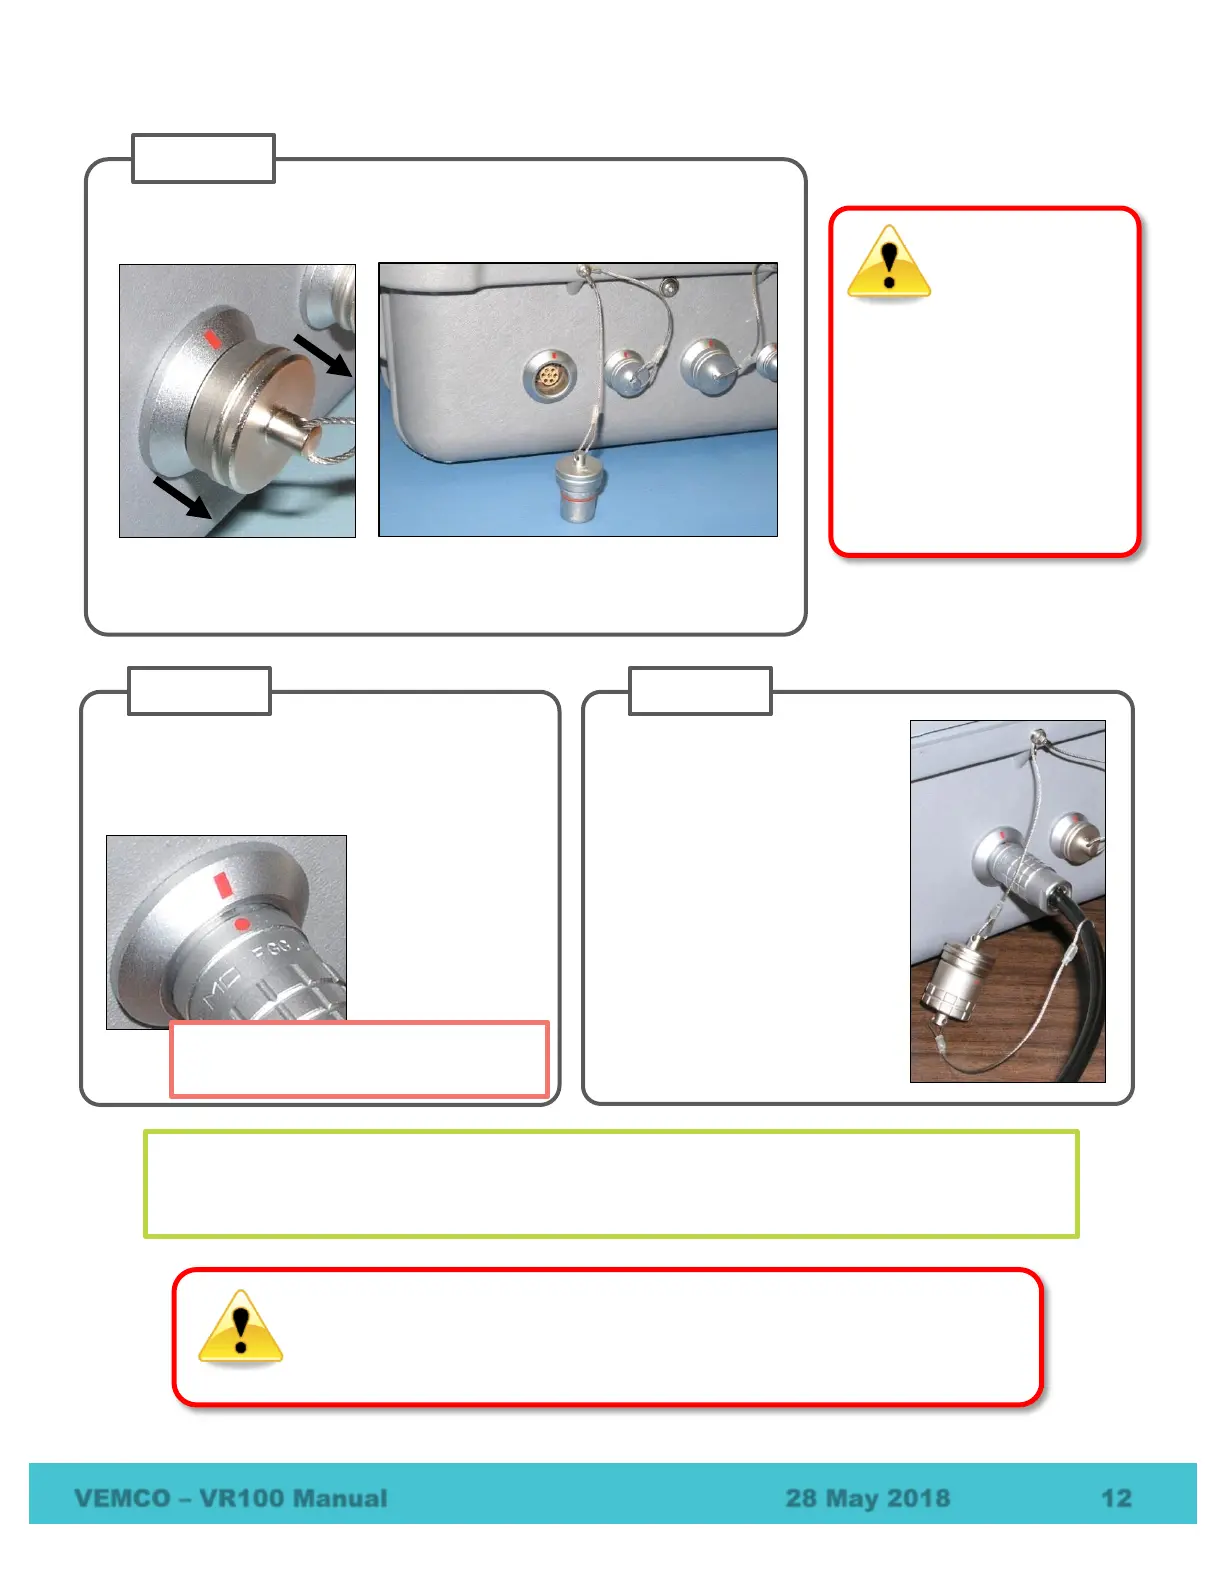
Line up the red dot on the hydrophone
connector with the red line on the ring around
the VR100’s hydrophone connector and push
the two together until you hear a “click”.
Connect the two protective
caps together (see picture at
far right) to keep moisture
from gathering inside the
caps. If there is any
moisture inside the cap when
the cap is returned to the
connector, the connector
could be damaged and may
damage the VR100 as a
result.
Only connect the hydrophone when
the VR100 is not powered (off).
The red dot on the end of the connector must line up with the red line on the VR100’s
connector, as shown in the photo on the right. The connectors have unique grooves to prevent
the wrong connector halves from being placed together.
DO NOT get water in the connectors on the cables that attach to the VR100
receiver, such as the PC connection cable or the headphone cable. Water will
enter the connector to damage the cabling and potentially damage the receiver.
 Loading...