VEMCO – VR100 Manual 28 May 2018 11
2 Getting Started
The basic information you need to get started using the VR100 is contained in this section of the manual.
Additional information, including more advanced tasks, is contained in a later section.
2.1 Setup VR100
There are some basic things that should be done before the VR100 is used, such as setting the time offset,
selecting units used for sensor tags, verifying the code map you require, and entering sensor tag information.
Additional tasks are explained in the “Additional Information” section of this manual (section 6).
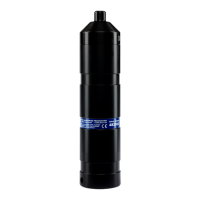
2.1.1 Attach hydrophone
The hydrophone being connected to the VR100 depends on the task and operating frequency of the tags being
used. For example, to determine if a 69 kHz tag is in the area, the VH-165 is usually selected. The
hydrophone types and tasks are identified in section 1.6.1.
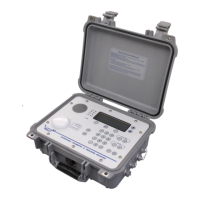
Place the VR100 on a flat, stable, horizontal
surface so the serial number label is facing up.
Lift one or both latches upward until they are
horizontal. The latches will separate slightly
for easier opening.
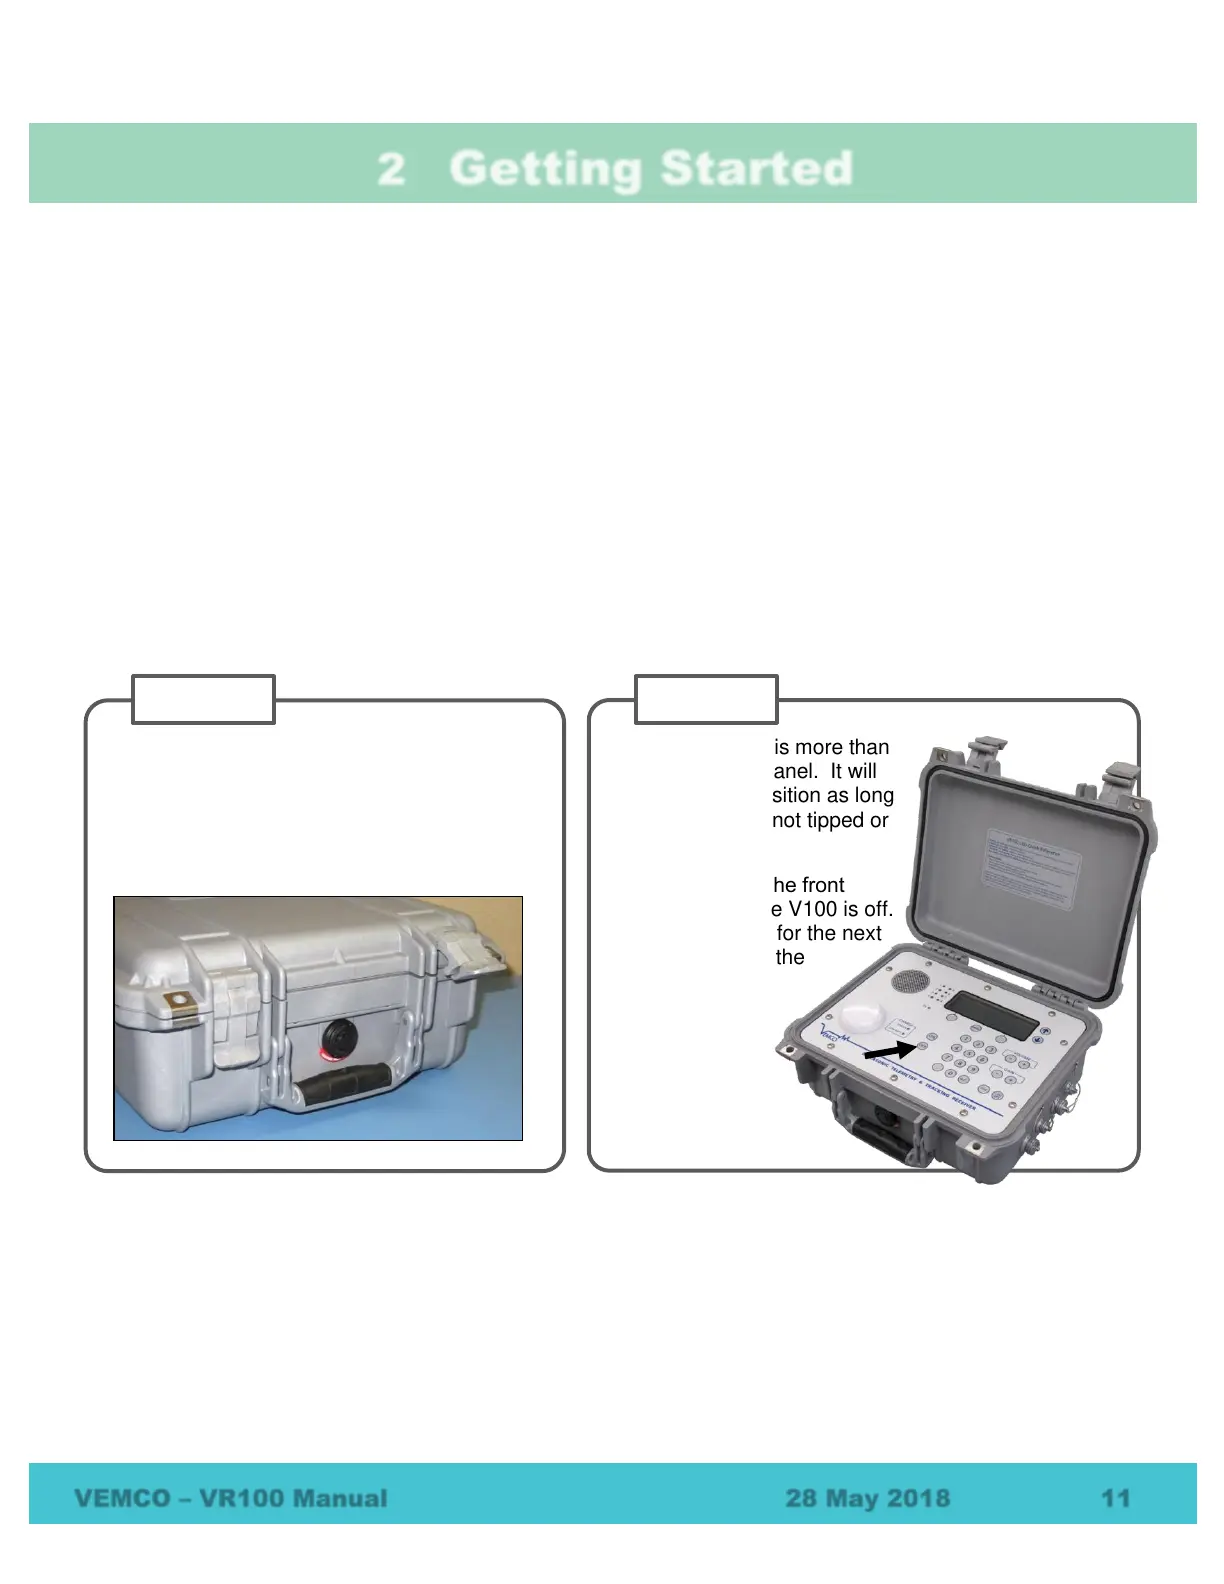
Lift the lid until it is more than
90° to the front panel. It will
remain in this position as long
as the VR100 is not tipped or
jarred.
Press “OFF” on the front
panel to verify the V100 is off.
This is important for the next
step, connecting the
hydrophone.
 Loading...