VEMCO – VR100 Manual 28 May 2018 52
6.2.2 Setting Up Sync Tag
Receivers have the ability to transmit a pre-programmed coded ID. How this transmission is formatted can be
selected by following the steps listed below. The Coded ID that is transmitted was programmed into the
receiver at the time of manufacture and cannot be changed.
STEP 1
Select “Settings…”
(#2) from the main
transponding menu.
STEP 2
Select “Synctag…” (#2).
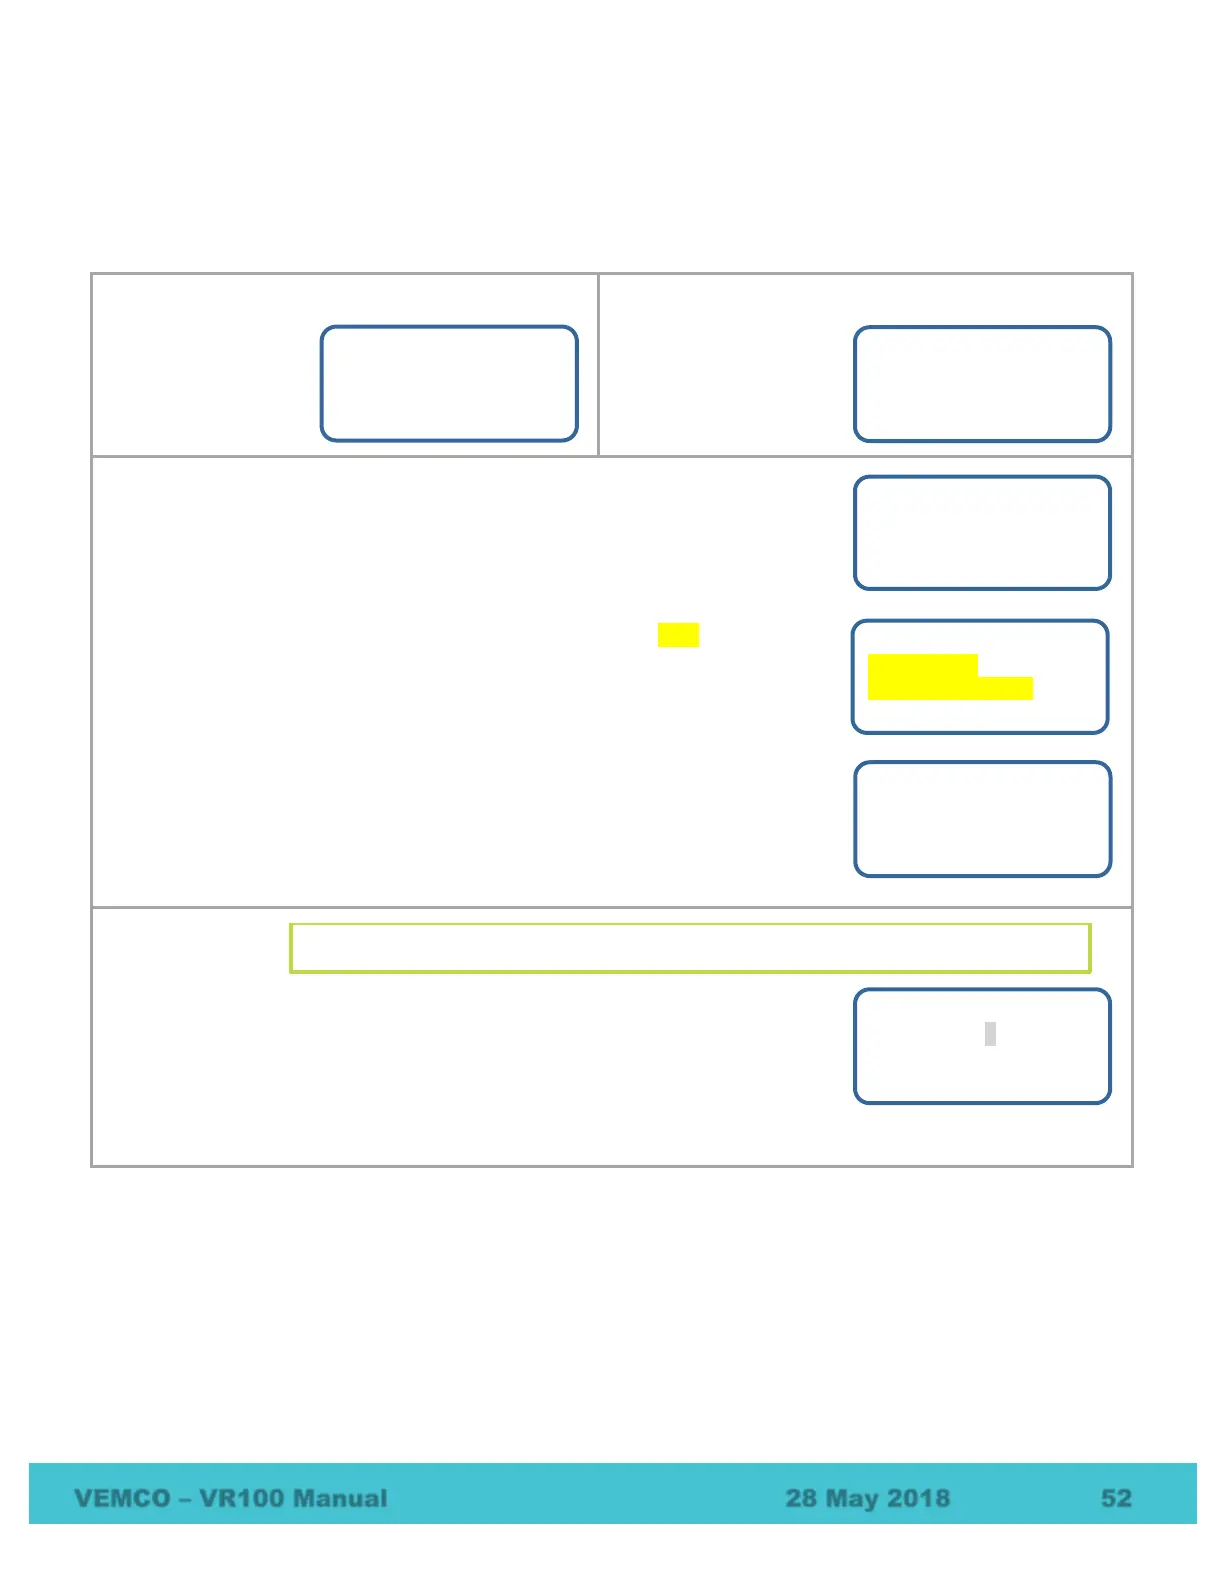
STEP 3 (HR2 options shown at right)
Select “Read Profile” (#1) to view the current power level and setting of the
sync tag, or select “2 Setup Profile…” to change the current power level and
settings.
For HR2 receivers, two additional options are available (at right):
Select “Read ID…” (#3) to read the PPM and/or HR2 sync tag IDs.
Select “Transmissions” (#4) to report the number of synctag
transmissions (PPM + HR, PPM only, or HR only)
If you select to read the current synctag power level and profile settings (#1),
the VR100-200 will request the information from the receiver and display It on
the screen similar to the one shown at right.
If you select to change the power level or setup of the sync tag (#2), continue
to Step 4.
STEP 4
Use the arrow buttons to move the cursor until it covers the desired power
level. The larger the number, the higher the transmit power level of the
coded ID. Descriptions are shown based on which level is highlighted by the
cursor.
Press the right selection button to select the highlighted power level as the
new level and to move to the next screen in the setup process.
1 Status...
2 Settings...
3 Acoustic Release
Select
1 Power Level
2 Synctag...
3 Noise...
Select
1 Read Profile
2 Setup Profile…
Select
Synctag Power Level
1 2 3 4 ↕
(High)
Next
VR2AR:000001 150m
Power: VeryHigh
Profile:RangeTestFixed
(SYNCTAG) Resend
TIP: Select the desired number on the keypad instead of using the arrow buttons.
2 Setup Profile…
3 Read ID…
4 Transmissions
Select