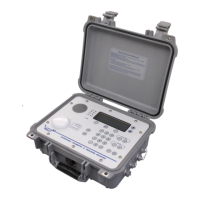
VEMCO – VR100 Manual 28 May 2018 54
6.2.3 Learning Noise Levels
Receivers can report the amount of ambient noise in the area, which may be helpful in deciding if a
deployment location is too noisy for reliable tag detections. To get the noise levels in the area, the receiver
must first be setup to record the noise levels.
STEP 1
Select “Settings…”
(#2) from the main
transponding menu.
STEP 2
Select “Noise…” (#3).
STEP 3
Select “Setup & Start” (#1) to begin the noise reporting process.
STEP 4
Enter the desired time, in seconds, between noise measurements. This can
be any number between 1 and 3600 seconds (1 hour) but for times over 59
seconds, the resolution becomes one minute. For example, entering 90
means a sample will be taken every two minutes, as is shown in the confirmation window of Step 6.
STEP 5
Enter the number of samples that are to be taken, between 1 and 255.
For example, if the sampling rate is 60 seconds and the number of samples is
set at ten (10), then the noise results will apply to a ten minute period of time.
Select “Send” to continue. The settings are not sent yet.
STEP 6
Confirm the settings as shown in the VR100 screen. If they are correct, then
select “Send” to send these settings to the receiver.
1 Status...
2 Settings...
3 Acoustic Release
Select
1 Power Level
2 Synctag...
3 Noise...
Select
1 Setup & Start...
2 Stop & Read
Select
Enter sampling rate
(1 to 3600 seconds):
0060
Next
Enter no. of samples
(1 to 255):
010
Send
CONFIRM NOISE SETUP
Sample rate: 1 min
No. of samples: 10
Cancel Send
VR2AR:000001
Setting up noise...
T-11 86dB▊▊▊▊
Far M00 Mute
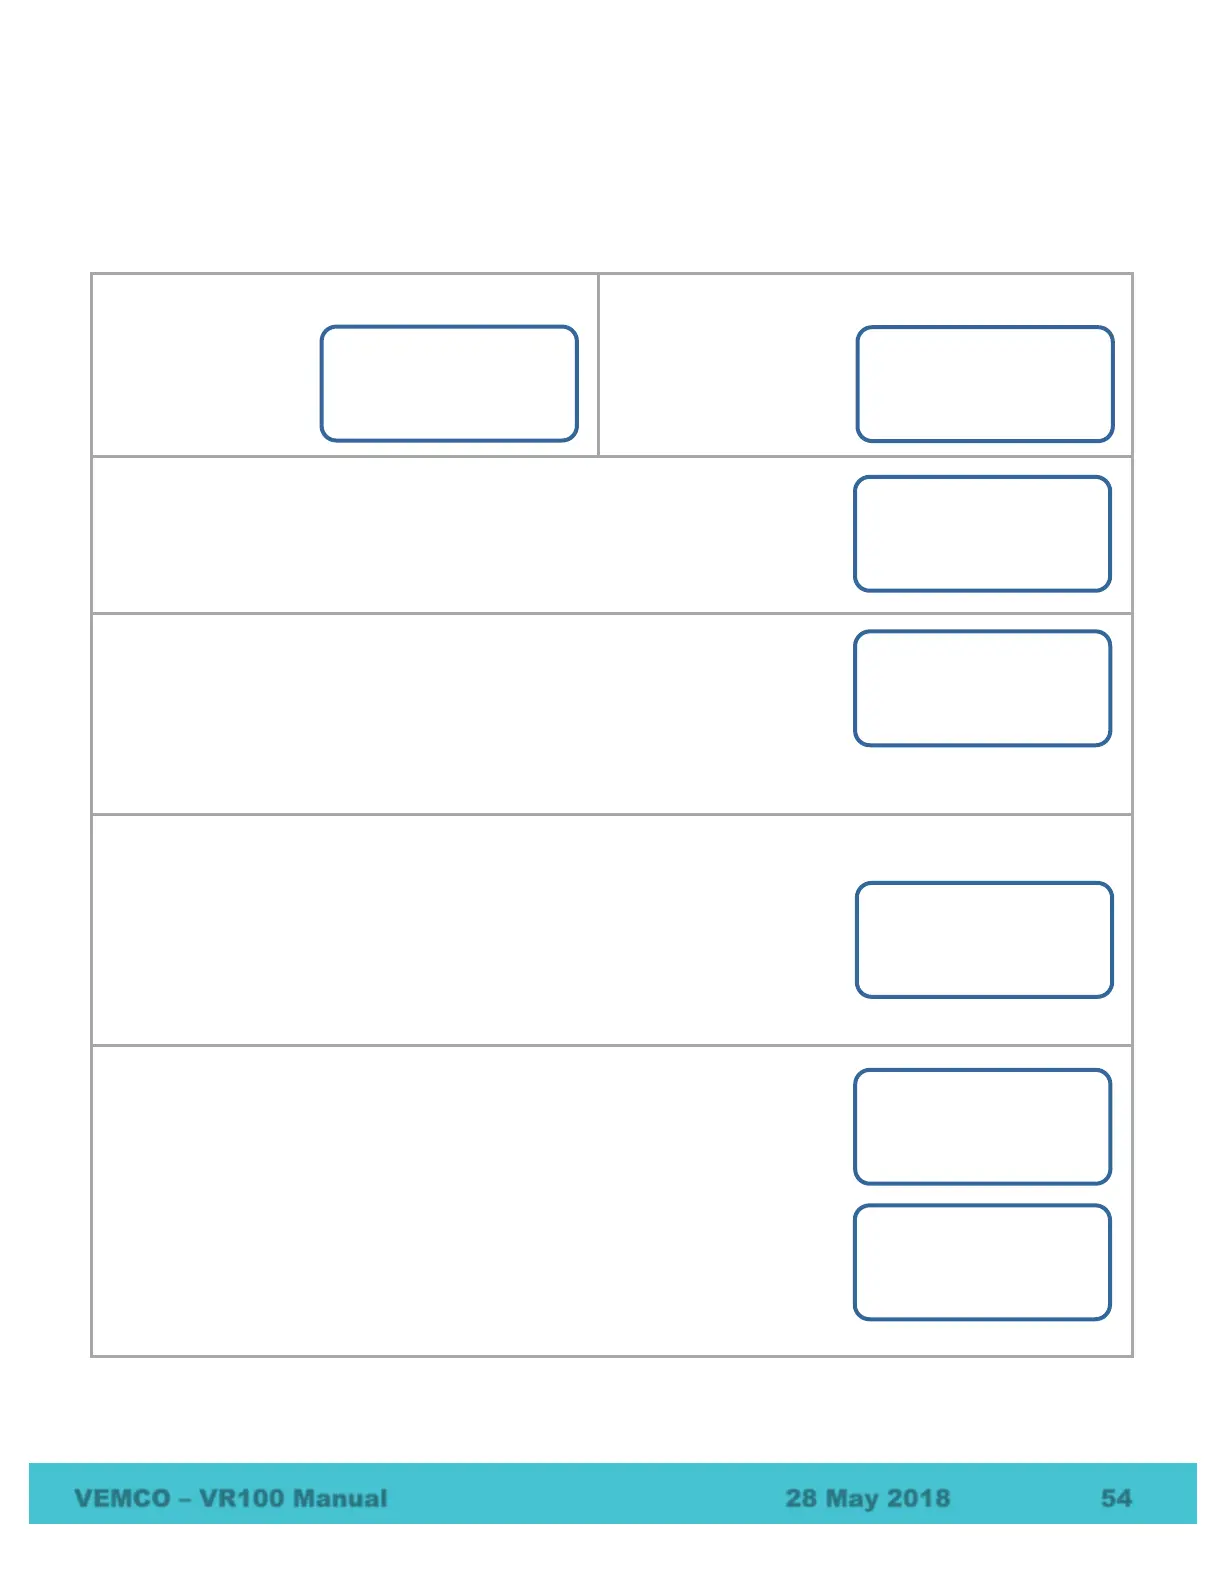 Loading...