January 2016
4-99
WorkCentre 4150/4250/4260WorkCentre WorkCentre 4150/4250/42604150/
REP 5.32
Repairs and Adjustments
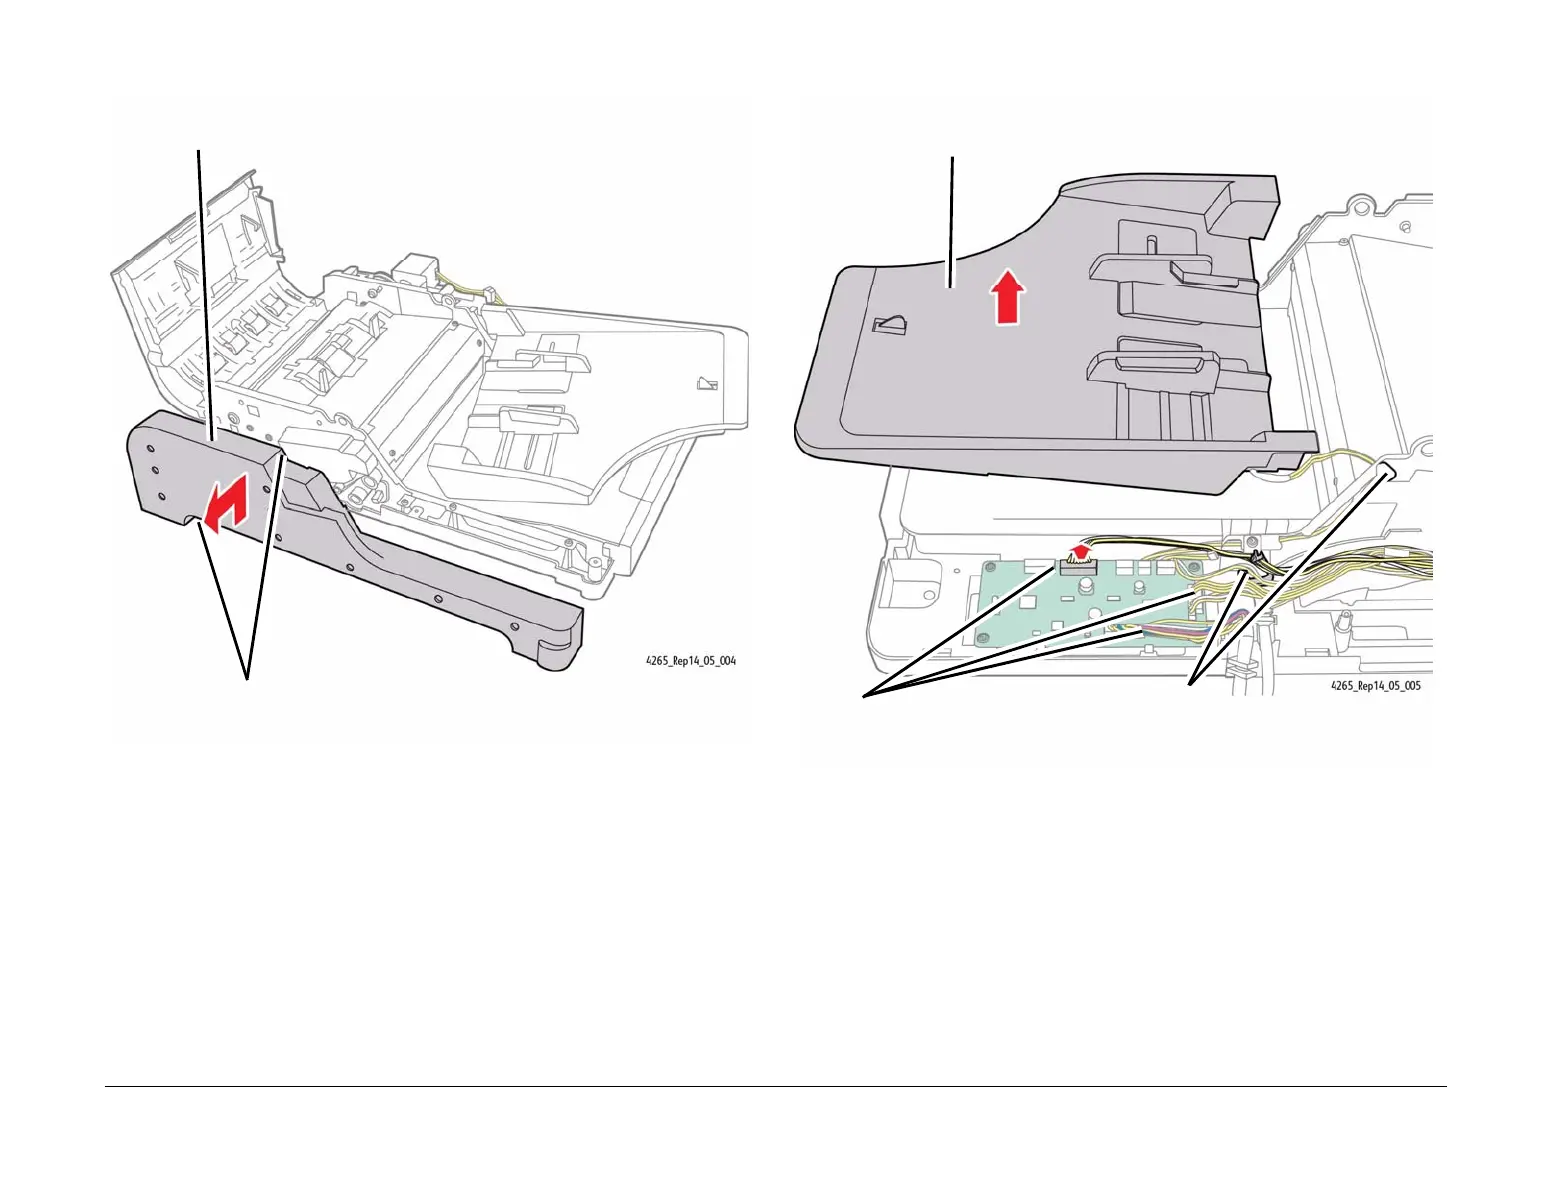
8. Remove the DADF Front Cover (Figure 6).
Figure 6 Removing the DADF Front Cover
NOTE: In the following activity, all the connectors will be disconnected from the DADF PWB.
This is done so that the DADF Sub Assembly can be separated from the Lower DADF Frame
later in this procedure.
9. Remove the DADF Feed Tray (Figure 7).
Figure 7 Removing the DADF Feed Tray
10. Disconnect all connectors from the DADF PWB. Route all wires outboard of the machine
to avoid damaging them when the subassembly is removed.
11. Remove the Top Cover Assembly (REP 5.14).
1
Release two plastic tabs on the inside of the DADF Front Cover.
2
Lift the Front Cover upwards to remove it from the DADF.
3
Remove the DADF Feed Tray from the machine.
1
Disconnect all connectors
on the DADF PWB.
2
Route the Feed Tray wire harness
(CN9) through the cable clip and
the hole in frame.

 Loading...


