Media Management
English
8
Chapter
89
Important:
Formatting a floppy disk erases all
data that stored in the disk, so make
sure that the disk you are going to
format does not contain the data you
want to keep.
In the case of using the unformatted floppy disk on the floppy drive
(optional) or deleting the entire contents on the floppy disk, format the
floppy disk.
To select a medium, see Chapter 3
“Basic Song Playback – Selecting
Medium and Their Contents” on
page 17.
Connect the floppy drive (optional) to the USB port on the
control unit.
Note:
If you are formatting a floppy disk,
make sure that the floppy disk’s
erasure protection tab is set to
“unprotected.”
Insert a floppy disk to the floppy drive.
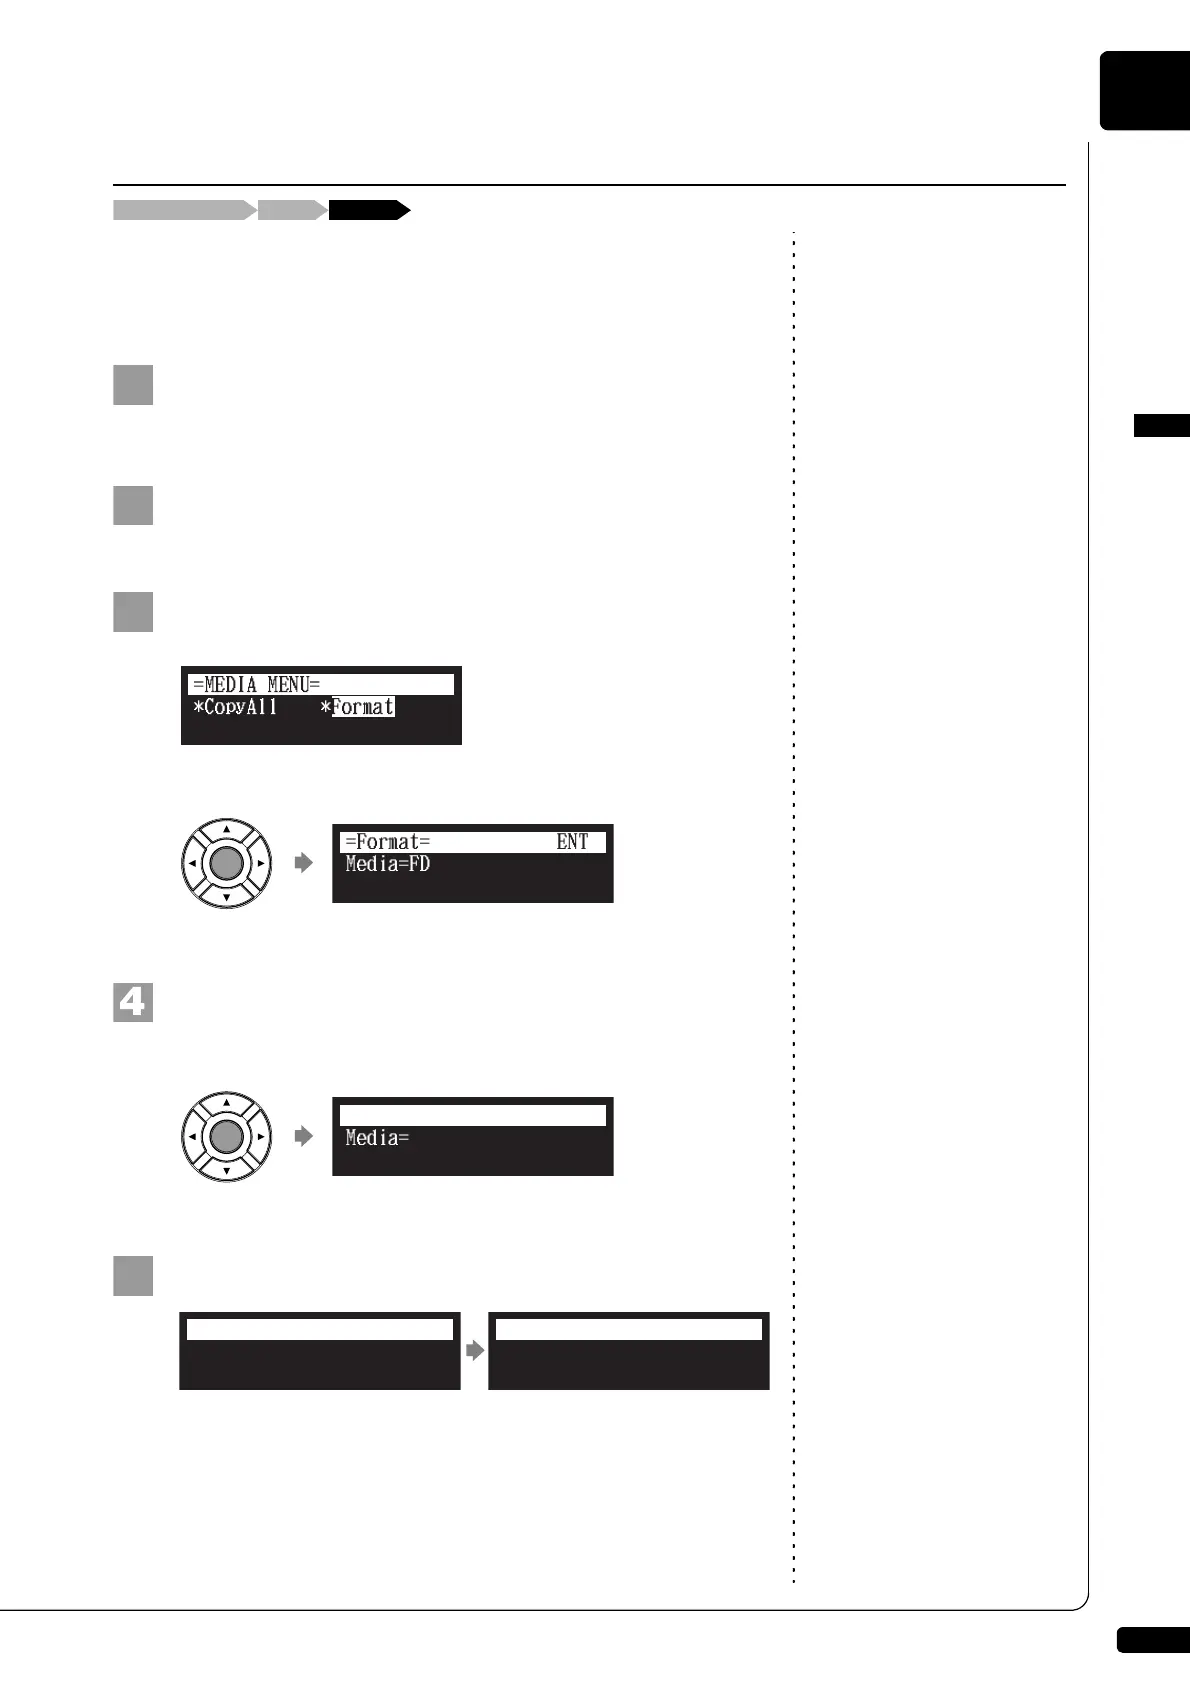
Select “Format” in the media function menu, then press
[ENTER].
The Format screen appears.
Press [ENTER].
“OK?” flashes in the first line of the screen.
Press [+/YES] to format, [–/NO] to cancel.
After a while, the completion message appears.
Press any button to return to the media selection screen.
Formatting the Floppy Disk (Optional)
[FUNC.]Select the floppy disk “Format”
Media=FD
=Format= OK? YES/NO
Completed.
Press any button.
=Format=
ANY