Getting Started
English
2
Chapter
11
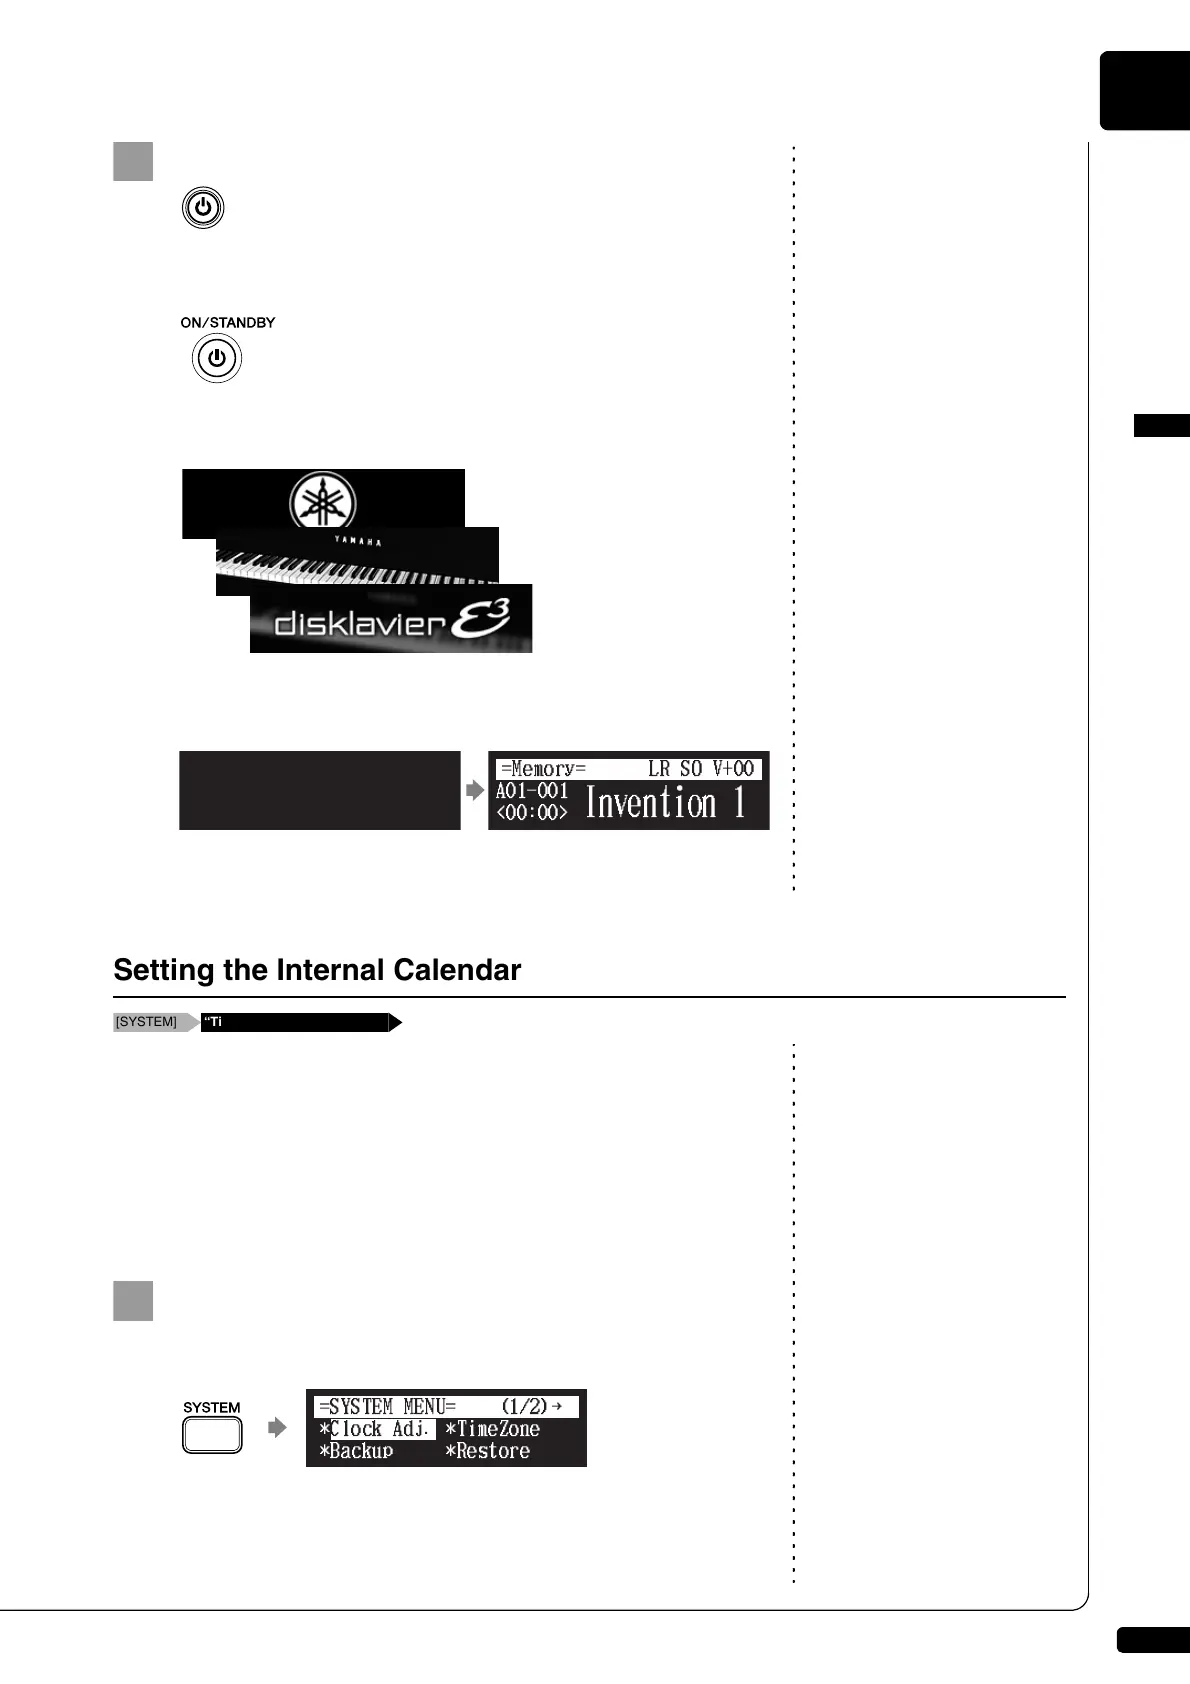
Press [ON/OFF] on the control unit.
See Chapter 2 “Getting Started –
Turning Off the Disklavier (Standby
Mode)” on page 14.
While the control unit is in the standby mode, you can also turn on
the Disklavier by pressing [ON/STANDBY] on the remote control.
The following message appears on the display, and [ON/OFF] on
the control unit lights green.
After several seconds, the loading screen will appear, and last
selected song will be loaded.
Your Disklavier is now ready for use.
Setting the correct time is also
important for engaging timer-
controlled programs. See Chapter 4
“Advanced Song Playback – Using
the Timer Play” on page 35.
The Disklavier has an internal calendar that can be set from 1/1/1985
00:00:00 to 12/31/2084 23:59:59. Set the calendar accurately so that the
Disklavier displays the correct current time during the stop mode.
Time is displayed in 24-hour format.
■ Time Zone
Press [SYSTEM] on the remote control.
The system menu screen appears.
Setting the Internal Calendar
[SYSTEM] “TimeZone” and “Clock Adj.”
!"#$%
{