Advanced Recording
English
7
Chapter
61
You can record a Disklavier piano performance along with the playback of
songs on commercial CDs.
Note:
The Disklavier recognizes the
destination album by selecting the
song in it. Note that the selected
song is not overwritten by this
procedure.
Select a destination medium and album, then song in the
selected album.
To select a medium and album, see
Chapter 3 “Basic Song Playback –
Selecting Medium and Their
Contents” on page 17.
Insert an audio CD and select the song that you want to
synchronize with.
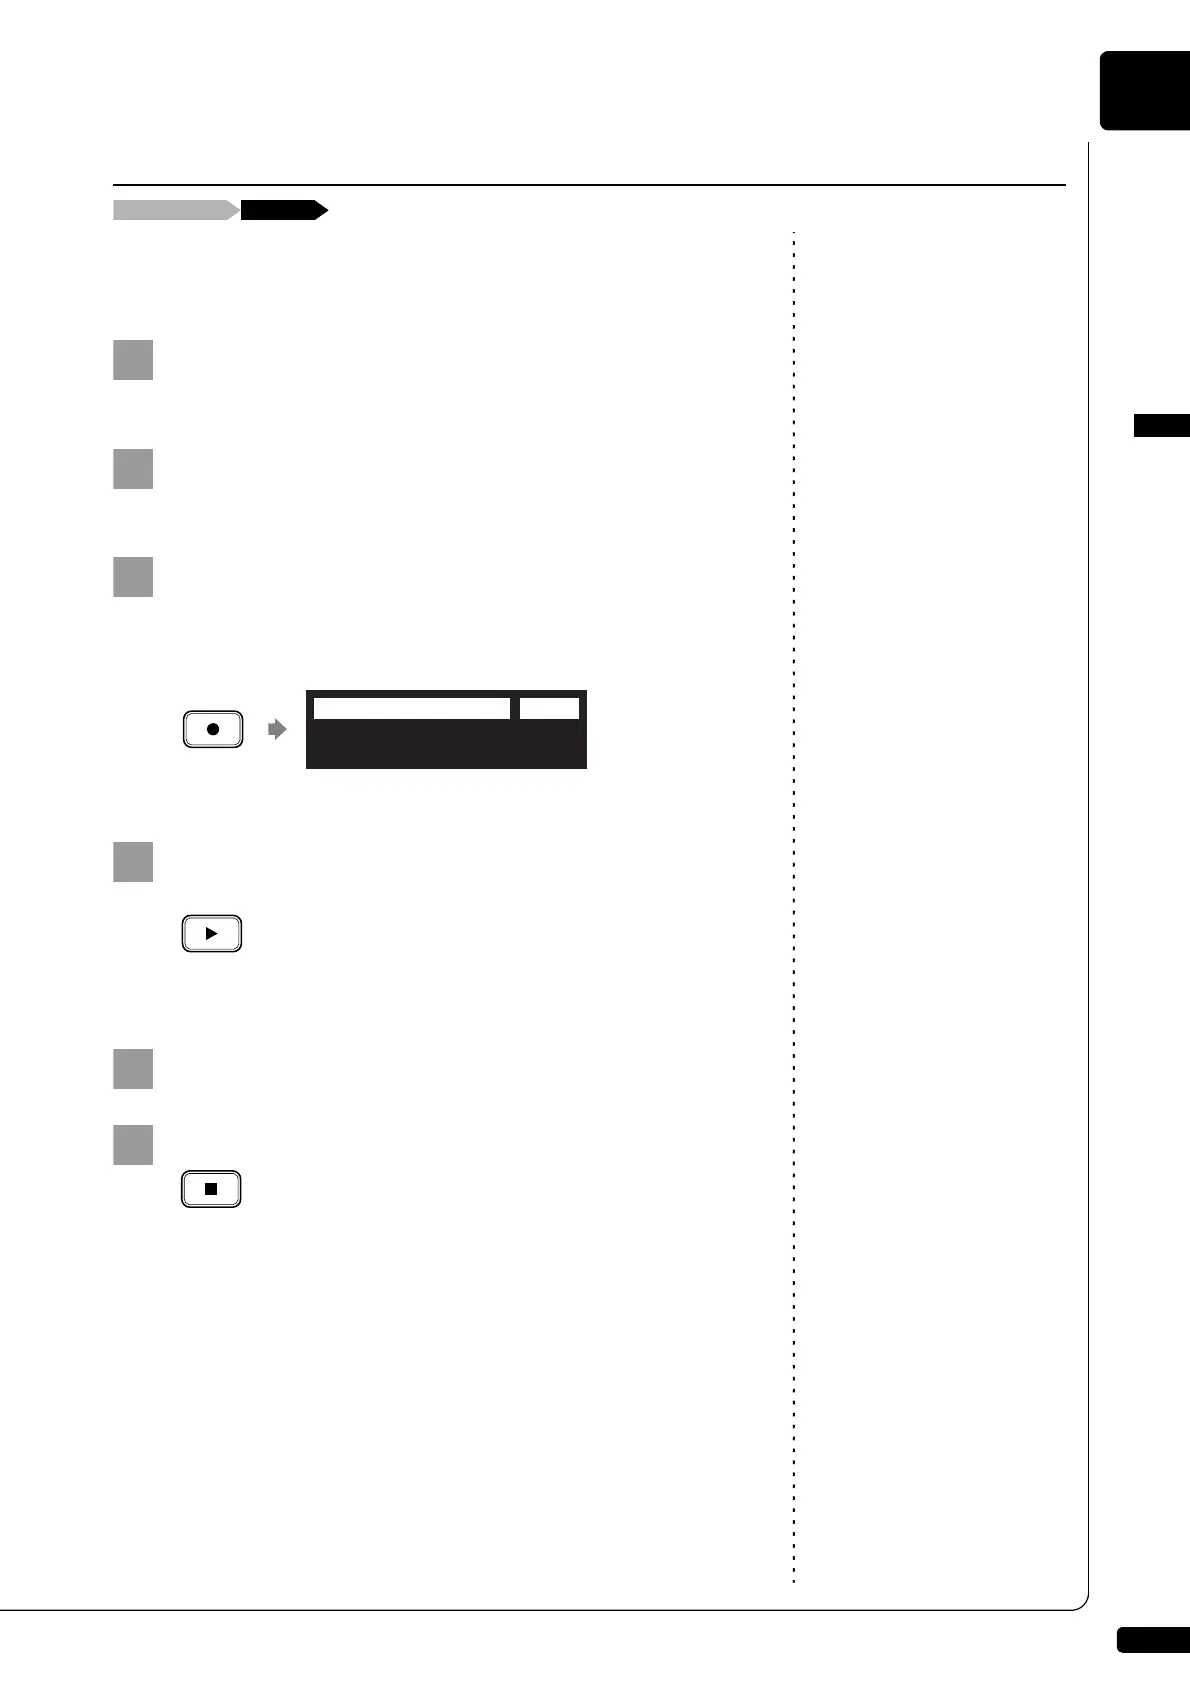
Press [RECORD].
The SPS recording standby screen appears, and [RECORD] on the
control unit lights red, and [PLAY/PAUSE] flashes in green.
Select the desired part of a song, then press [PLAY] to
start synchronizing.
Recording begins with the CD playback.
Start playing the Disklavier along with the CD playback.
To play back the performance
recorded with this feature, see
Chapter 4 “Advanced Song
Playback – Adding Disklavier
Accompaniment to Commercial CD
Songs (PianoSmart™ Playback)” on
page 40.
Press [STOP] to stop recording.
The recorded song is loaded.
CD Synchronized Recording
Insert an audio CD [RECORD]
(New Song)
=Memory=(SPS)
<00:00>
LR 99%
A01-038