6-3
E
LOWR
LOWER UNIT
SERVICE POINTS
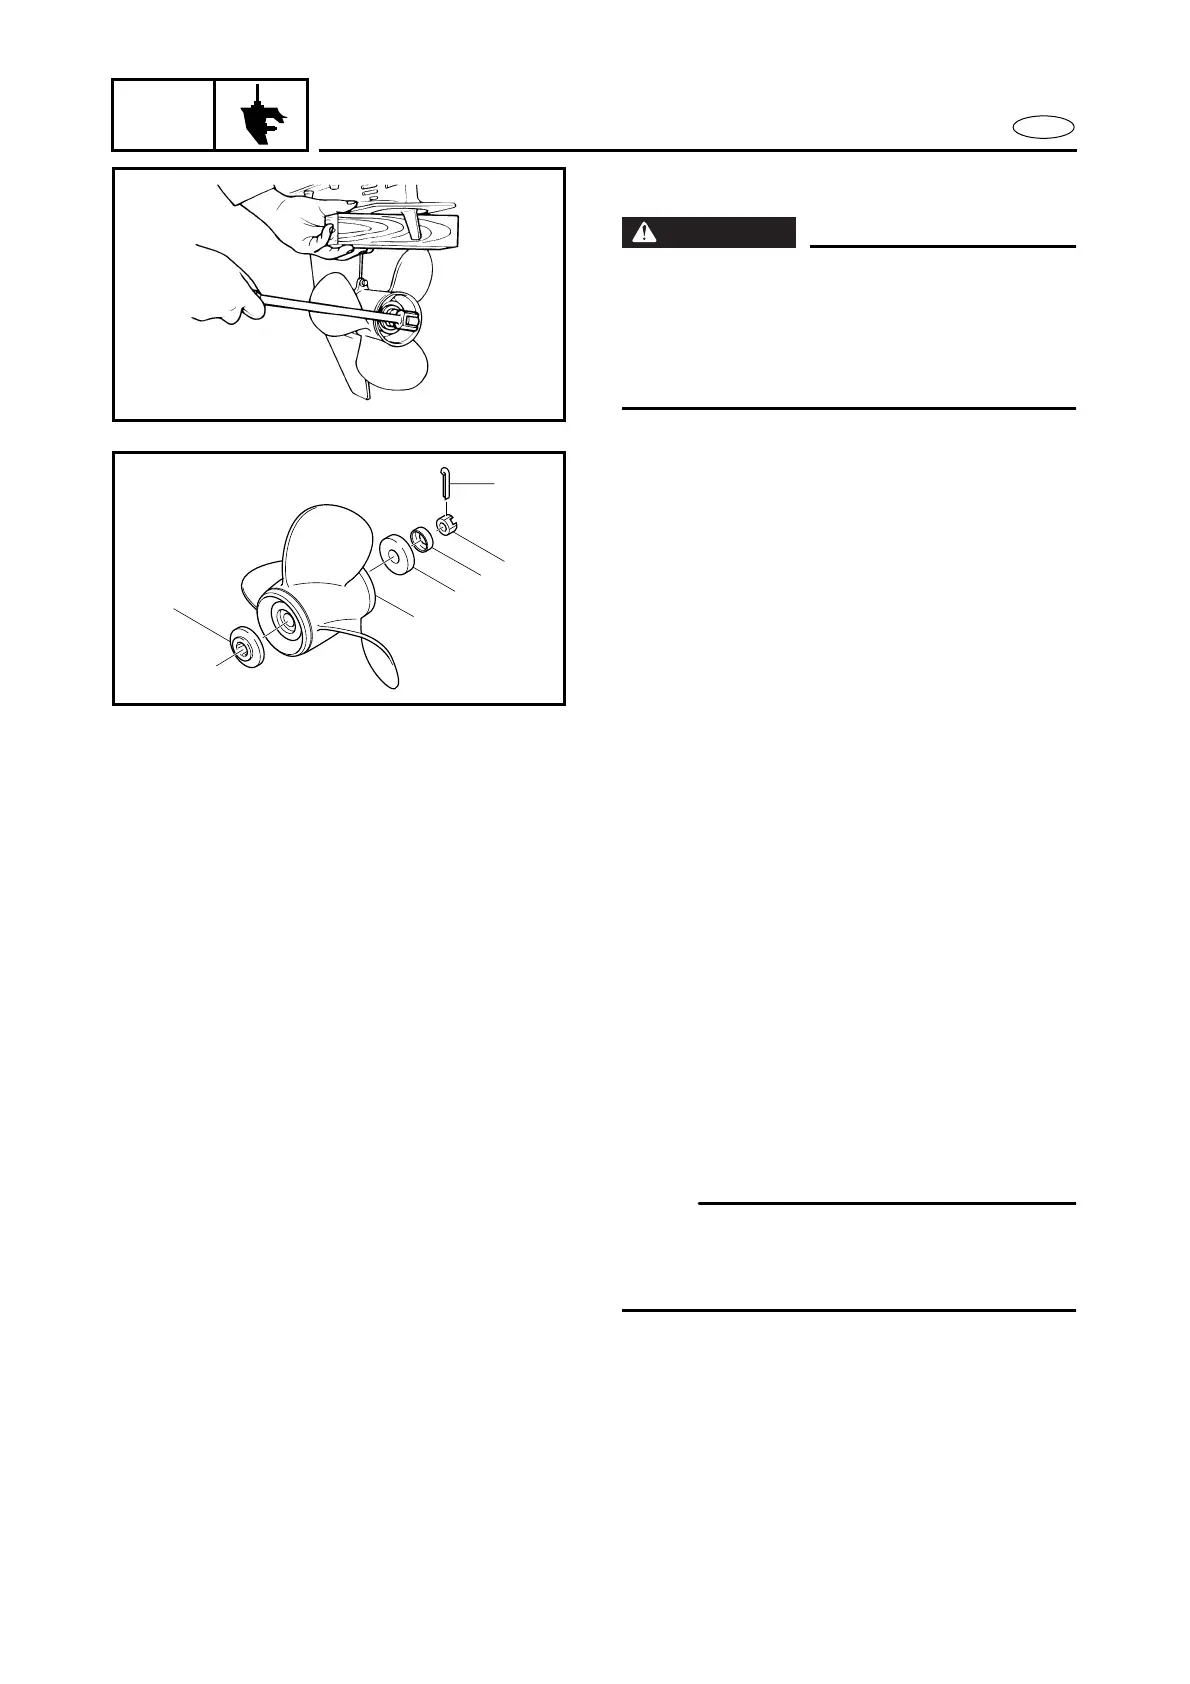
WARNING
Do not hold the propeller with your hands
when removing or installing it. Put a block
of wood between the anti-cavitation plate
and propeller to keep the propeller from
turning.
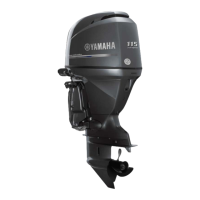
Propeller removal
1. Remove:
●
Cotter pin
1
●
Propeller nut
2
●
Spacer
3
●
Washer
4
●
Propeller
5
●
Thrust washer
6
1
2
3
4
5
6
Propeller inspection
1. Inspect:
●
Blades
●
Splines
Cracks/damage/wear
→
Replace the
propeller.
Propeller installation
1. Install:
●
Thrust washer
●
Propeller
●
Washer
●
Spacer
●
Propeller nut
●
Cotter pin
NOTE:
If the groove in the propeller nut is not
aligned with the cotter pin hole, tighten the
nut further until they are aligned.