Advanced Call Features
76
Placing an Intercom Call
Picking up an Incoming Call of the Target Extension
Answering an Intercom Call
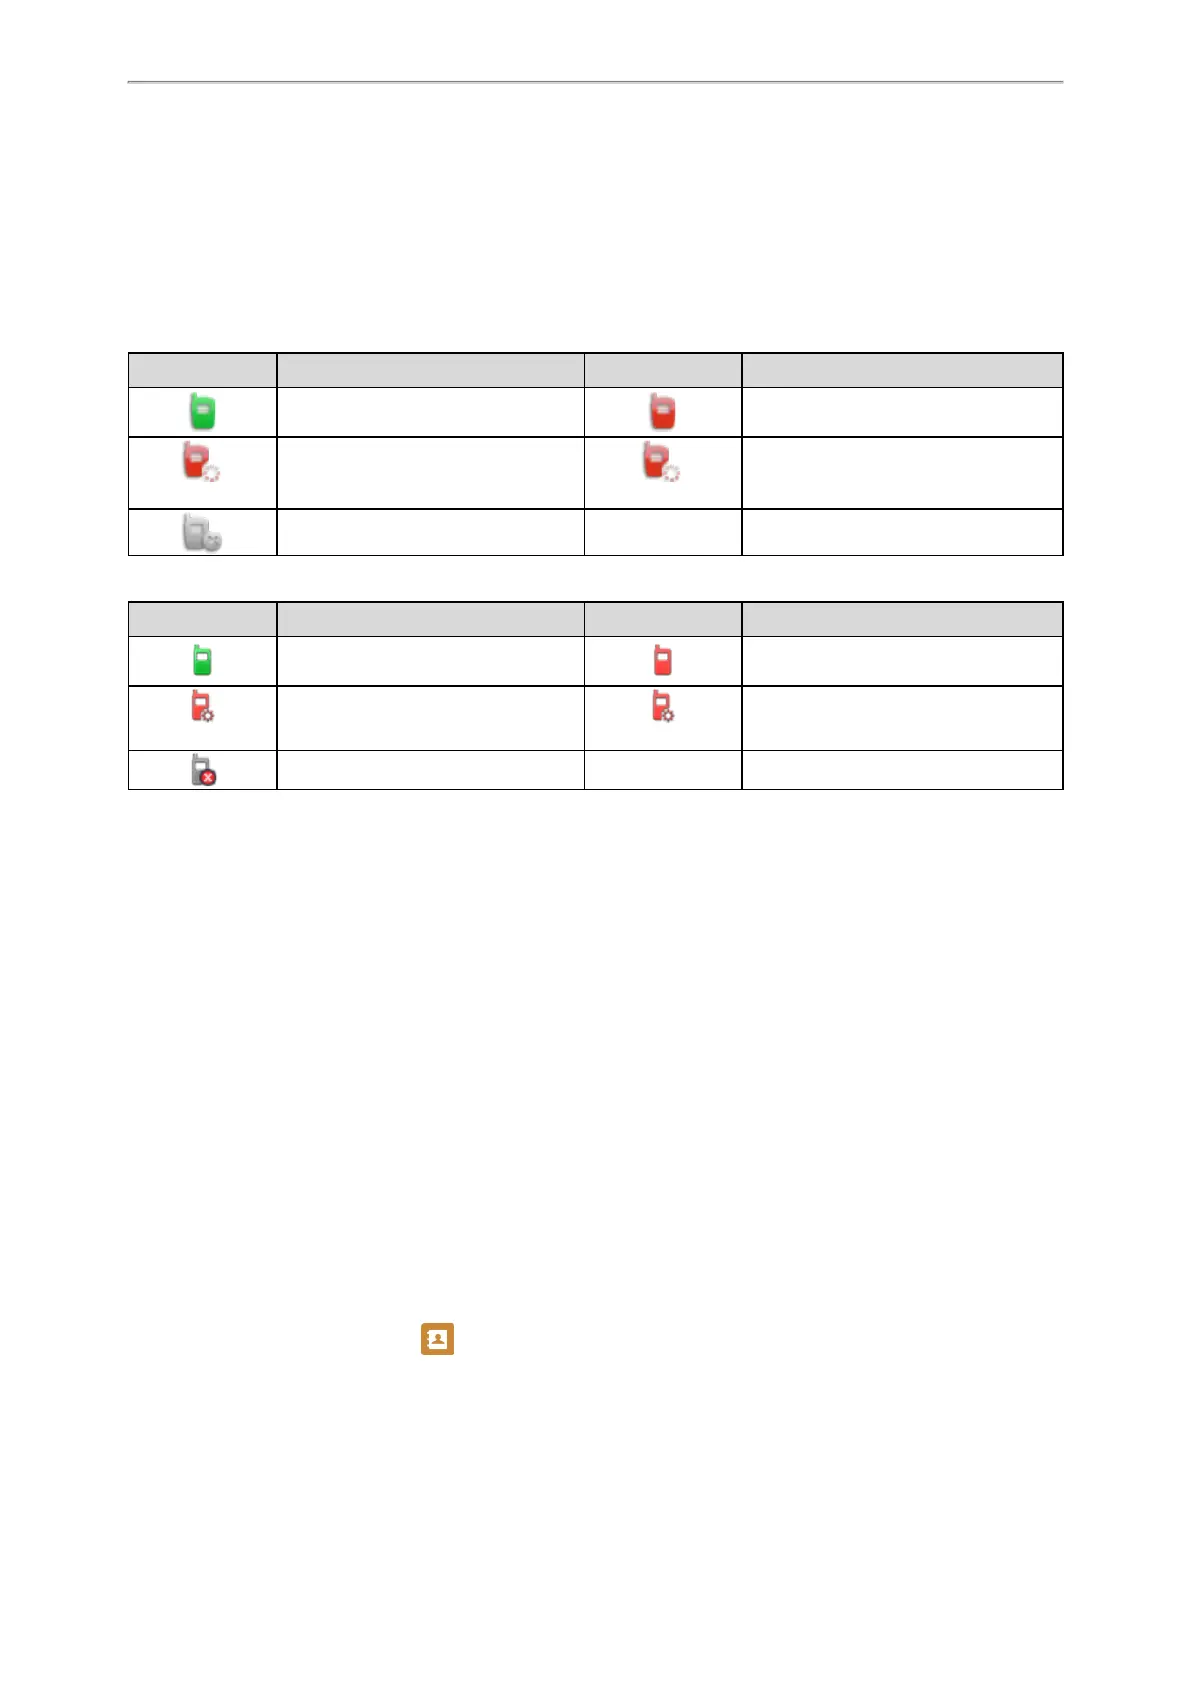
State Indicator of the Intercom key
On T48S/T48G/T46S/T46G phones, you can get the intercom status by viewing the icon indicator of the Intercom key.
For T48S/T48G phones:
Icons Description Icons Description
Target extension is available. Target extension is ringing.
Callout
Target extension is dialing.
Talking
Target extension is busy or is in a call.
Target extension fails to register.
For T46S/T46G phones:
Icons Description Icons Description
Target extension is available. Target extension is ringing.
Callout
Target extension is dialing.
Talking
Target extension is busy or is in a call.
Target extension fails to register.
Placing an Intercom Call
You can place an intercom call to quickly relay a message to a contact.
The target phone plays a warning tone and automatically answers the call in speakerphone (hands-free) mode by
default. When the target phone has an active call, the intercom call is answered automatically after the active call ends.
You can also press the BLF/BLF List key to initiate an outgoing intercom call to the monitored user. Check with your sys-
tem administrator to find out if it is available on your phone.
Procedure
1. Navigate to Menu > Features > Dsskey.
2. Select the desired line key.
3. Select Intercom from the Type field.
4. Select the desired line from the Account ID field.
5. Do one of the following:
l (Optional.) Enter the string that will appear on the phone screen in the Label field.
Enter the target extension number in the Value field.
l On the T46S/T46G phones, highlight the Label or Value field. Press Directory (Dir) and select a desired contact
from the Directory list.
On the T48S/T48G phones, tap , and then tap the desired contact.
6. Select Save.
7. Press the Intercom key to place an intercom call.
 Loading...