START-UP
Carl Zeiss Mounting the tube lens turret Axio Imager
34 430000-7344-001 M70-2-0020 e 06/2009
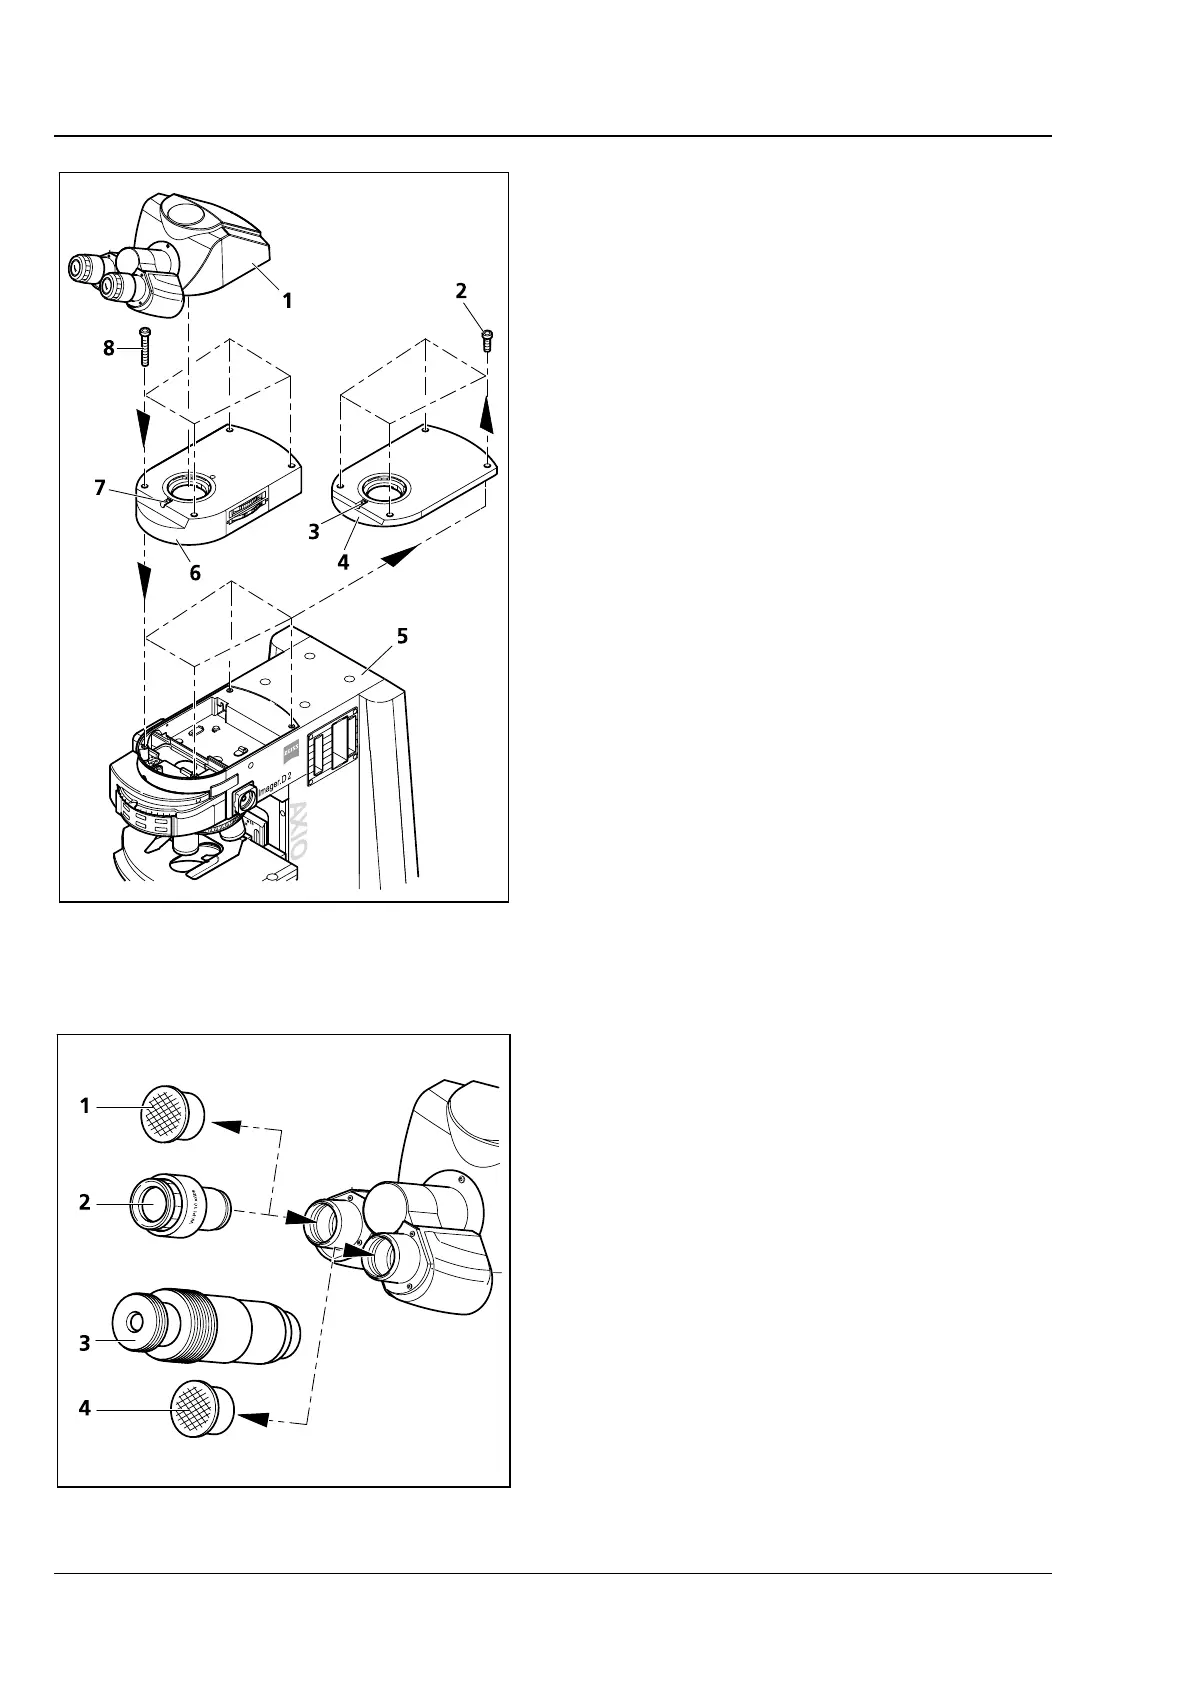
3.3 Mounting the tube lens turret
• Use SW 3 ball-headed screwdriver to loosen
clamping screw (
3-3/3) and remove the tube
(
3-3/1) upward.
• Unscrew four fastening screws (3-3/2), remove
coupler plate (
3-3/4) upward and store it for
any future use.
• Put tube lens turret (
3-3/6) onto stand (3-3/5)
and screw it down using the four supplied
fastening screws (
3-3/8).
• Unscrew the tube lens by hand from the tube
to be used (
3-3/1). Store it in the storage box.
• Insert tube (
3-3/1) without tube lens with its
dovetail into the mount of the tube lens turret
(
3-3/6) and tighten clamping screw (3-3/7).
3.4 Inserting eyepieces and auxiliary
microscope
• Remove both dust caps (3-4/1 and 4) from the
binocular tube.
• Remove both eyepieces (3-4/2) from their cases
and insert them into the binocular tube as far as
they will go.
• The auxiliary microscope (
3-4/3) can be inserted
into one of the eyepiece sockets of the
binocular tube in place of an eyepiece. It is used
to view aperture diaphragm, phase and dark-
field stops and to center phase and dark-field
stops. Focusing on these diaphragms and stops
is possible by means of the adjustable eye lens,
which can then be locked by means of the
clamp screw.
Fig. 3-3 Mounting the tube lens turret
Fig. 3-4 Inserting eyepieces